

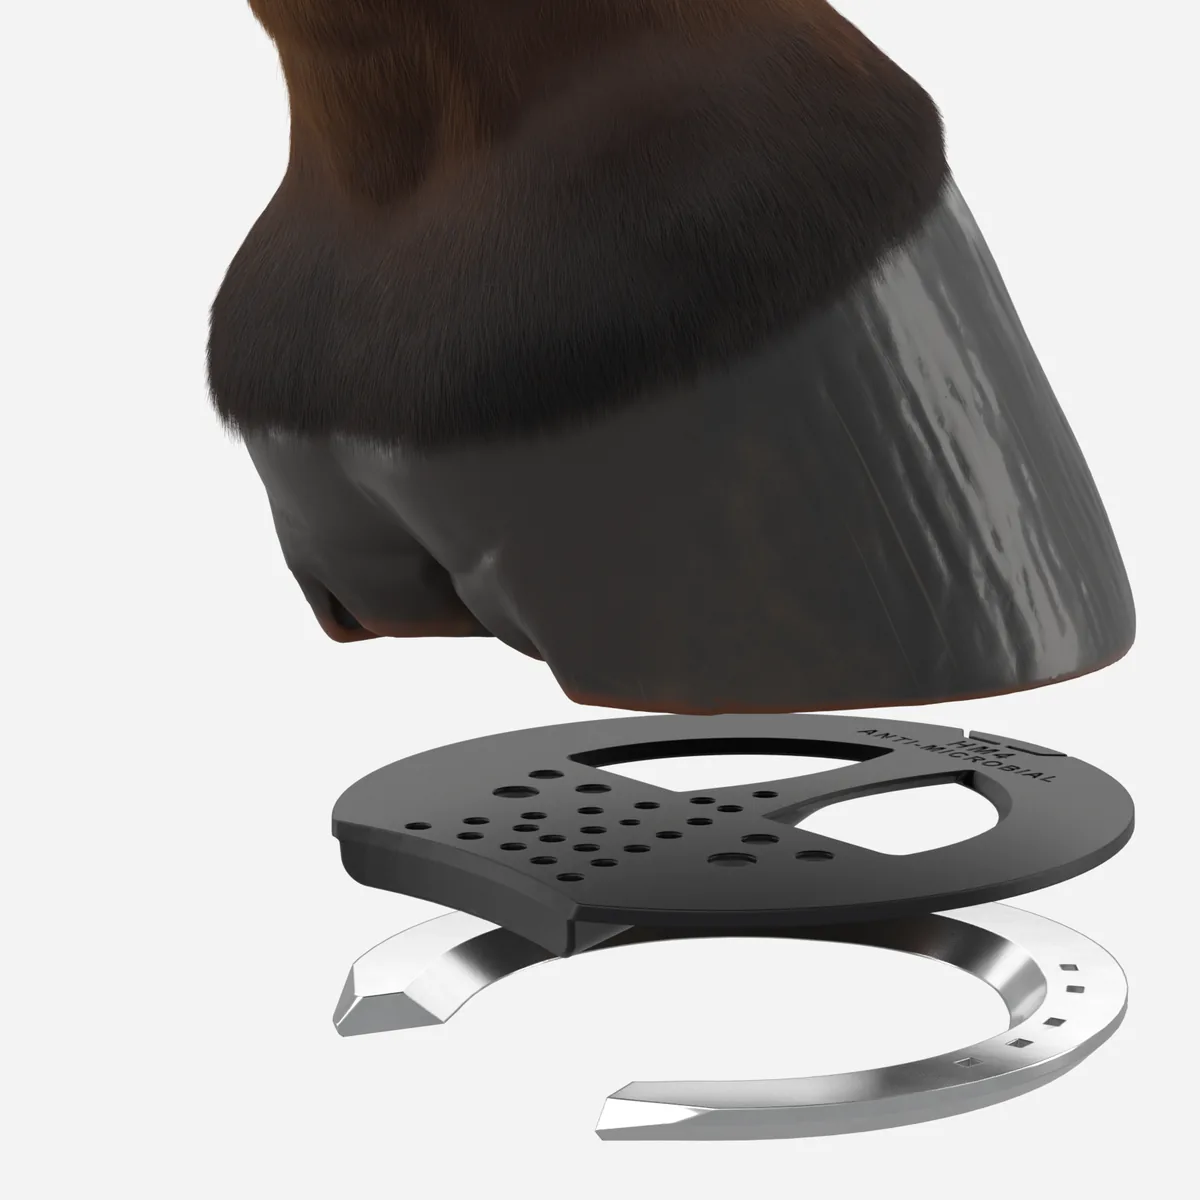
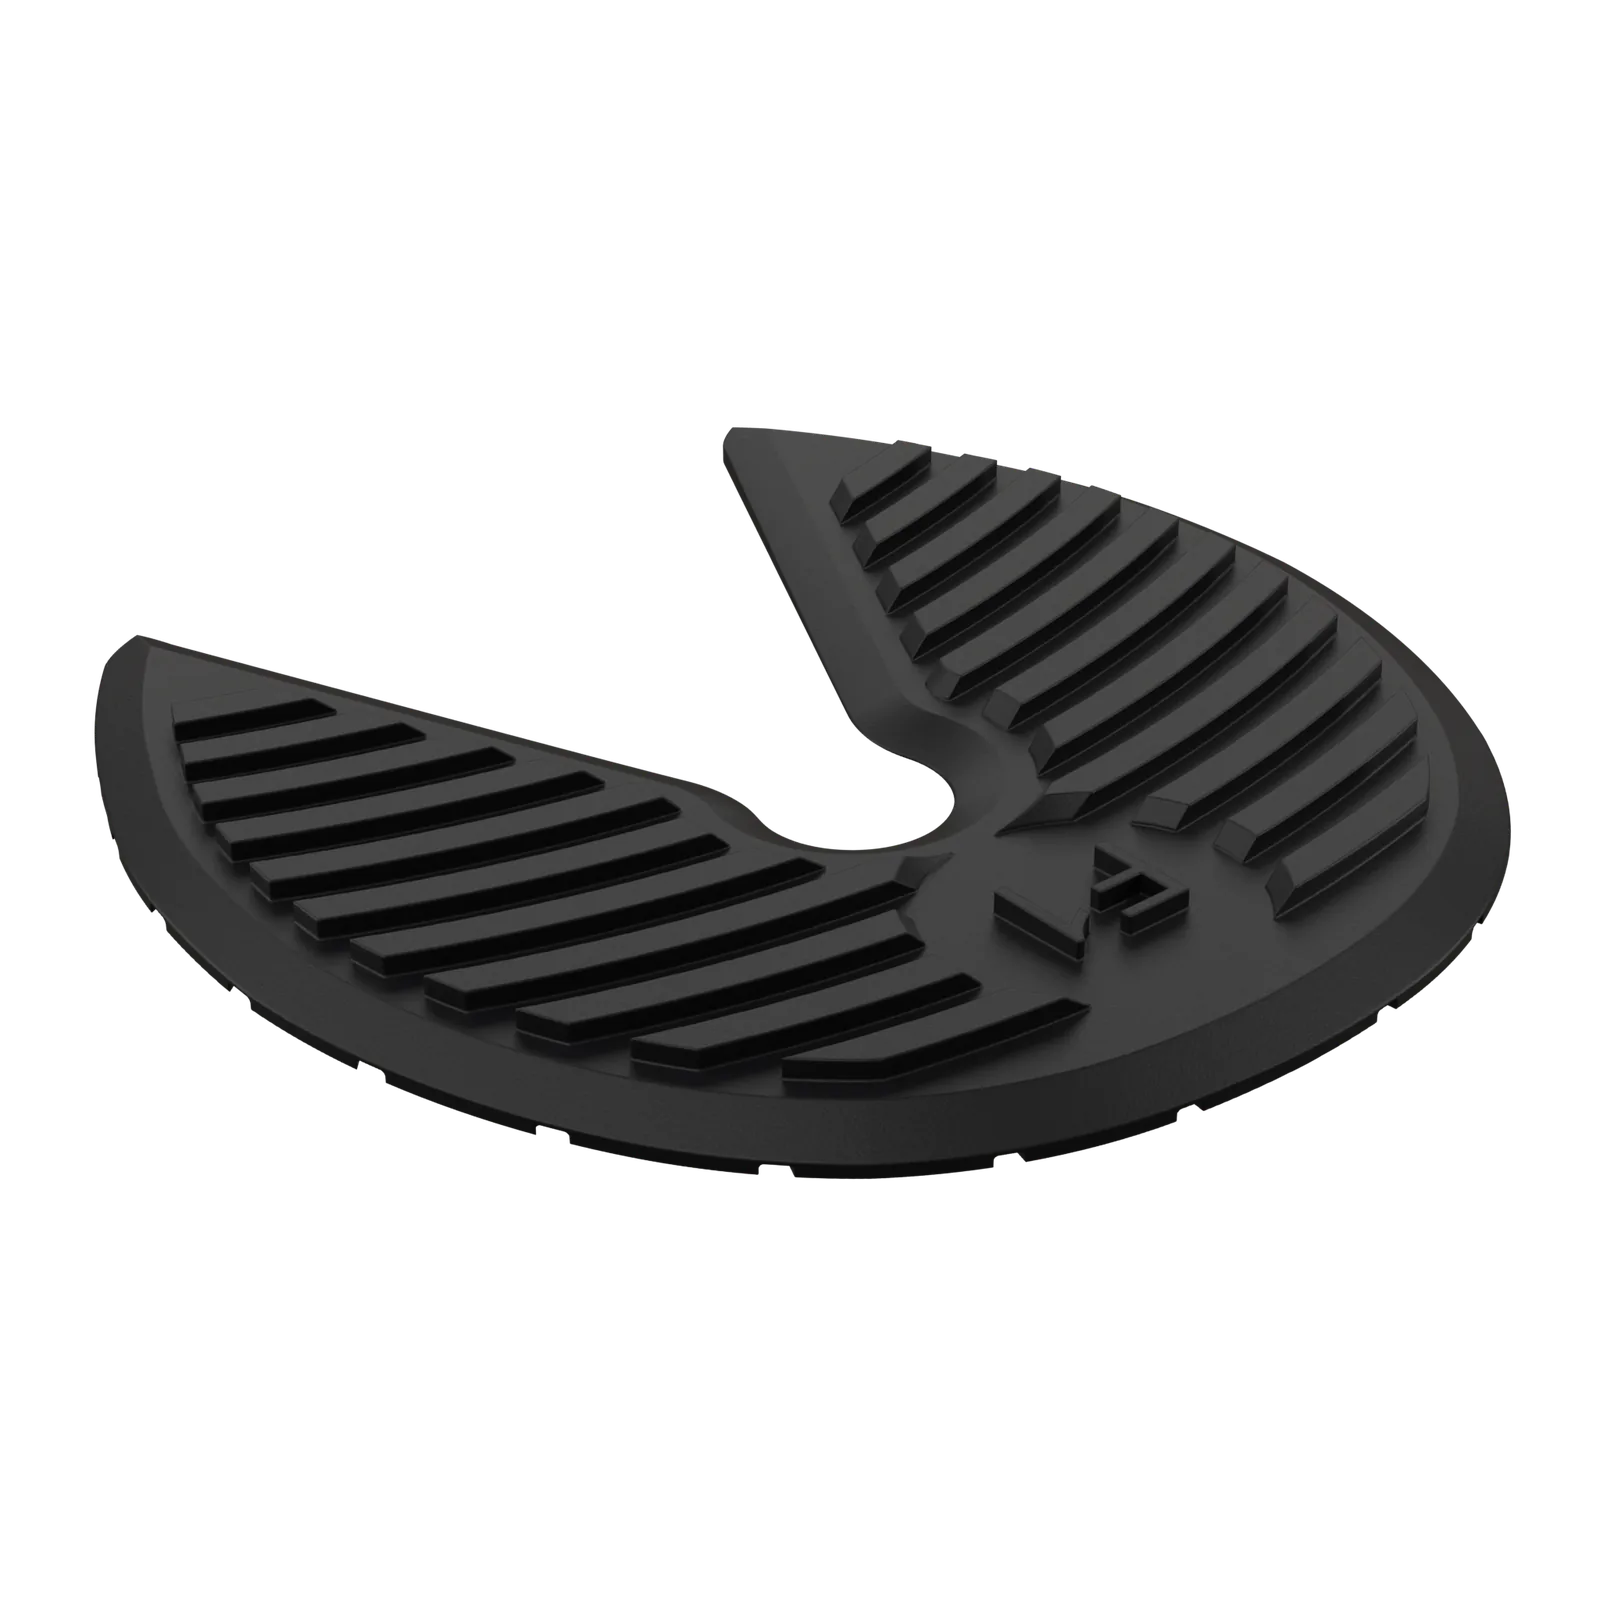
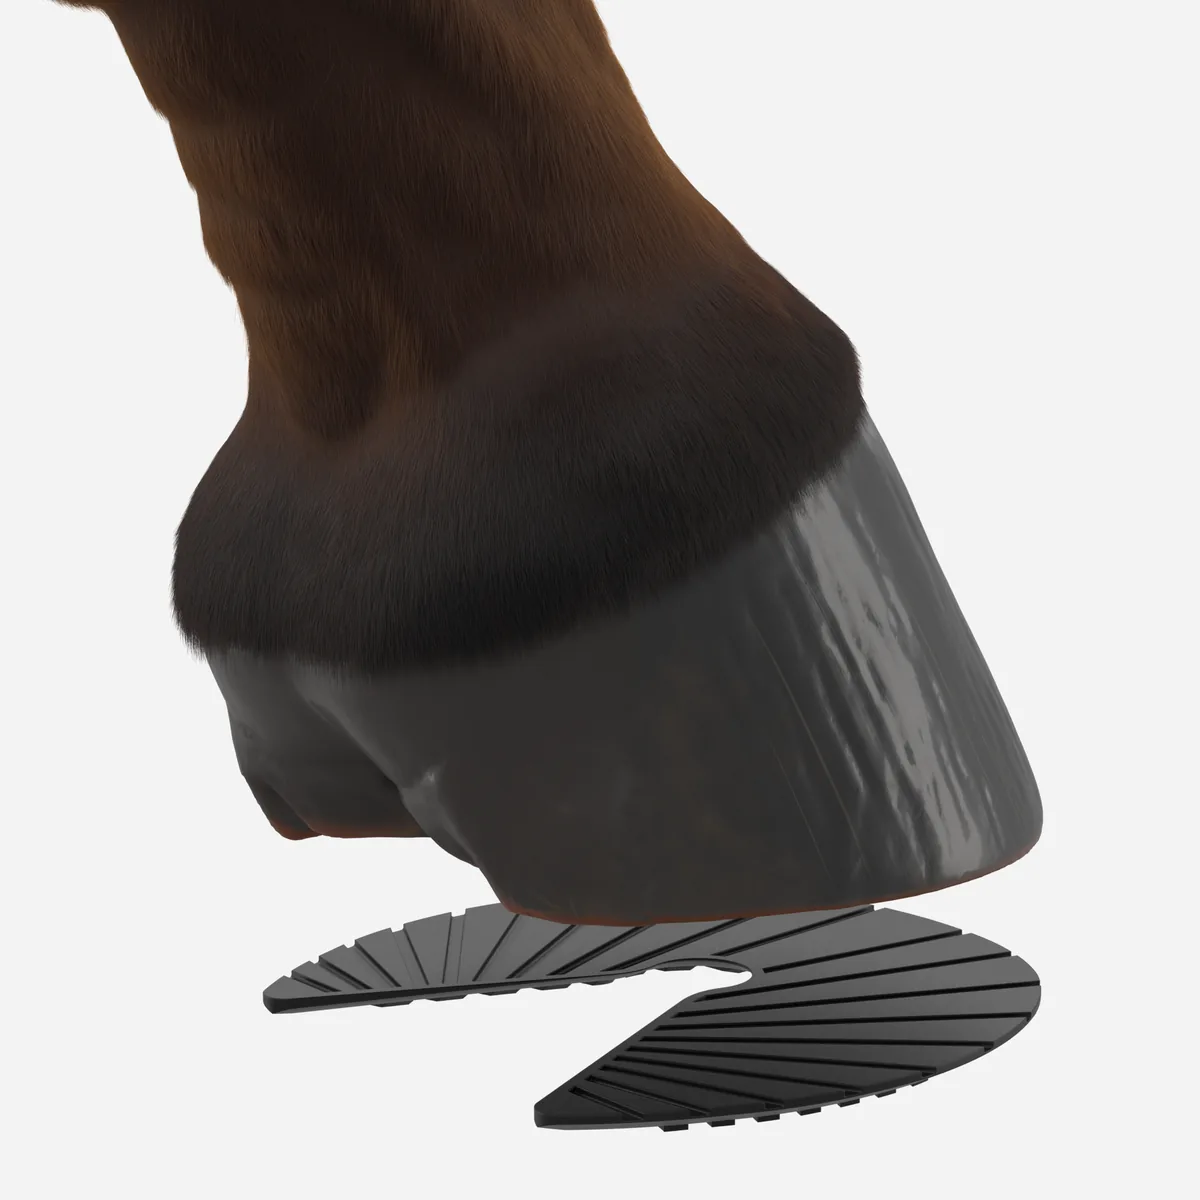
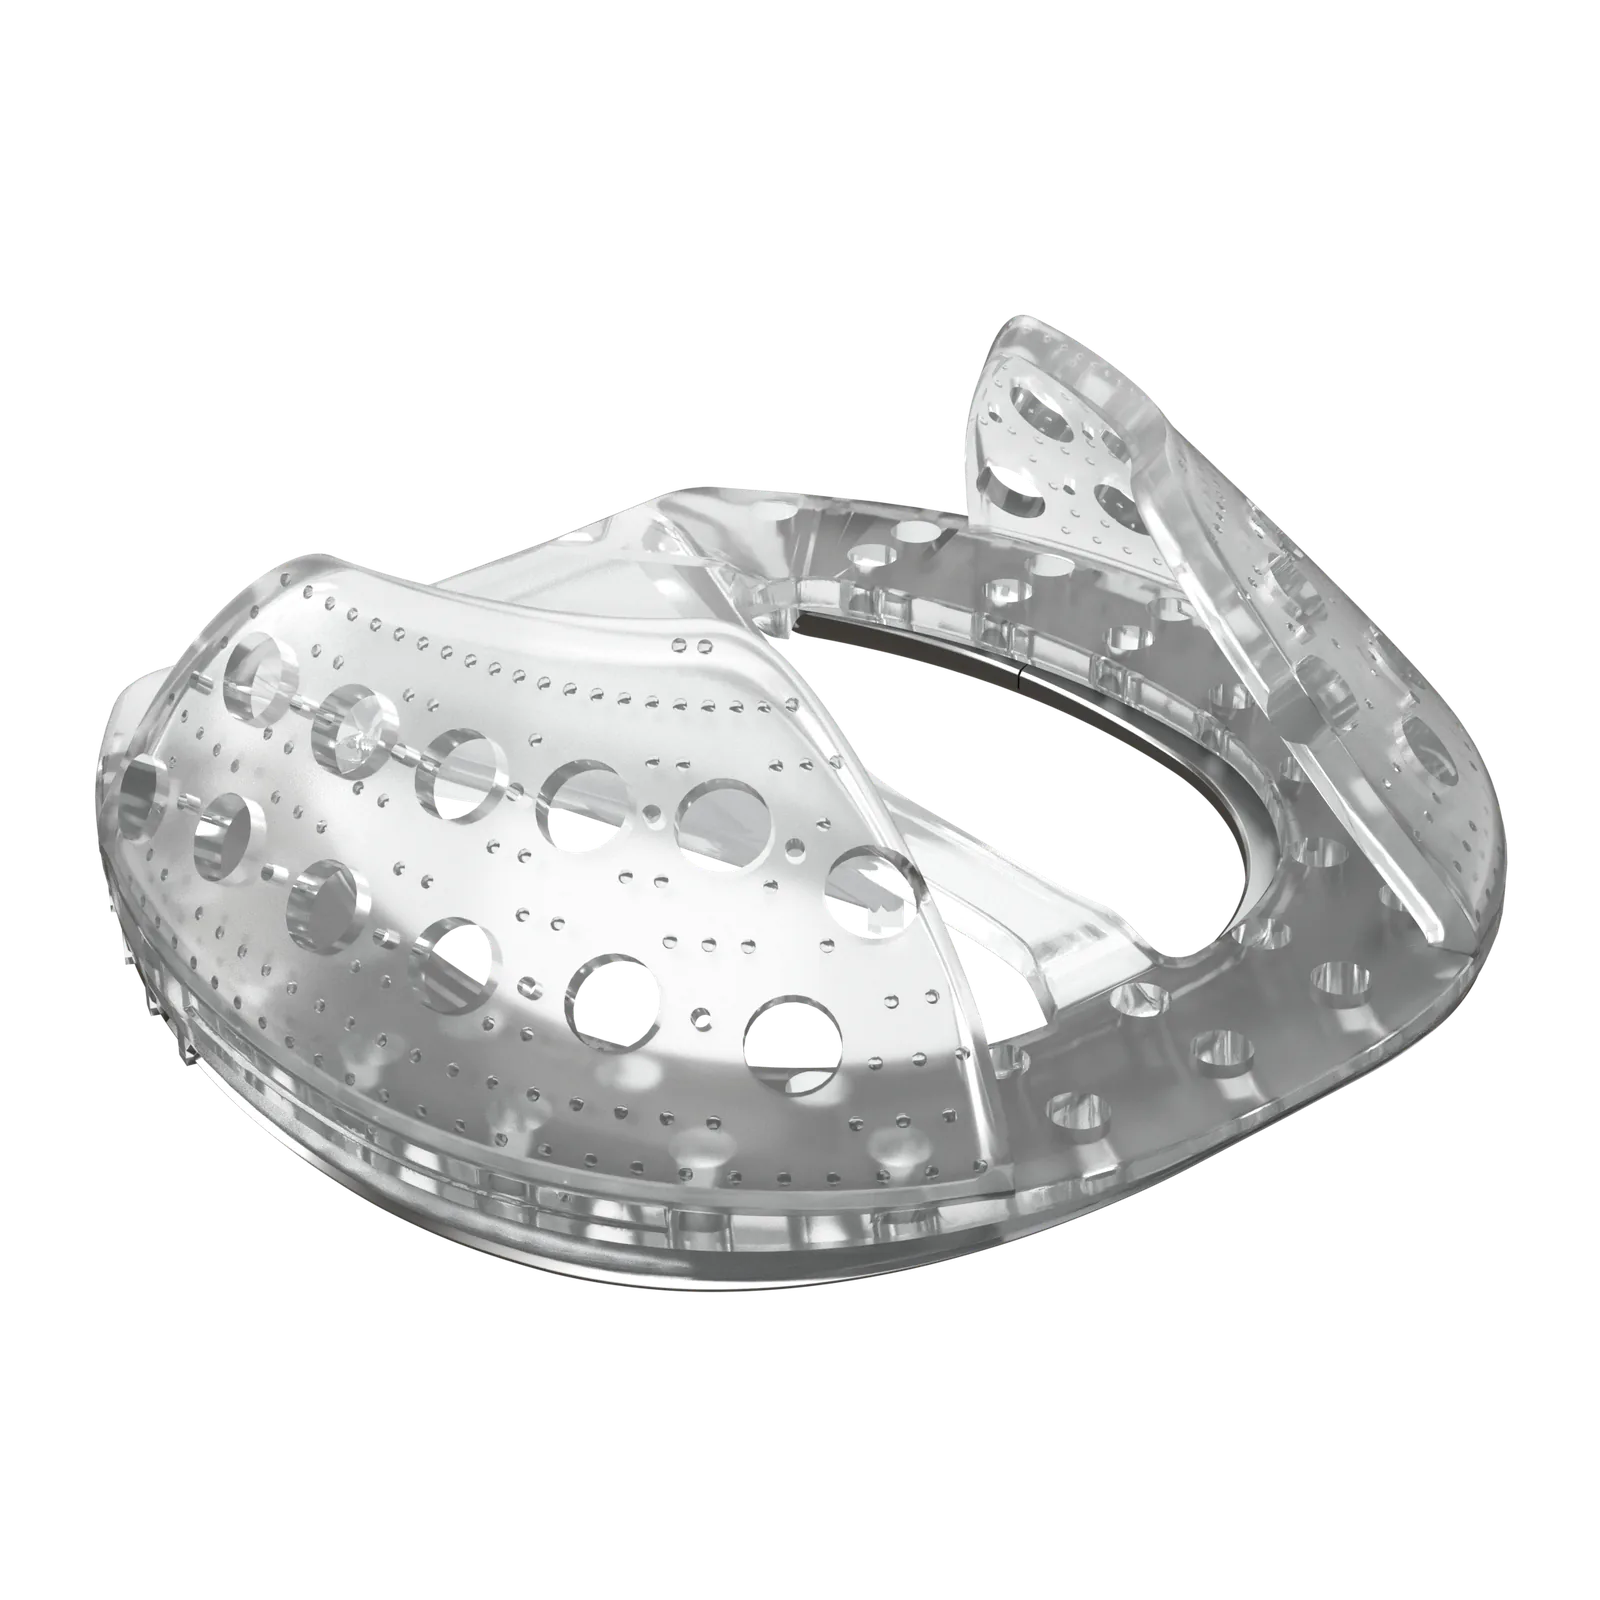
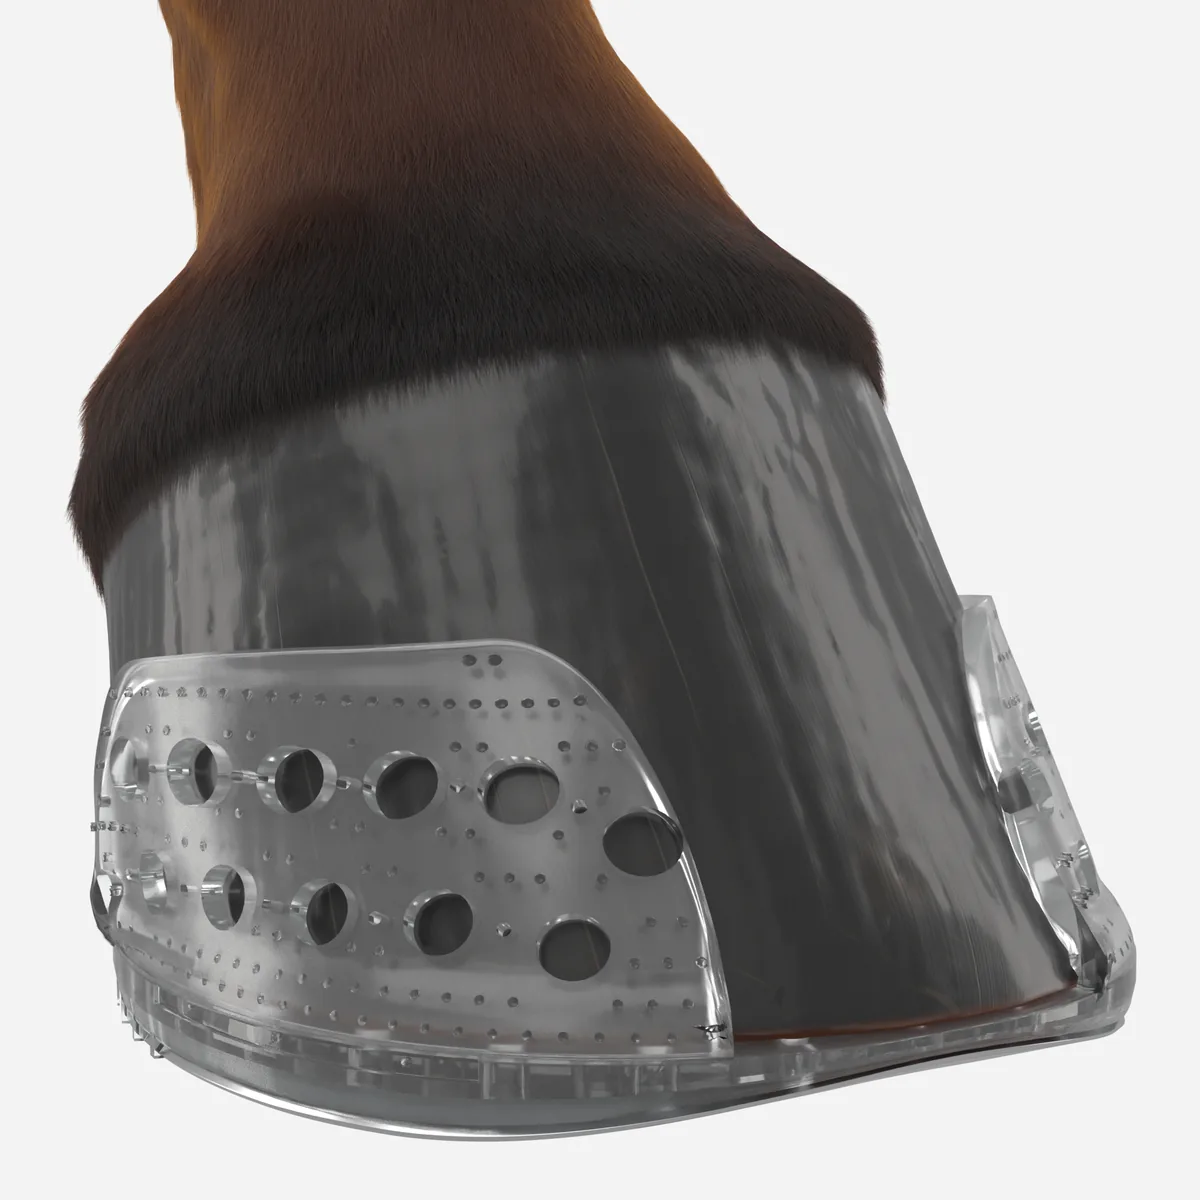
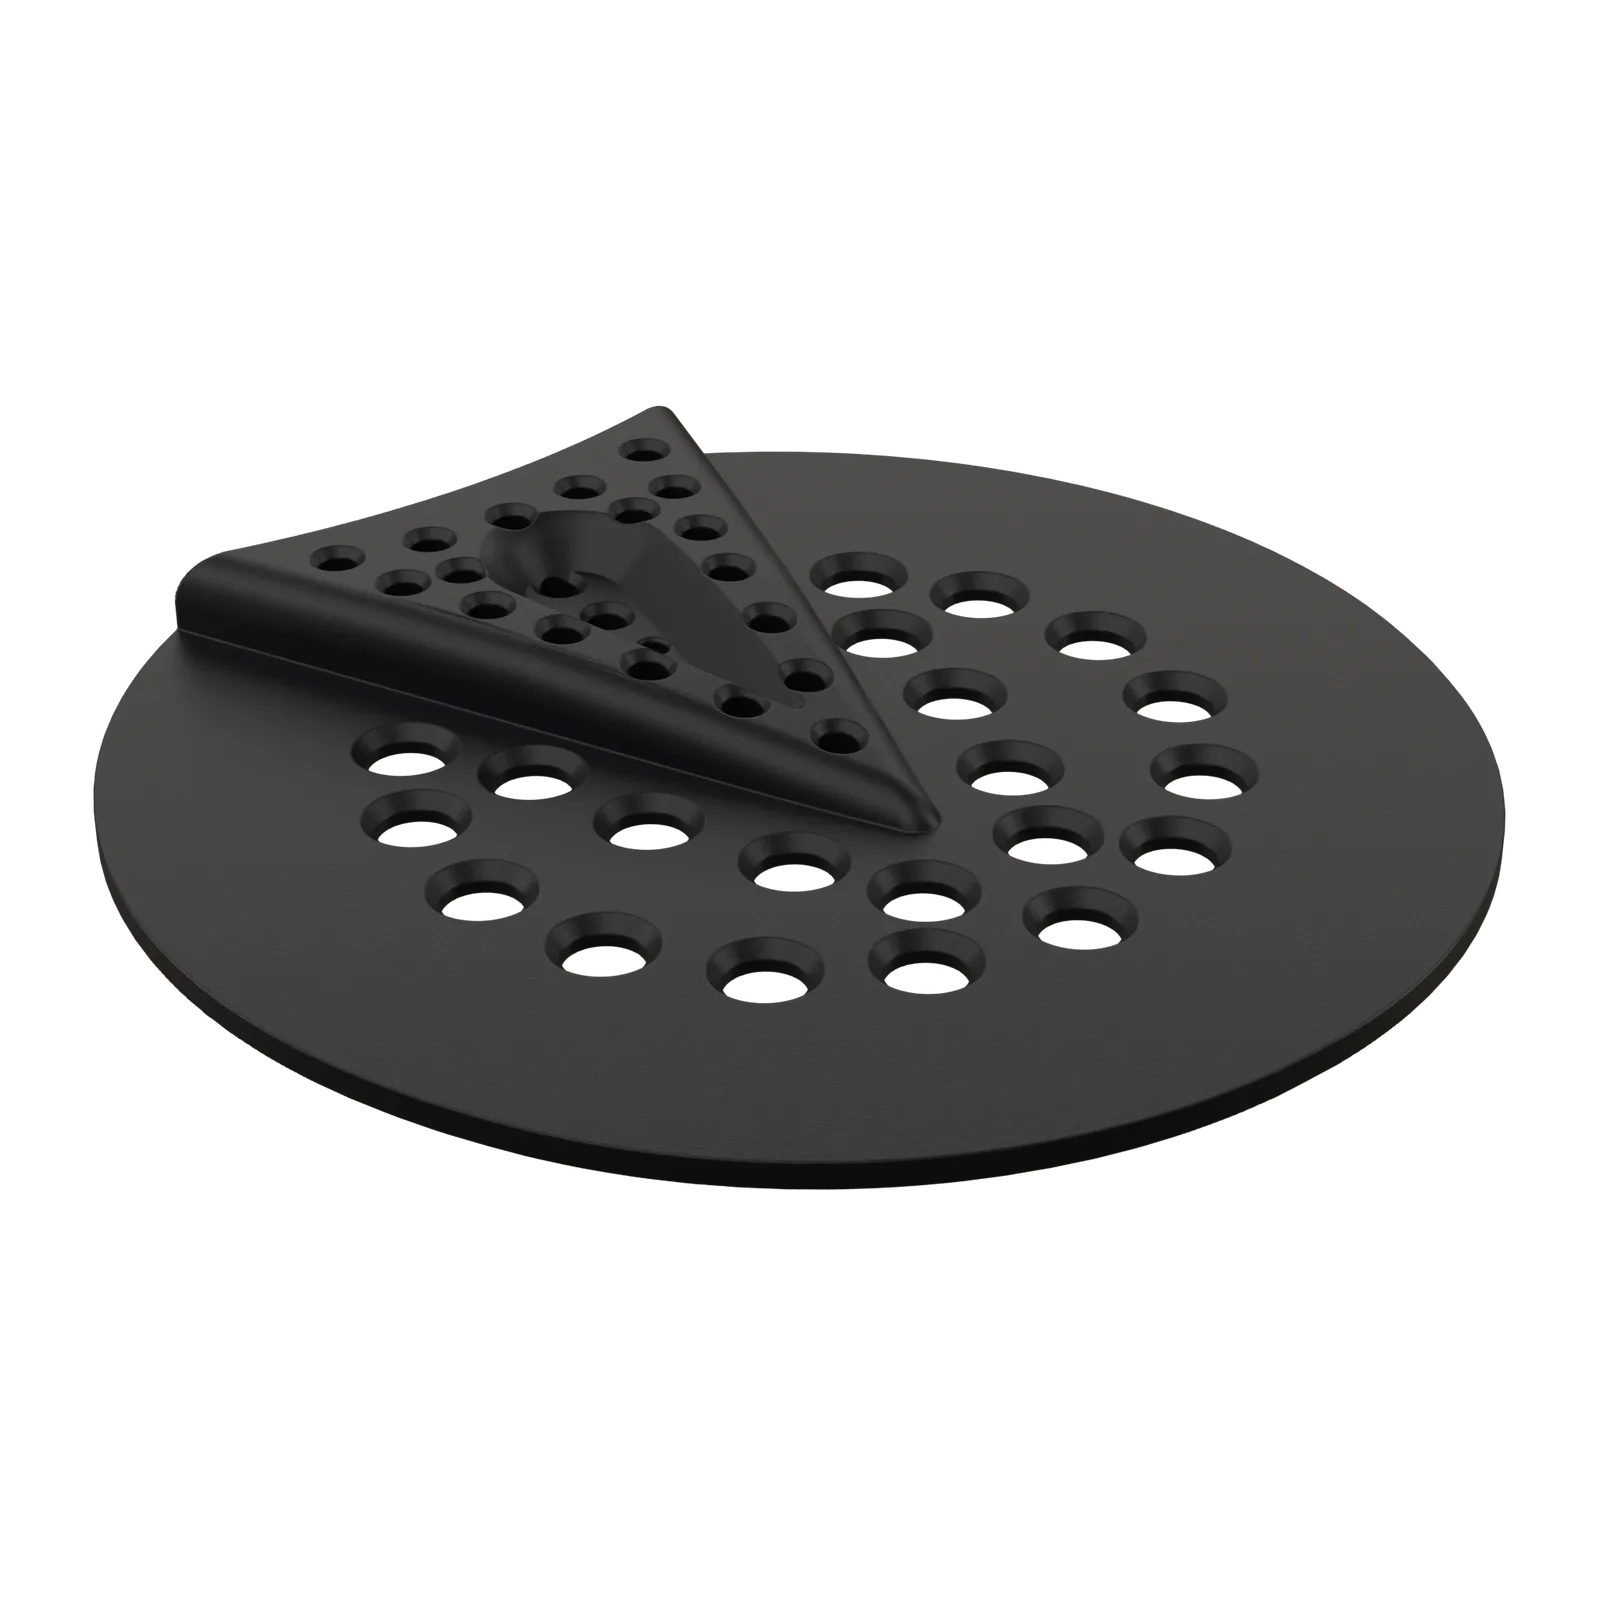
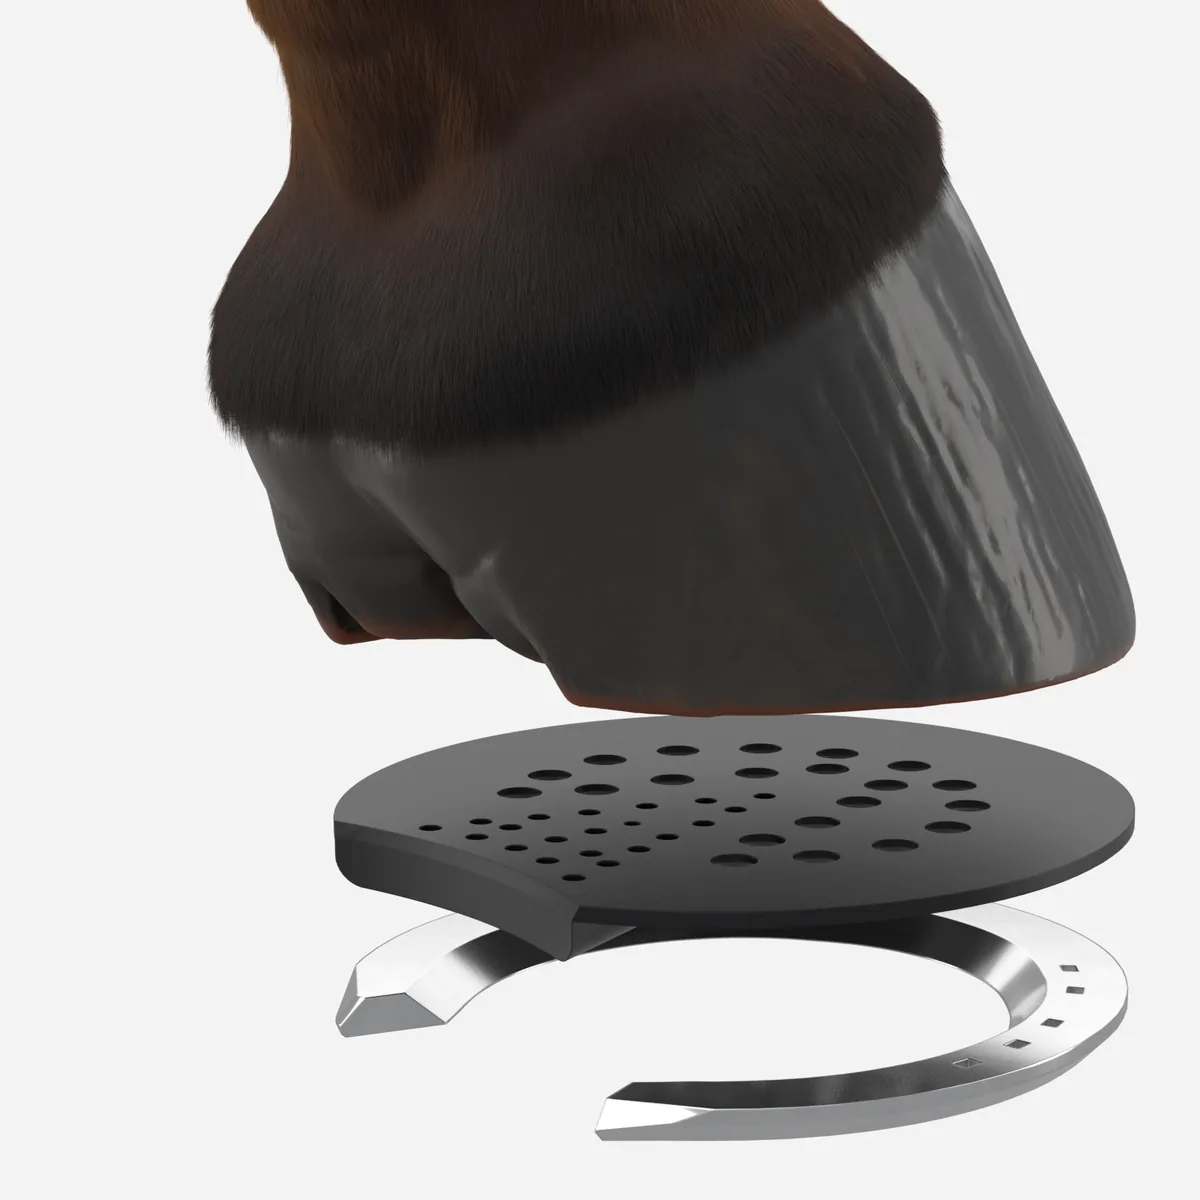
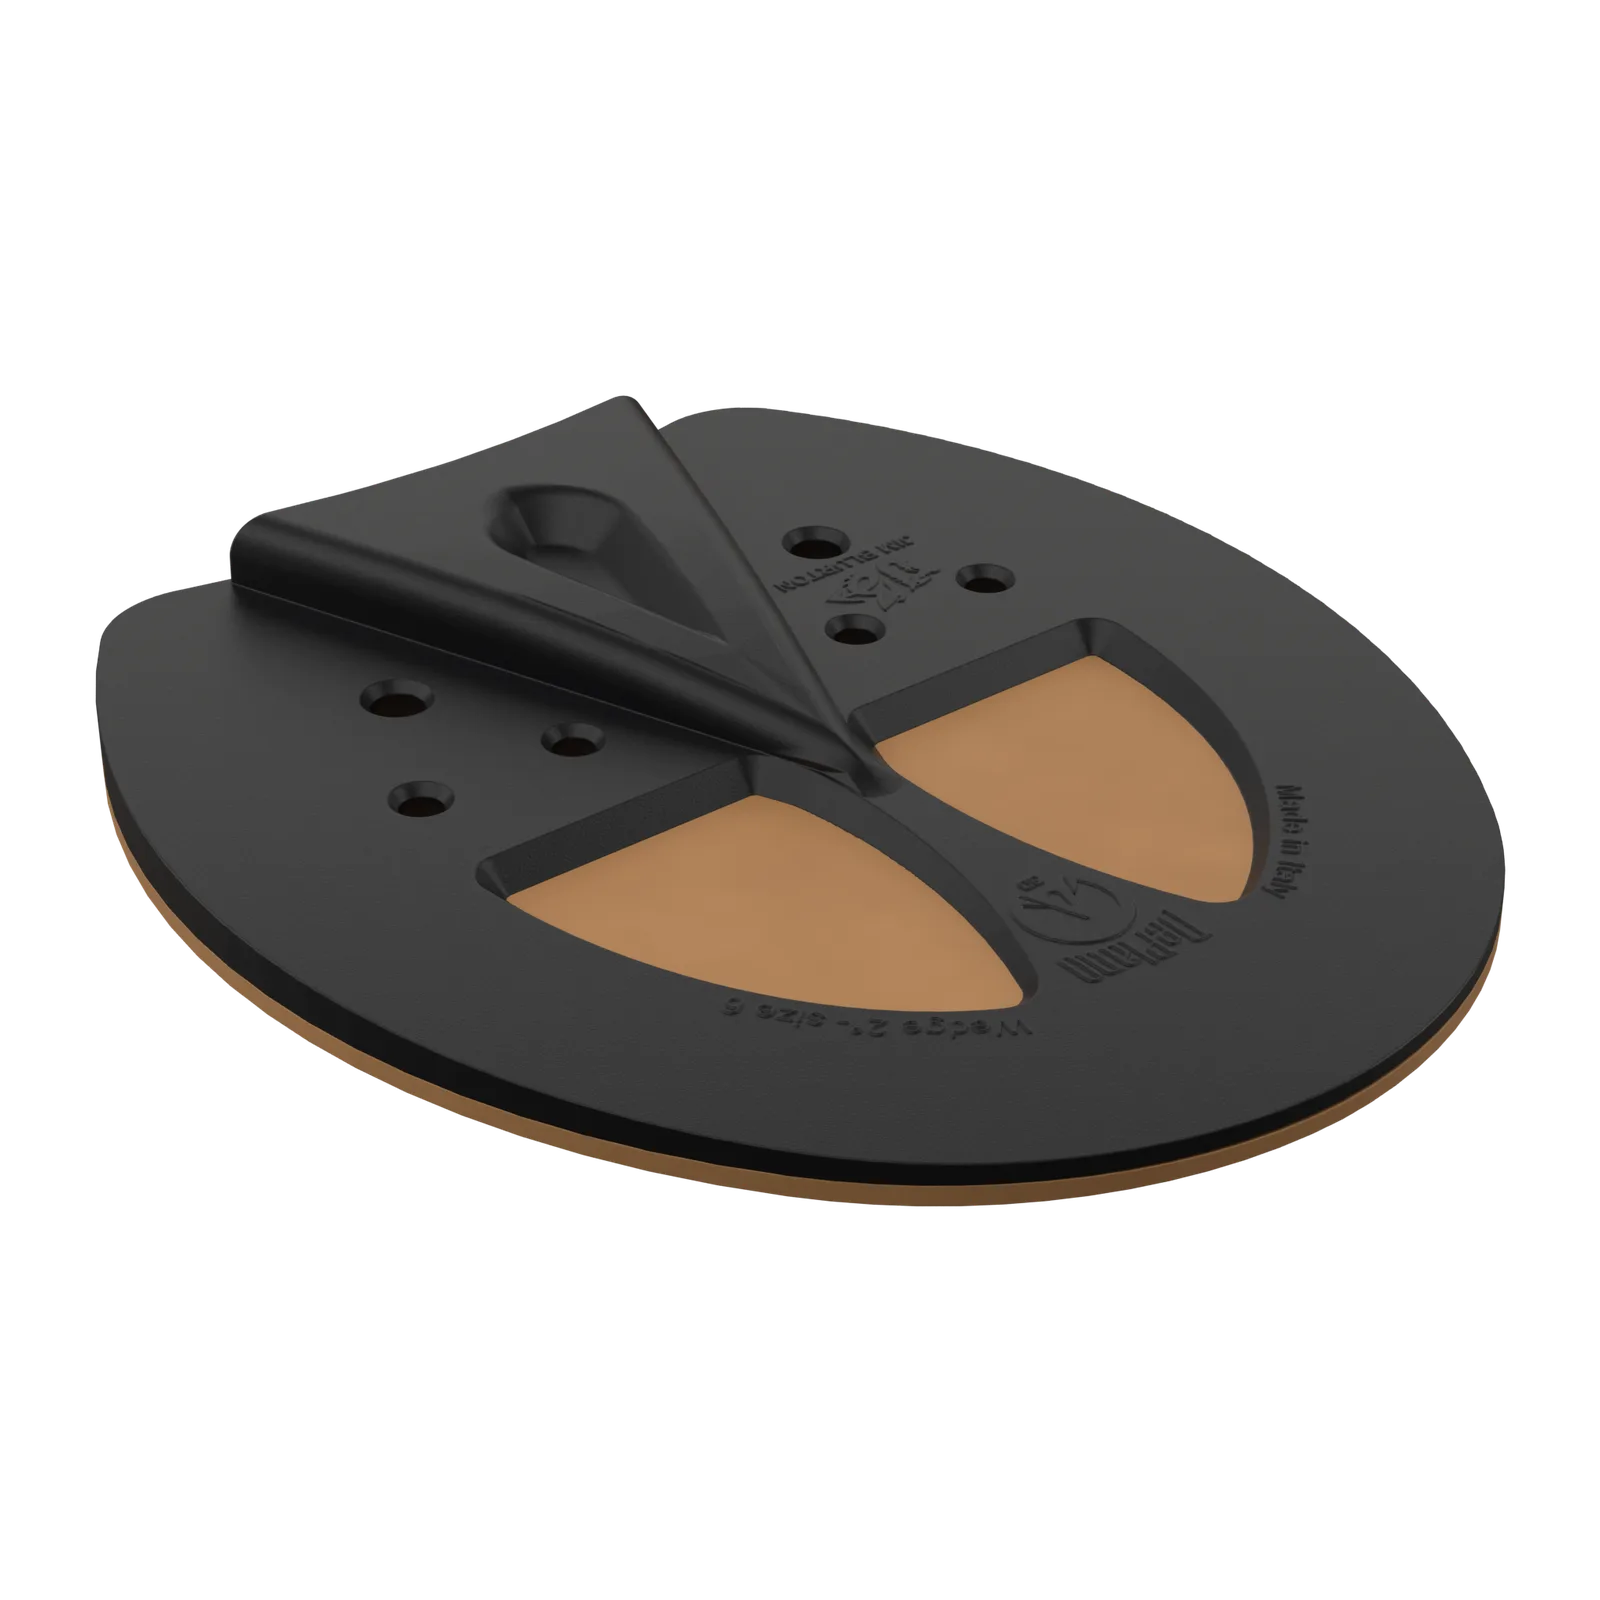
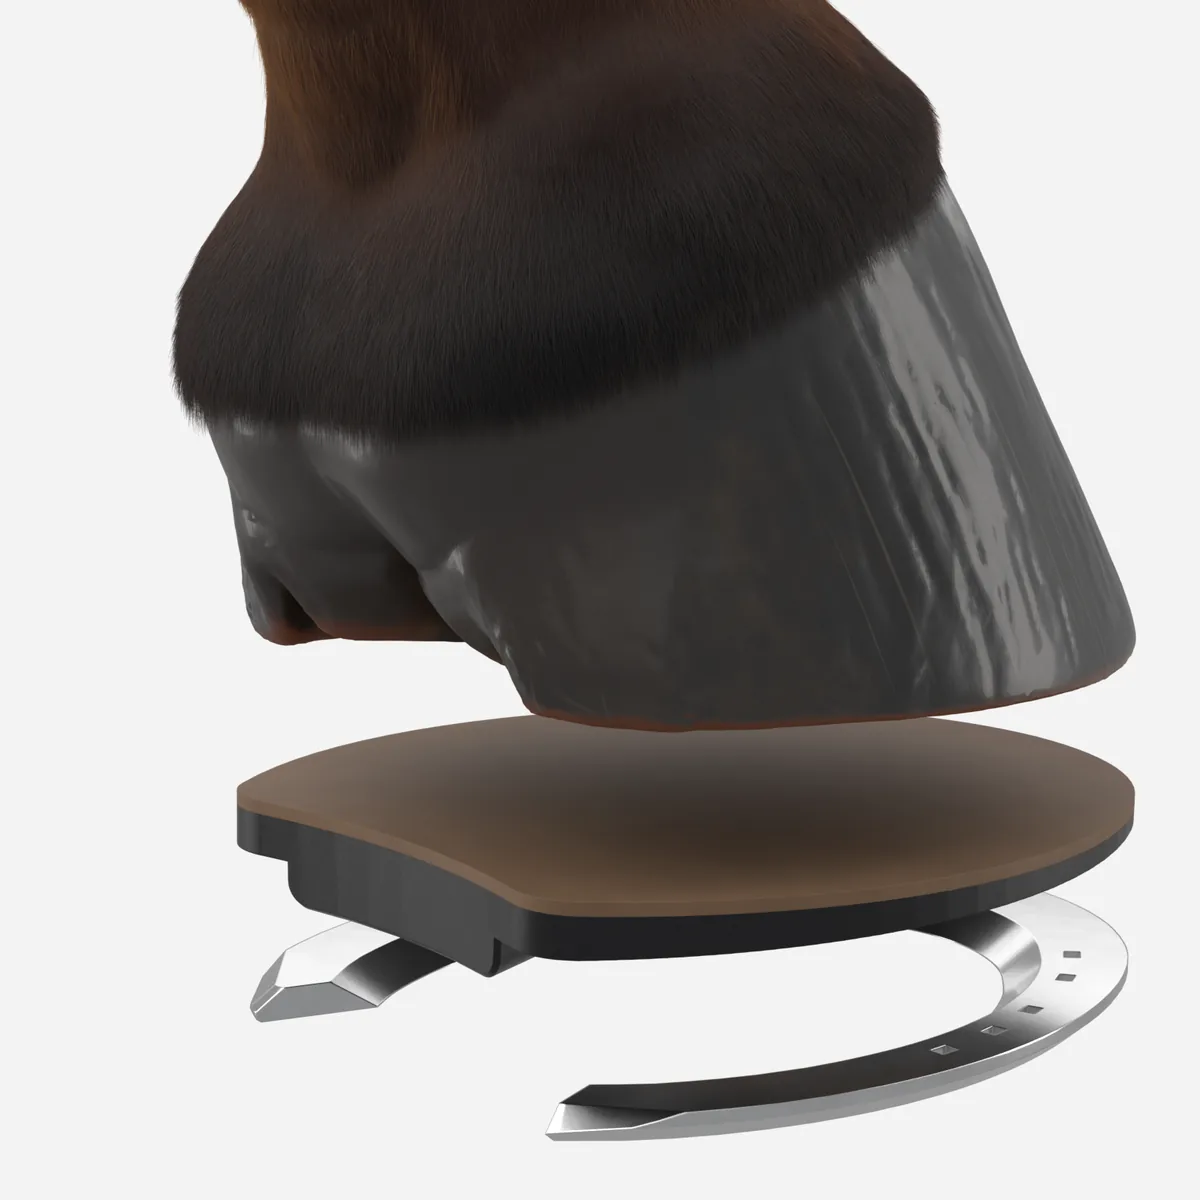
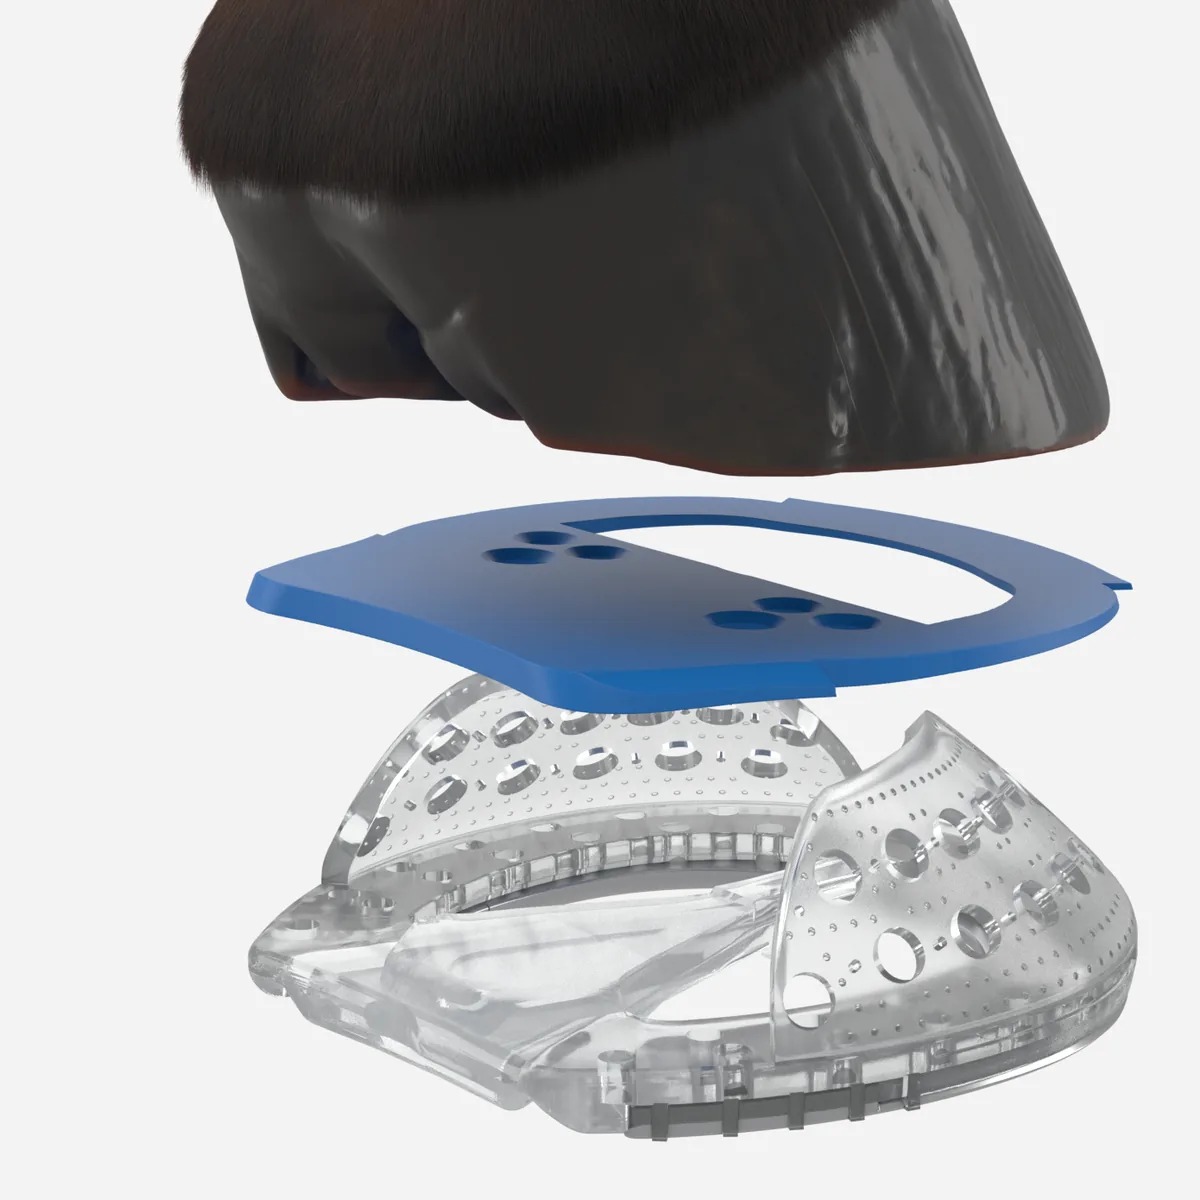
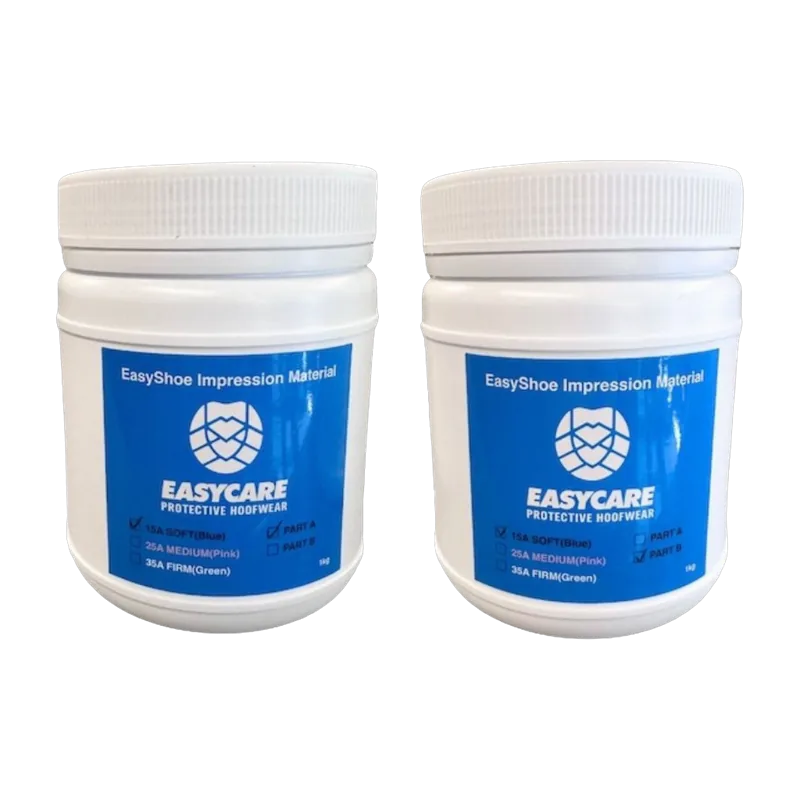
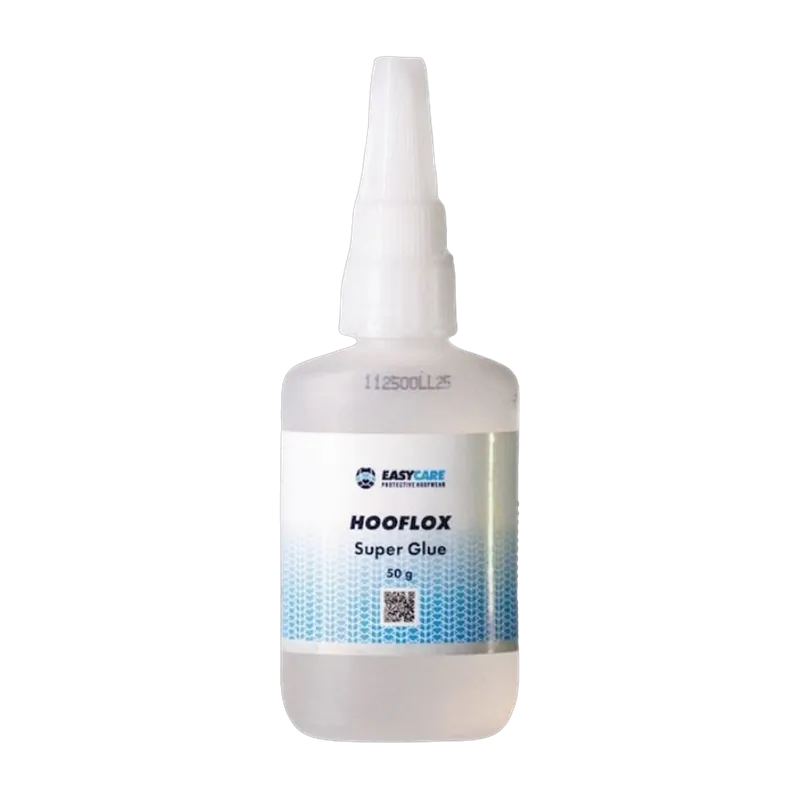
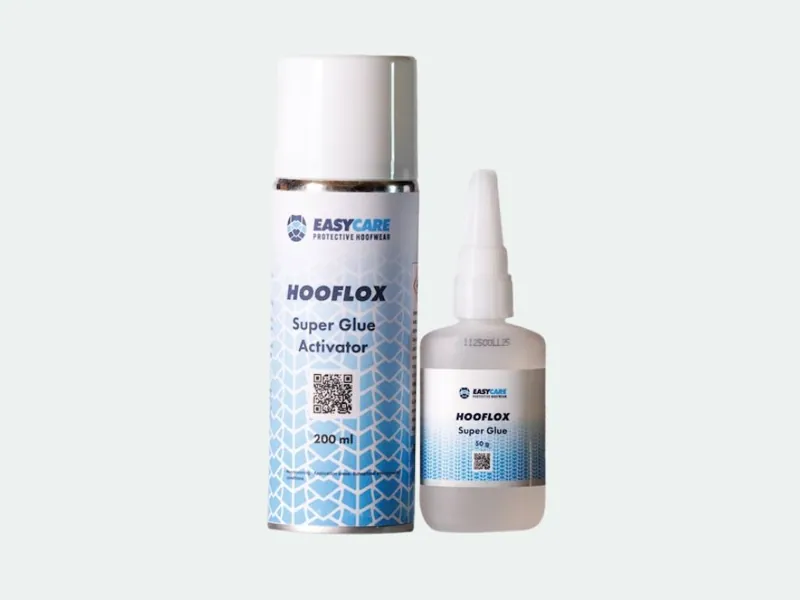
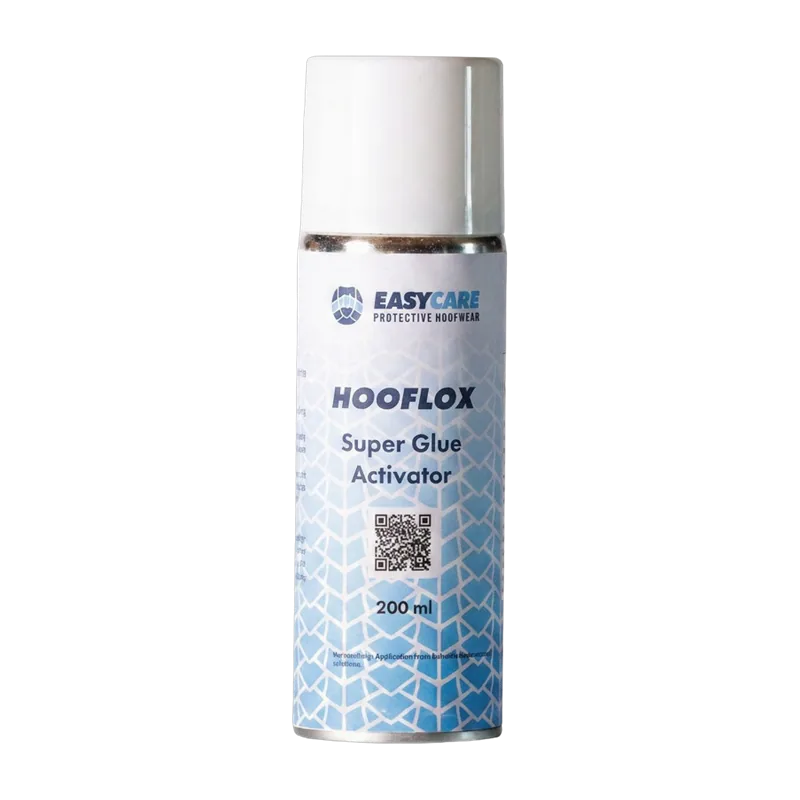



If I had to name the single most common question in our community, it would not be about a product. It would be some version of this: I did everything right and the shoe still came off in a week.
I read one of those posts recently that has stayed with me. An owner in Florida had written out her entire process, step by step: trim, rasp, sand, alcohol, torch, shape, sand the pad, clean it three times, heat gun, impression material, activator, glue in a zig-zag, press, more glue, more activator. It was thorough. It was careful. And she was still out in tall grass hunting for shoes three times in three weeks.
Nearly seventy people replied. That thread is worth more than any product brochure, because it shows exactly where applications go wrong, and it is almost never the glue.
Here is how I think about it after forty years of putting things on feet that did not want to keep them.
Adhesion is a surface problem, not a glue problem
Glue does not stick to a hoof. It sticks to the outer layer of what is on the hoof. If that outer layer is dust, oil, dressing, or moisture, that is what your bond is holding onto, and that is what will let go.
So the entire job is making sure the glue is gripping horn, and only horn.
That means two things happening at once. You need mechanical grip, which is texture for the adhesive to key into. And you need chemical grip, which is a clean, dry surface with nothing between the glue and the wall.
Most people get one and miss the other.
The sequence
Rough the wall properly. A hoof buffy with 60-grit, or a rasp if that is what you have. You are trying to create peaks and valleys for the glue to key into, not to polish the wall smooth. Work downward so you are not dragging dust back up into the surface you have just cleaned.
Wire brush. Torch. Repeat three times. This is the step people skip, and it is the one that matters most. One pass of a wire brush leaves dust. One pass of a torch drives off surface moisture but pulls more to the surface as the horn warms. Doing the cycle three times is not superstition. It is how you get to properly clean, properly dry horn. Every time I have gone back to a failed application and asked what happened, this is the step that got shortened.
Match your temperatures. The foot, the glue and the shoe should all be at roughly the same temperature. In winter that means a heating pad for your cartridges. In summer it means keeping them out of a hot truck. Adhesive stored at extremes (repeatedly heated and cooled in a van through a season) will not perform the way it did when it left us, and no amount of prep rescues it.
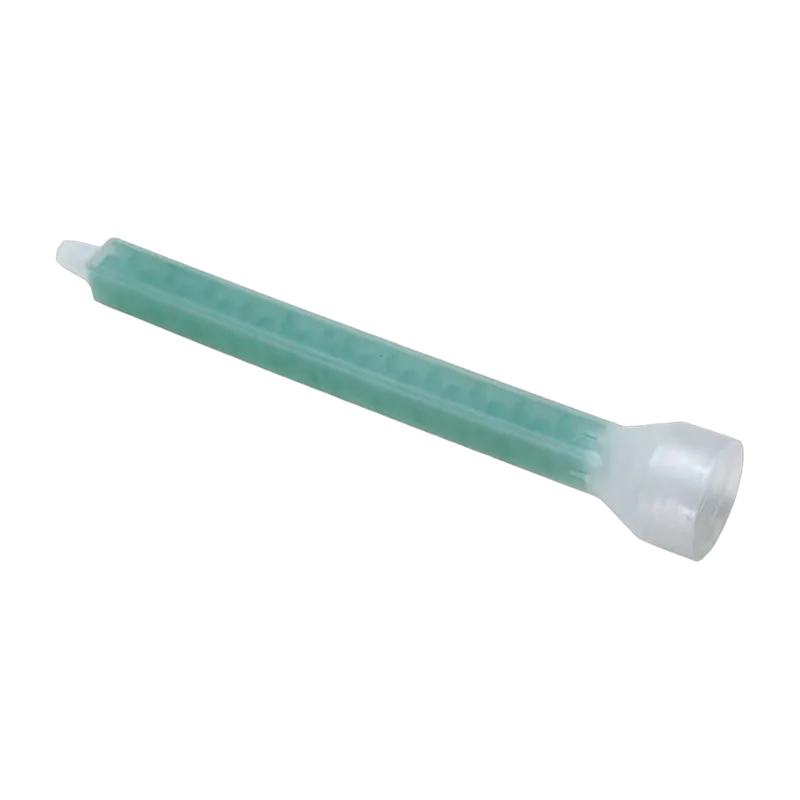
Purge and mix properly. Squeeze the first bit out and throw it away. If the two parts are not fully mixed coming through the nozzle, part of your bond is unset resin.
Give it the time it needs. Ten minutes before you start finishing in normal conditions. Twenty in the cold. It is a long ten minutes when you have three more horses booked, and it is the cheapest insurance you will ever buy.
The four mistakes I see most
Oil on the wall. Hoof dressing, fly spray overspray, coat conditioner, silicone from a grooming product. Owners often apply something the morning of a visit wanting the horse to look smart. Ask them not to. If in doubt, degrease.
A wet horse. More on this below, because it deserves its own section.
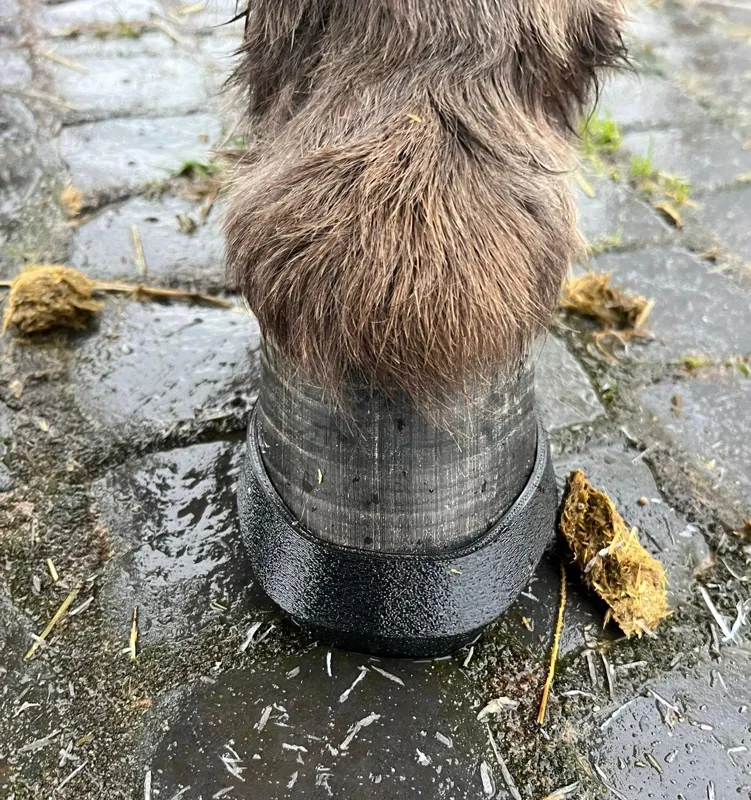
The wrong size. If the cuff stands well off the wall, check the size before you glue. Acrylic glue will fill a small gap where a foot falls between sizes, but a large gap is a lever, and a lever will find its way off the foot.
Rushing the settle. One thing that came out of that Florida thread and has stuck with me: let the horse stand in the shoe for a few minutes before you commit the adhesive. Let them find their own weight distribution. A shoe glued on while a horse is holding a limb differently to how they will stand on it is a shoe under load it was not fitted for.
The wet horse problem
You cannot glue to a wet foot. Not with better technique, not with more product, not with a stronger adhesive.
A hoof that has been standing in a wet field all night is saturated well below the surface. A torch will dry the outermost fraction of a millimeter and the moisture underneath will migrate straight back out into your bond as it cures. You may get it to stick. You will not get it to last.
The practical answer is scheduling, not chemistry. A foot that has dried out overnight for a morning appointment, or dried from early morning for an afternoon one, will take glue far better than the same foot straight out of mud. This is a conversation to have with owners when you book, not when you arrive.
It is worth being honest with clients about this. If they understand that their horse standing in a flooded paddock is the reason the shoe came off, they will do something about the paddock. If they think the product failed, they will change the product and have exactly the same problem again.
What about super glue versus acrylic?
Both have a place, and the community argues about it constantly.
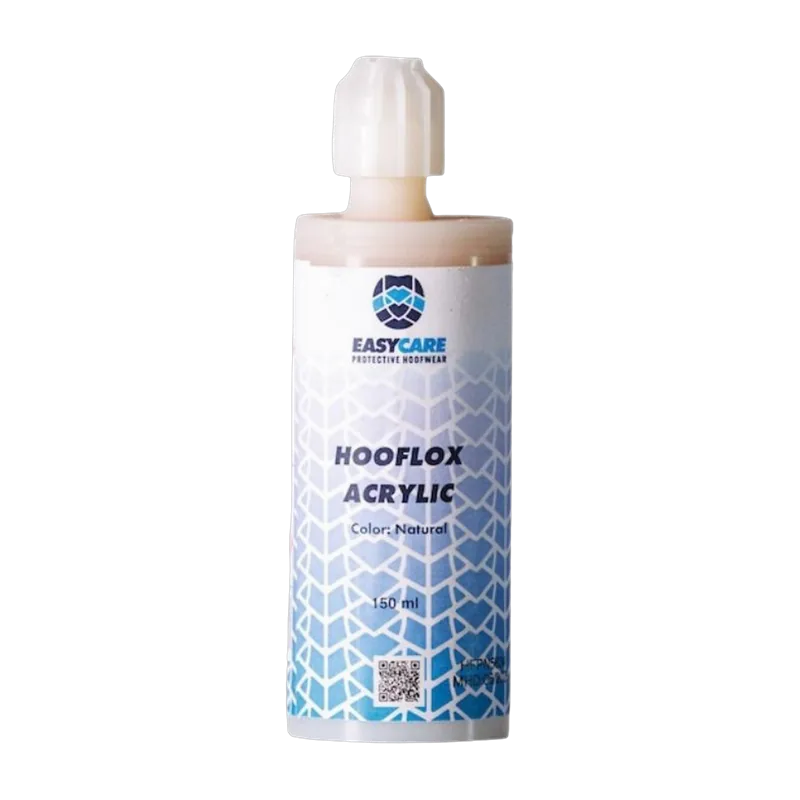
Acrylics generally give you more working structure and hold up better where you need the bond to carry real load.
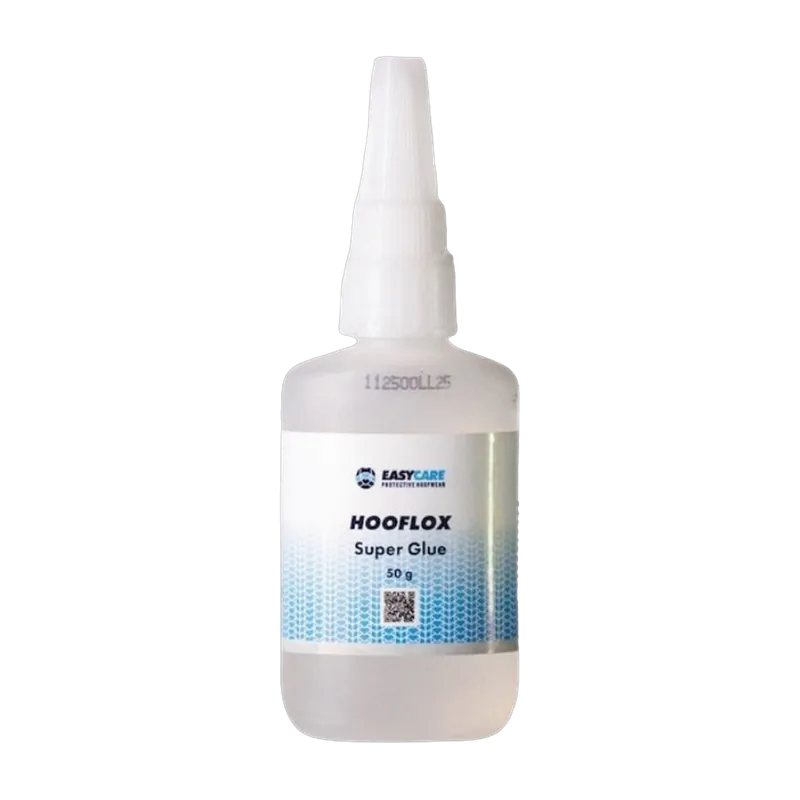
Super glue and activator systems are quicker and are what many people reach for when stocking acrylic is not practical. One farrier posted that his clientele would not accept cuff-style shoes and he could not justify stocking acrylic, so he had to make super glue work. That is a real constraint and there is no point pretending otherwise. It can be made to work; it just leaves you less margin for error on prep, which brings us back to where we started.
For wet environments, one technique worth knowing: finish the dorsal wall with super glue to around five to ten millimeters below the hairline. It seals the top edge of the application where water otherwise tracks in.
When it still comes off
Sometimes you do everything right and a horse still loses a shoe. A horse that pulls shoes in the field is a management problem as much as a farriery one: bell boots that actually fit, turnout companions that are not playing rough, and honest expectations about what any adhesive can survive.
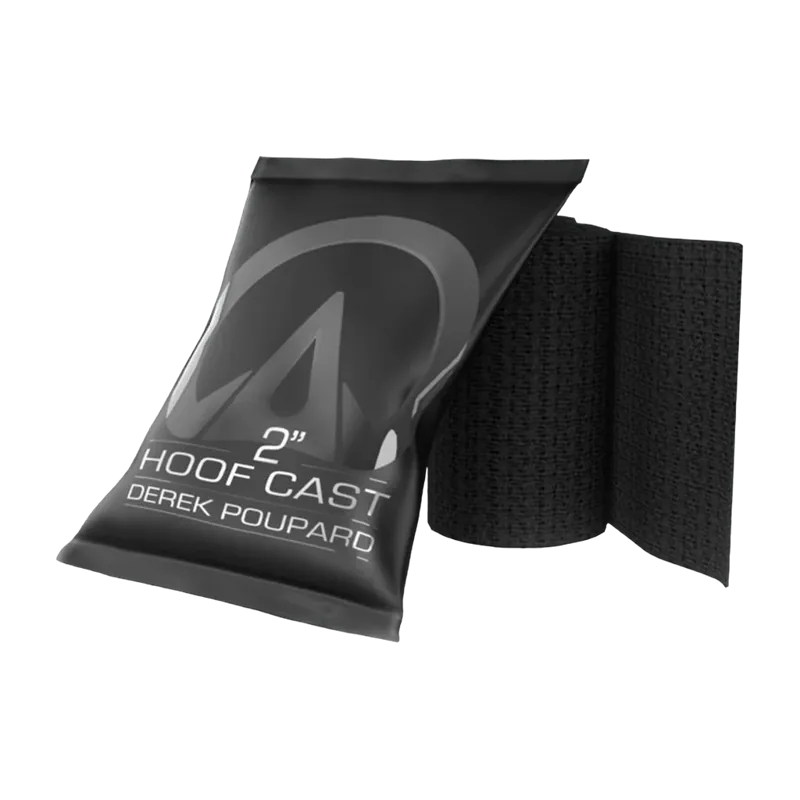
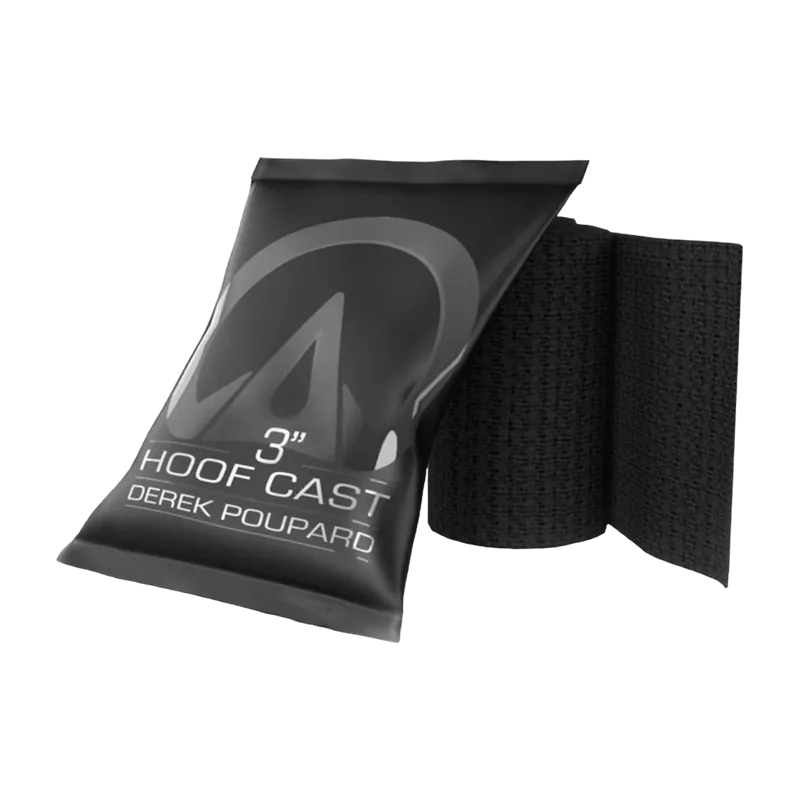
And there is a point at which the answer is a different approach entirely rather than a better bond. If a foot is compromised enough that there is not sufficient sound wall to glue to, no adhesive will save it. That is when casting, or a pad system that does not rely on wall adhesion alone, becomes the more sensible route.
The short version
Rough it properly. Wire brush and torch three times. Match your temperatures. Purge your nozzle. Let it cure. Do not glue to a wet foot, an oily foot, or the wrong size.
None of that is complicated. All of it is easy to shorten when you are running late, and shortening it is what puts shoes in the long grass.
Derek Poupard CJF DipWCF has been shoeing horses for over forty years, from South Africa to Godolphin's racing operations, and was inducted into the International Horseshoeing Hall of Fame in 2024. He leads product development at 3D HoofCare.
Sources: EasyCare Glue-On Best Practices, American Farriers Journal