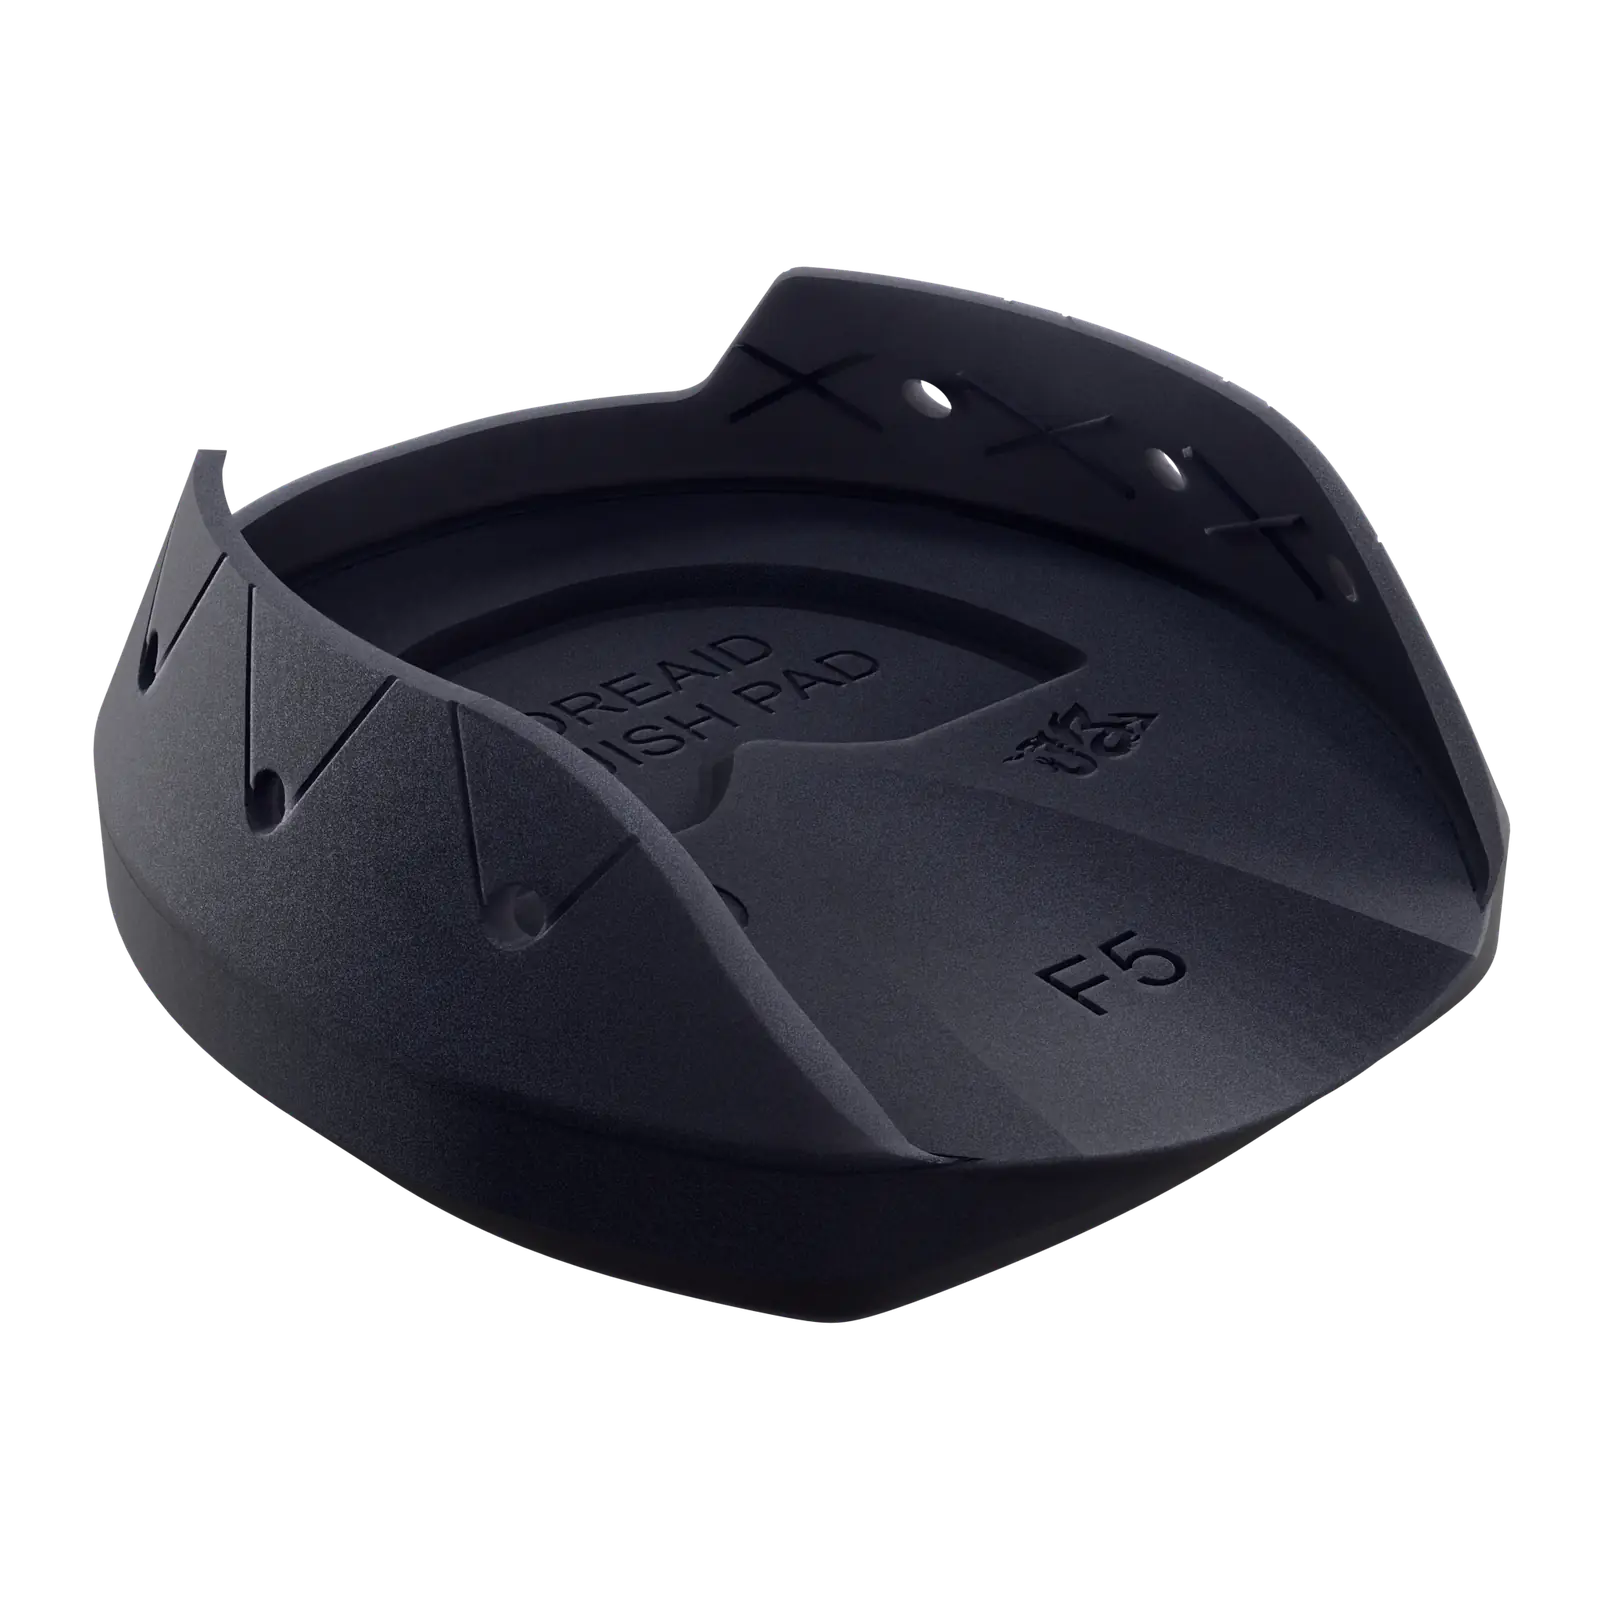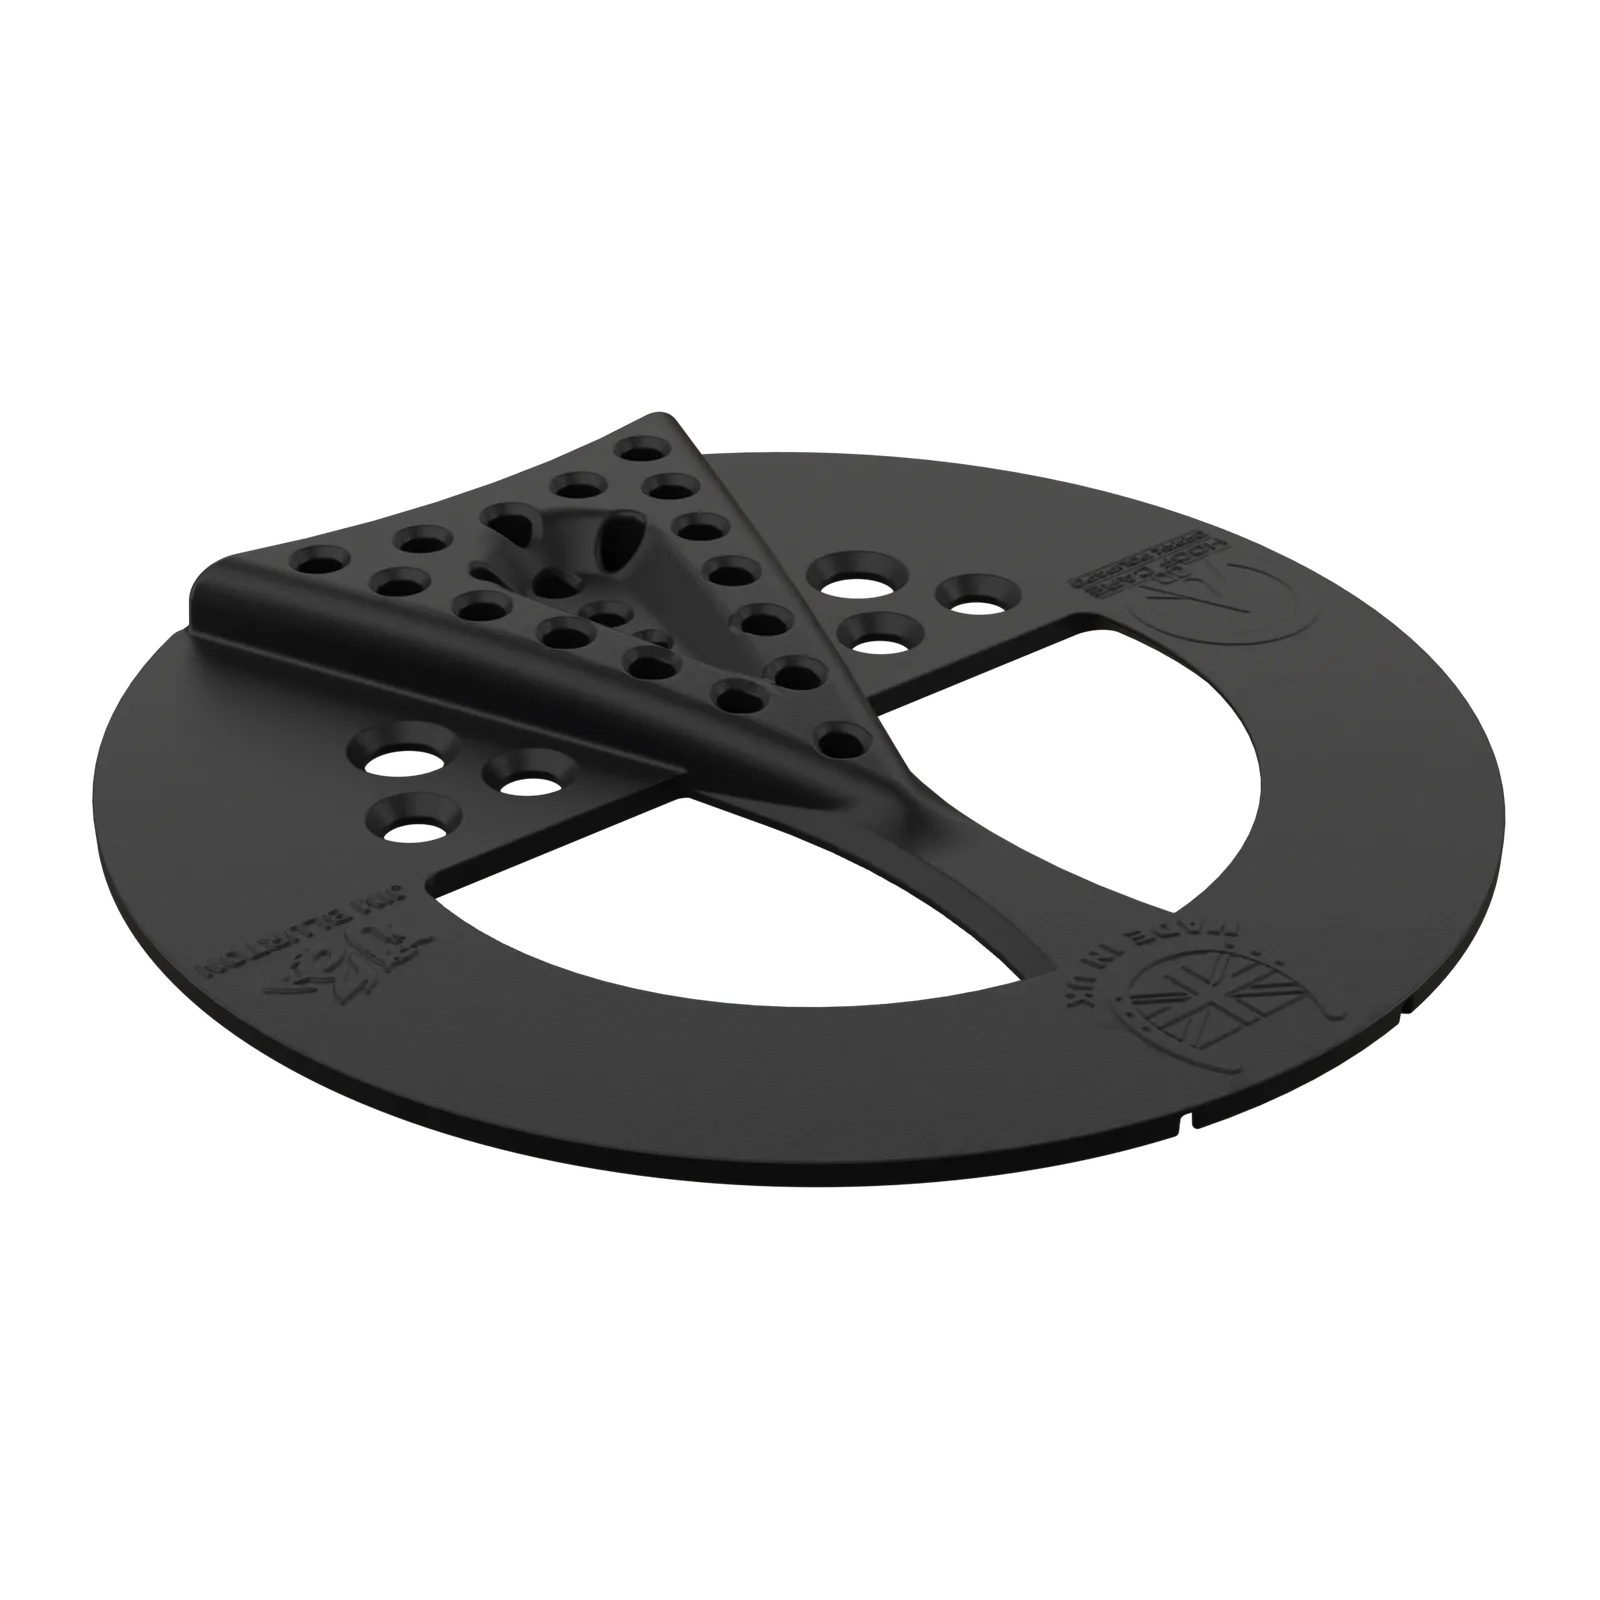

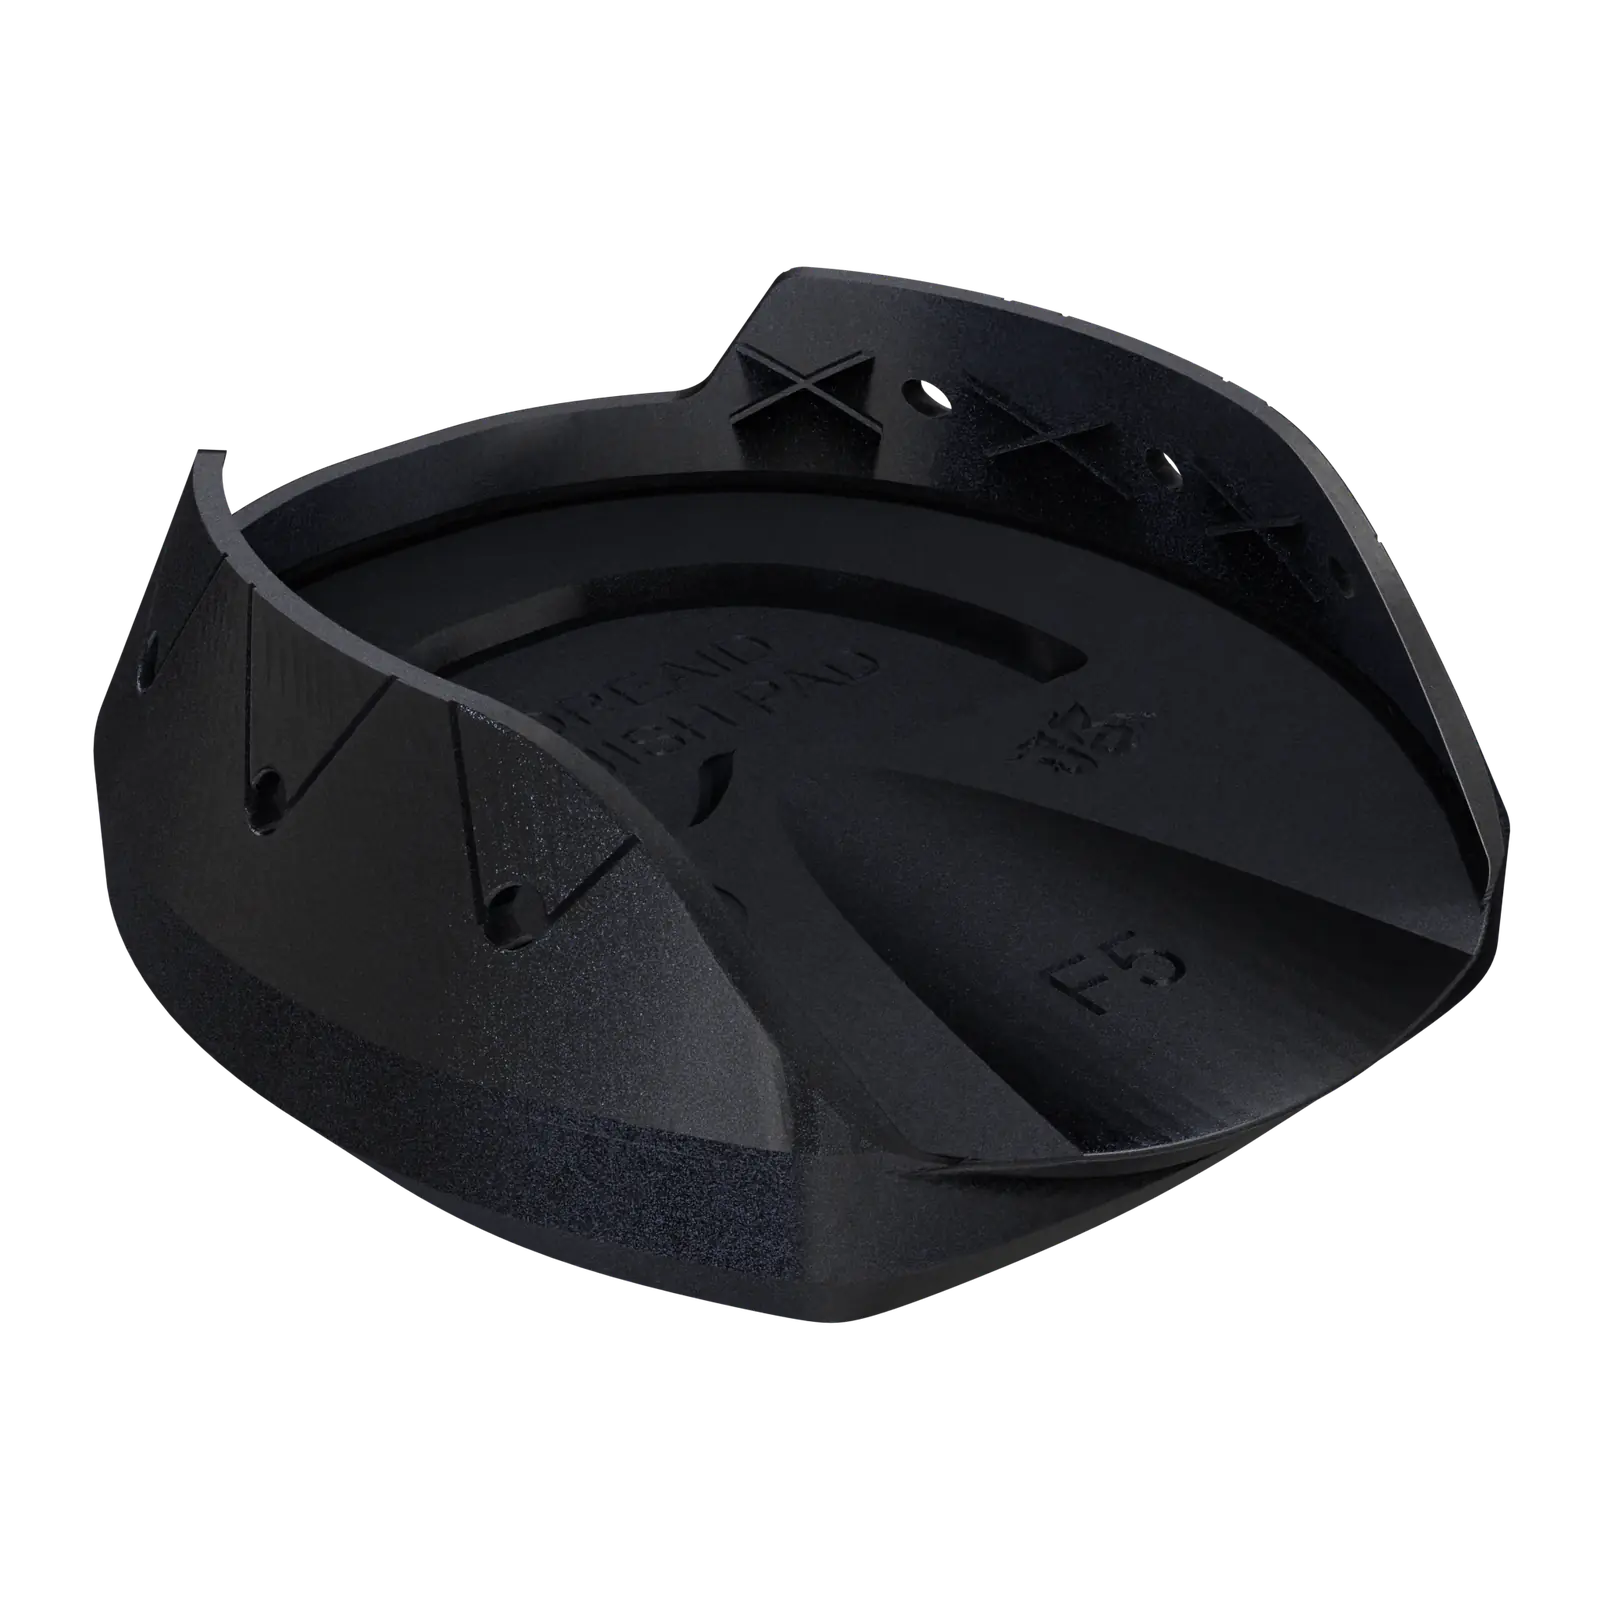
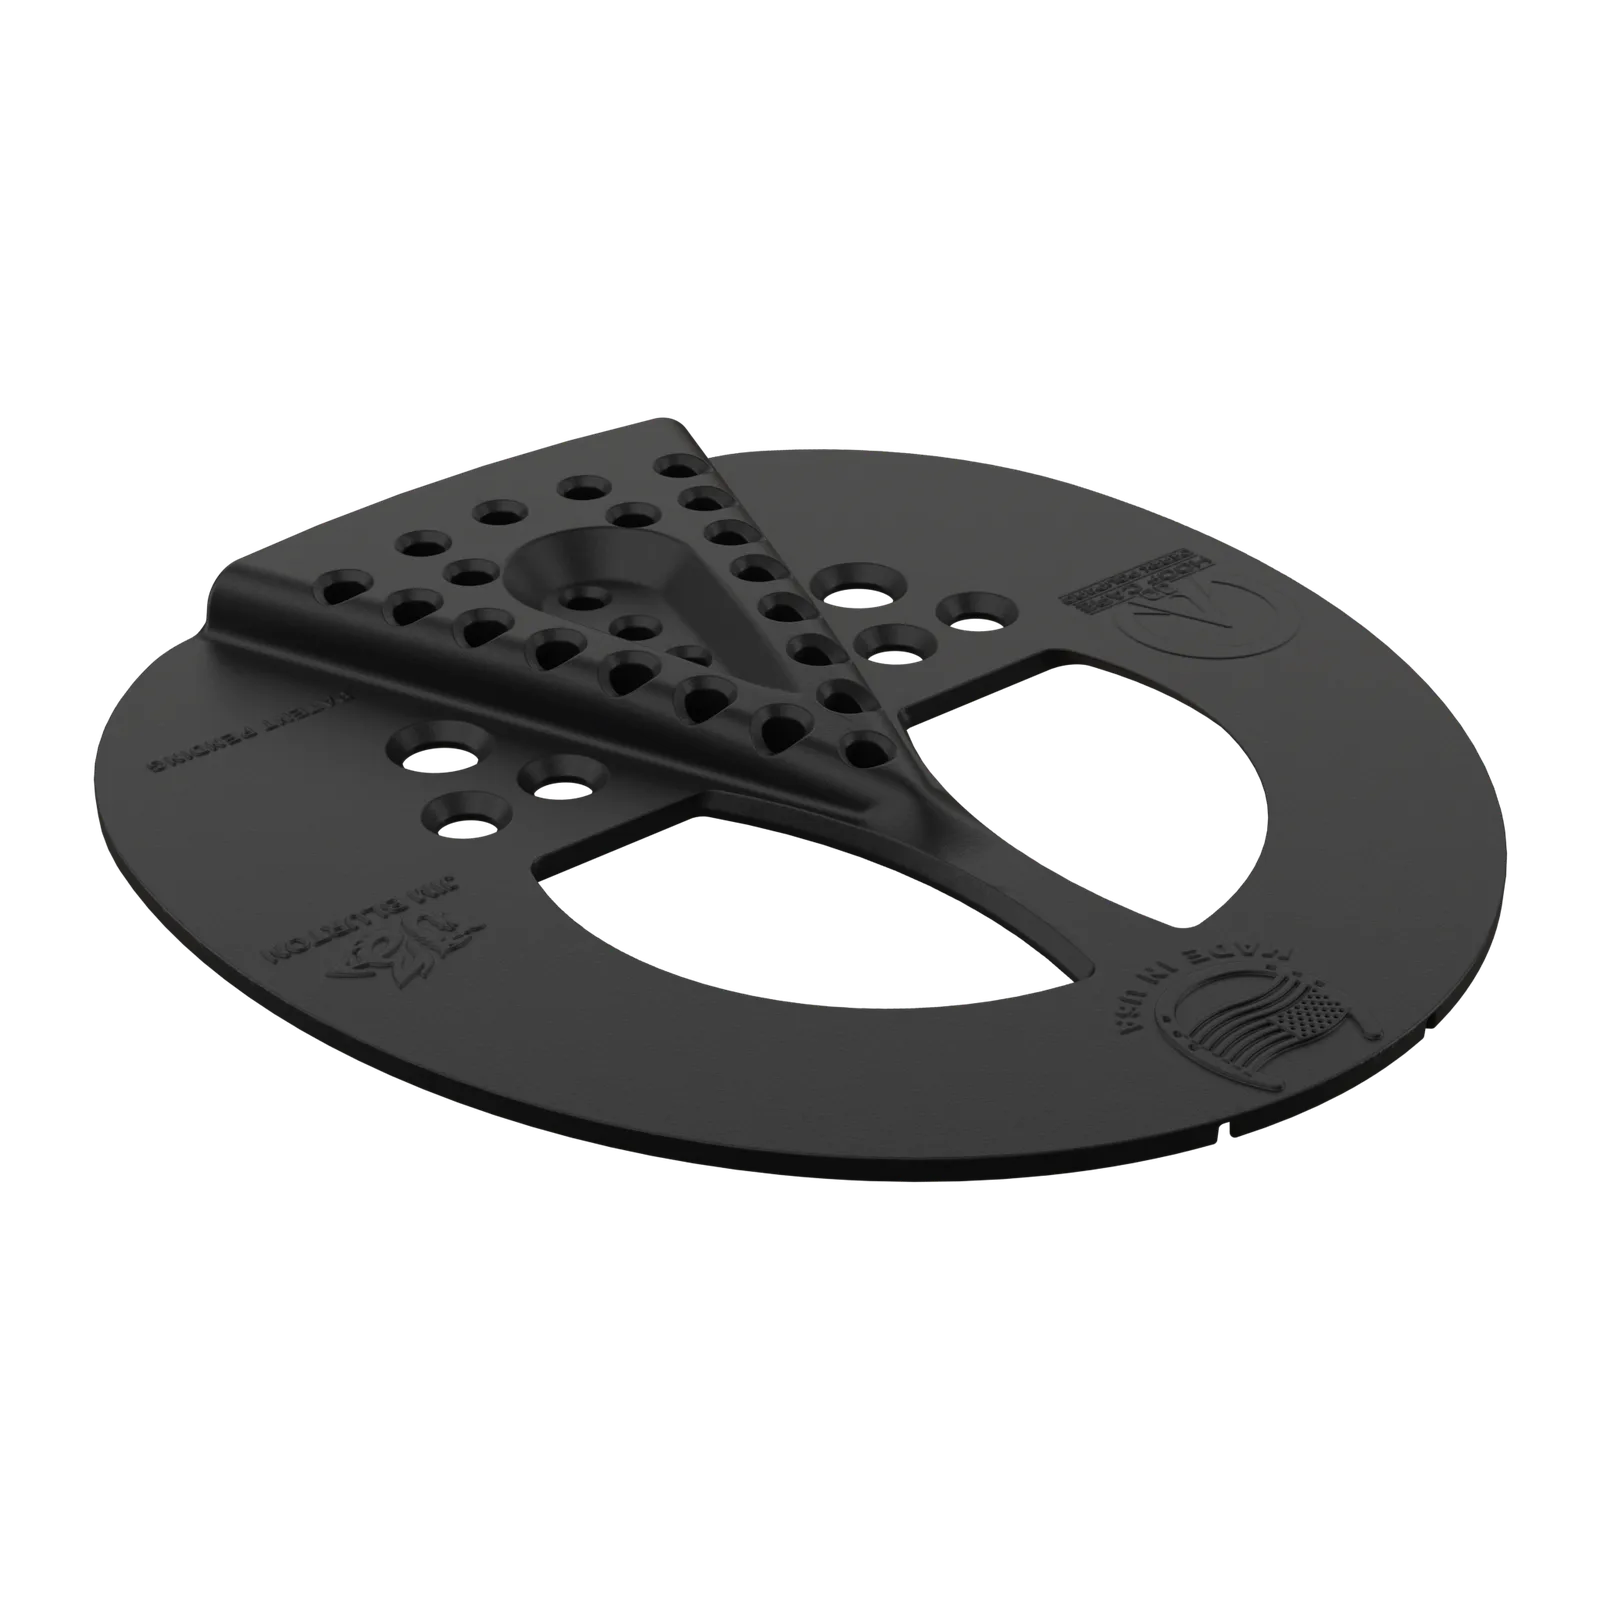

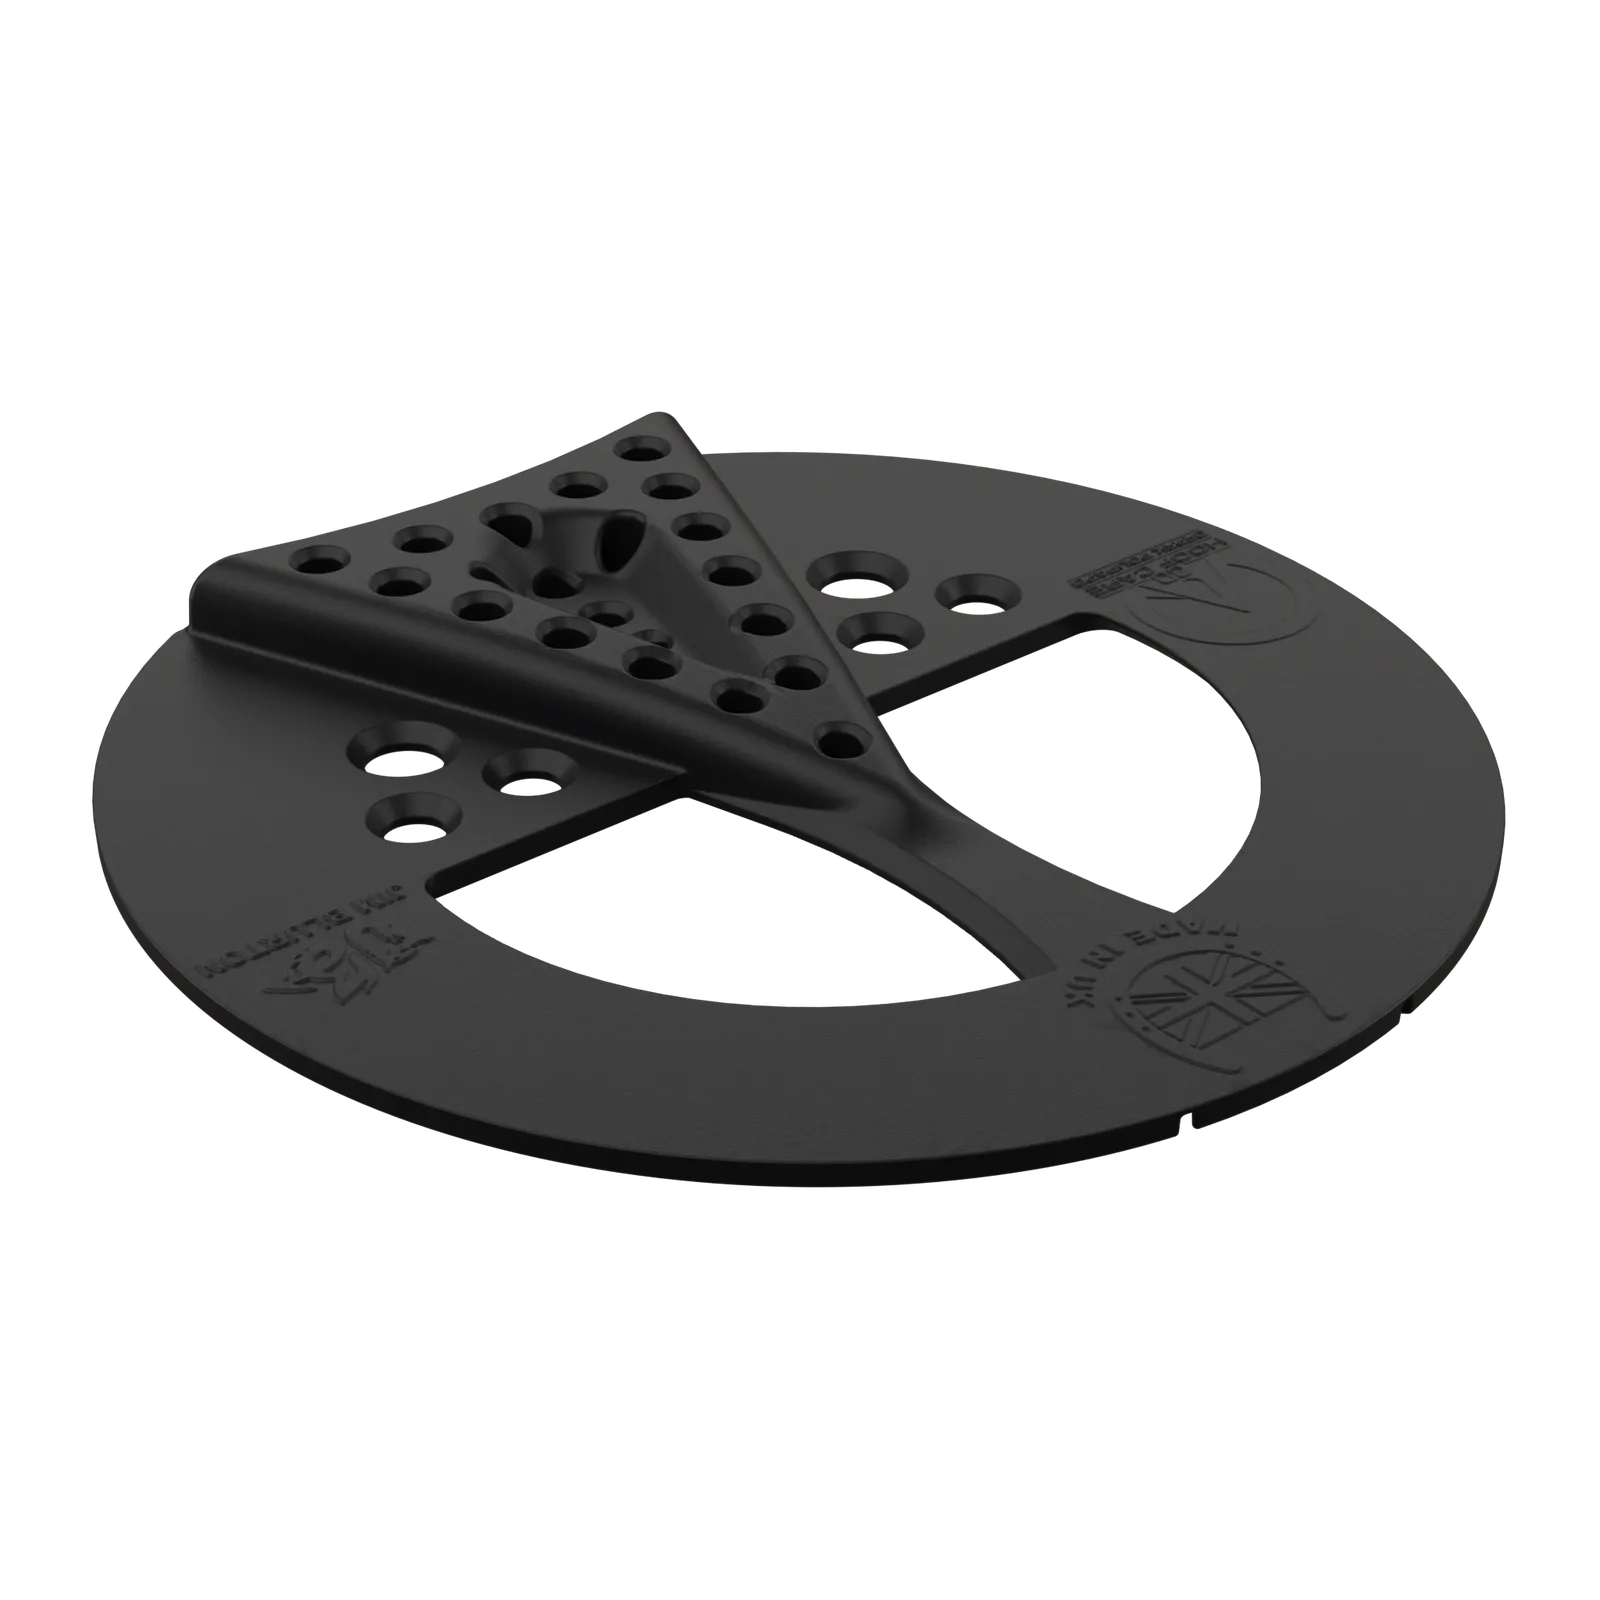
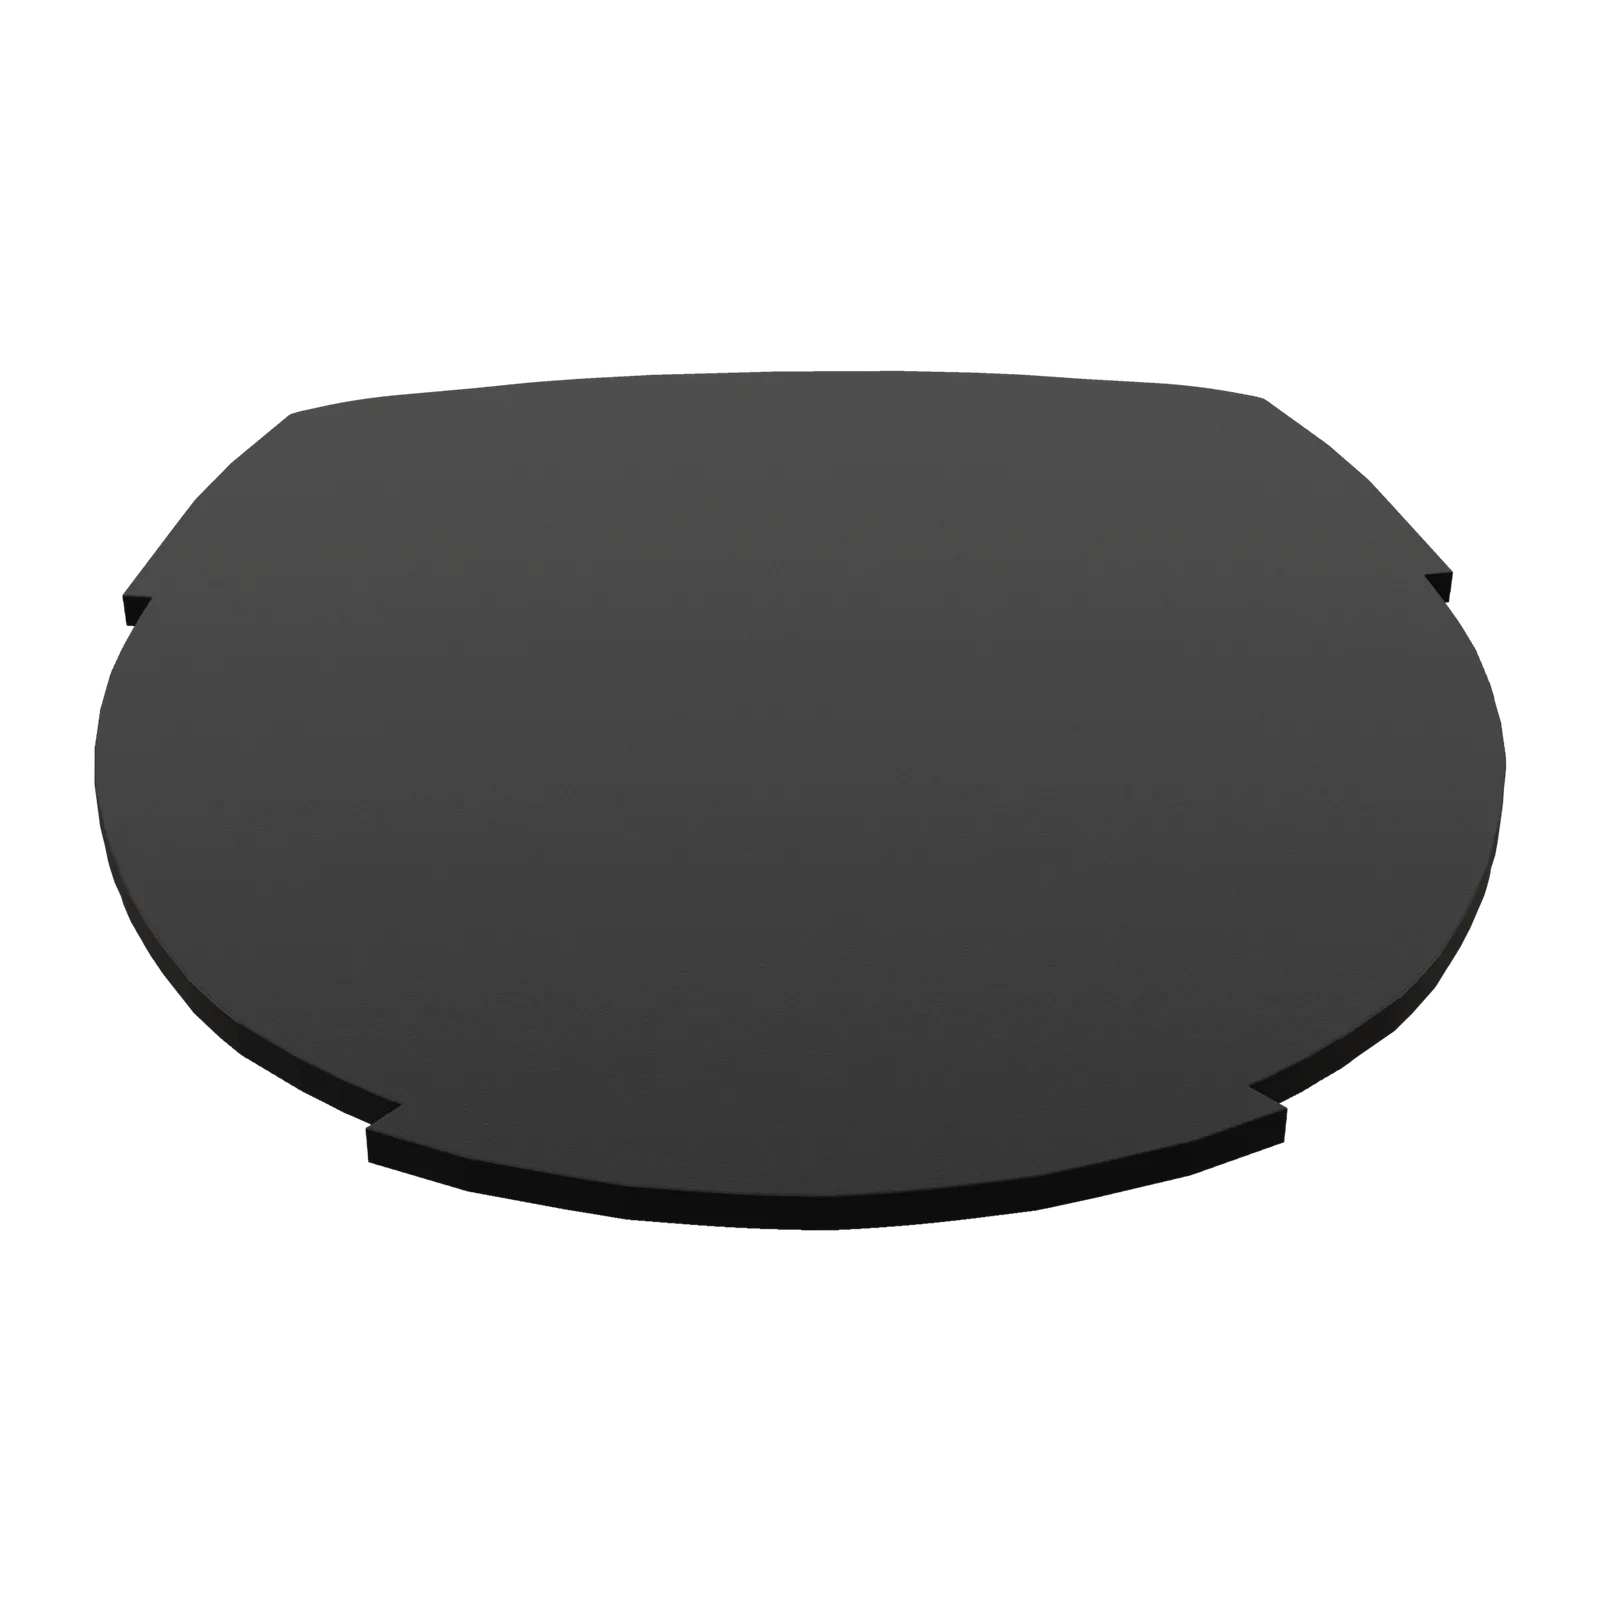





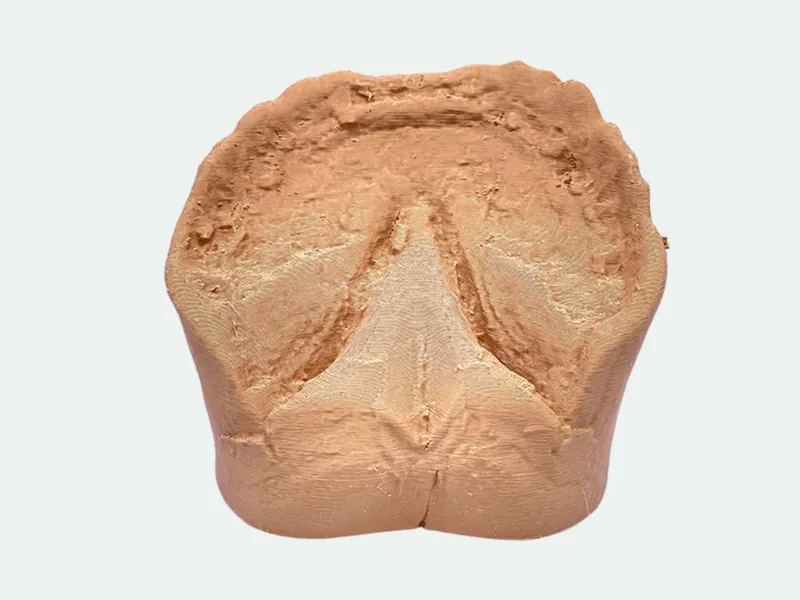
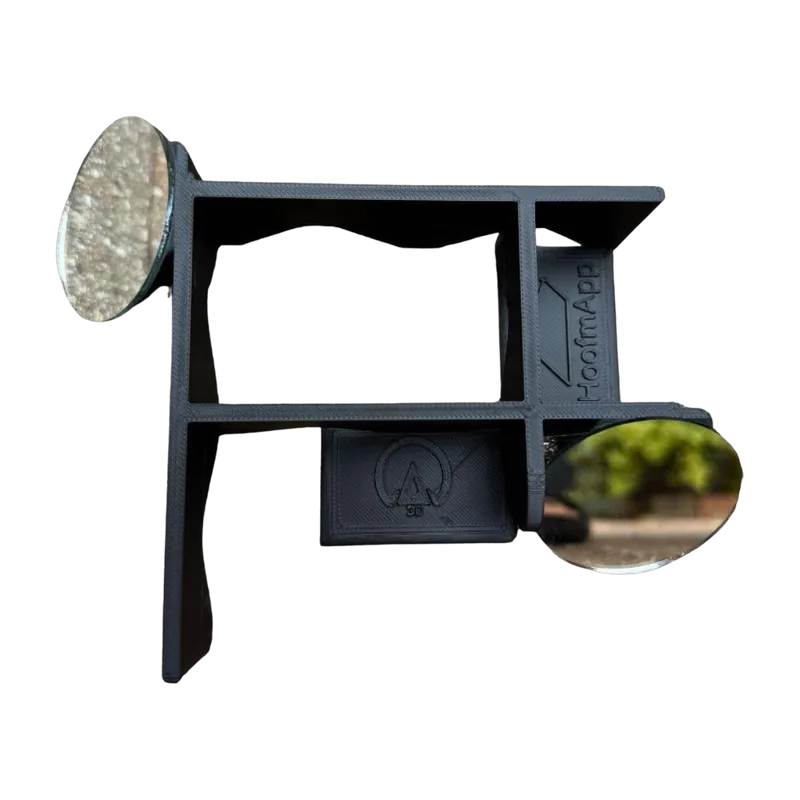
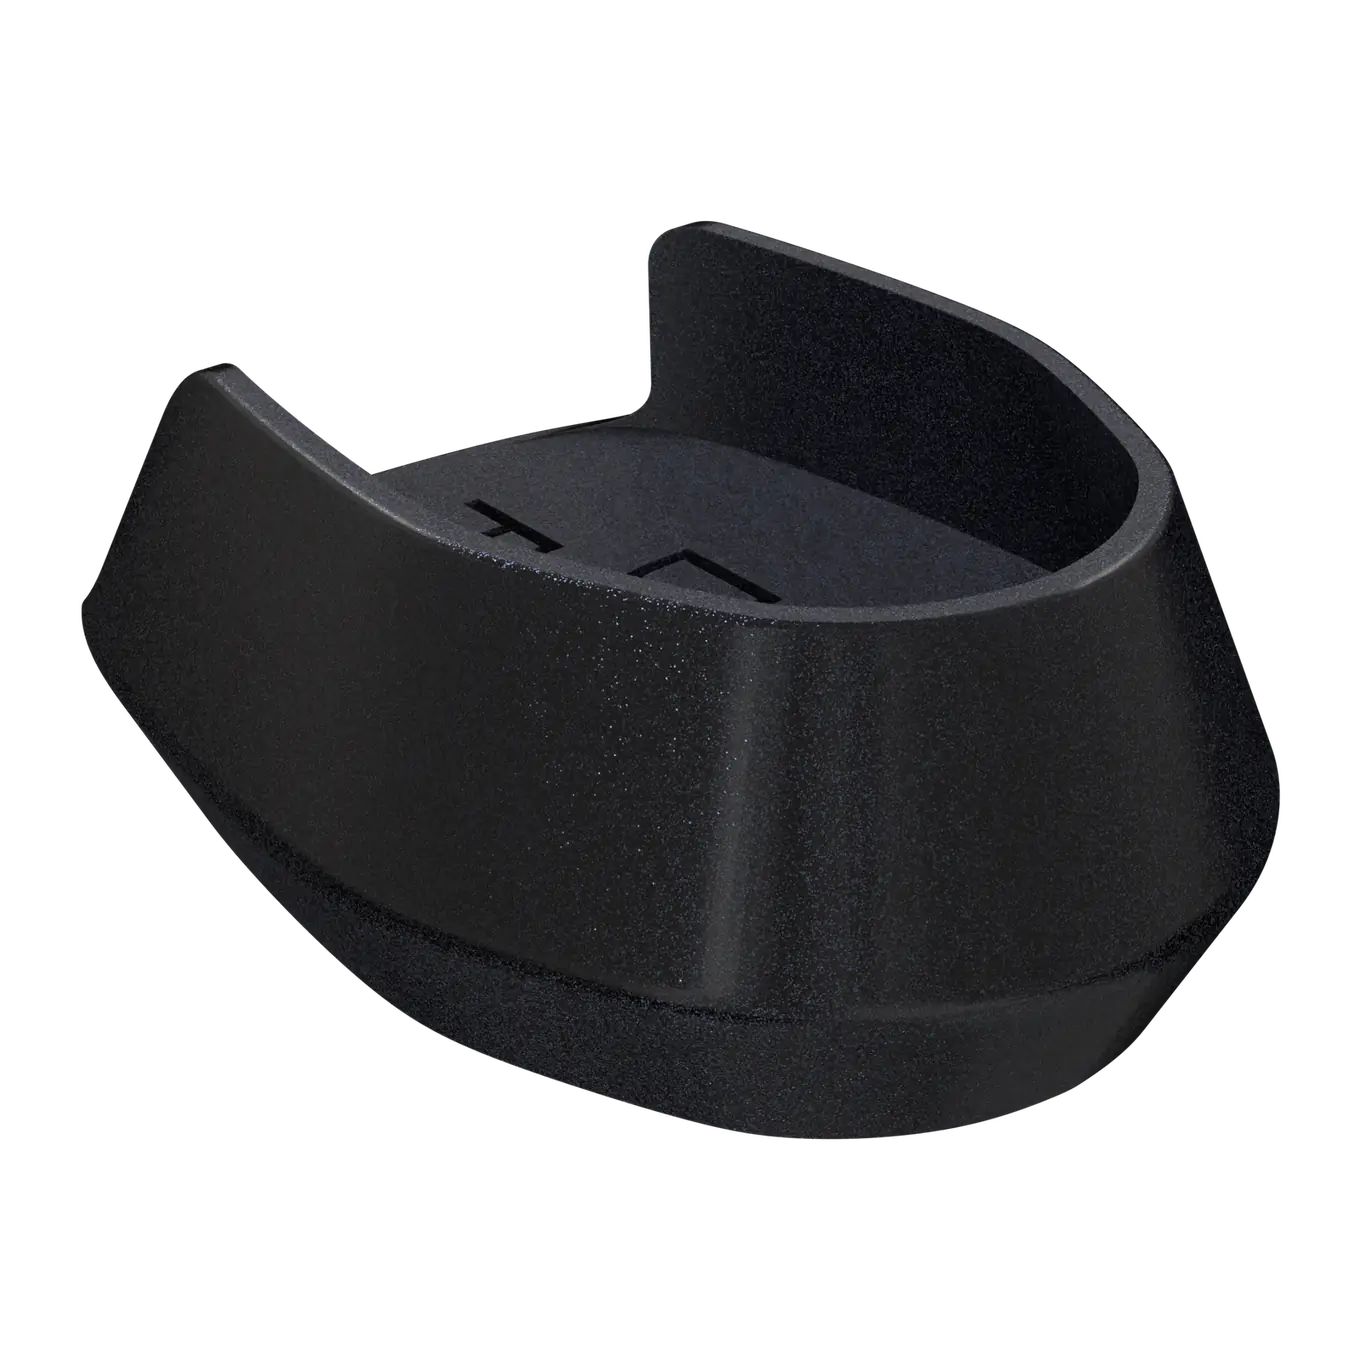
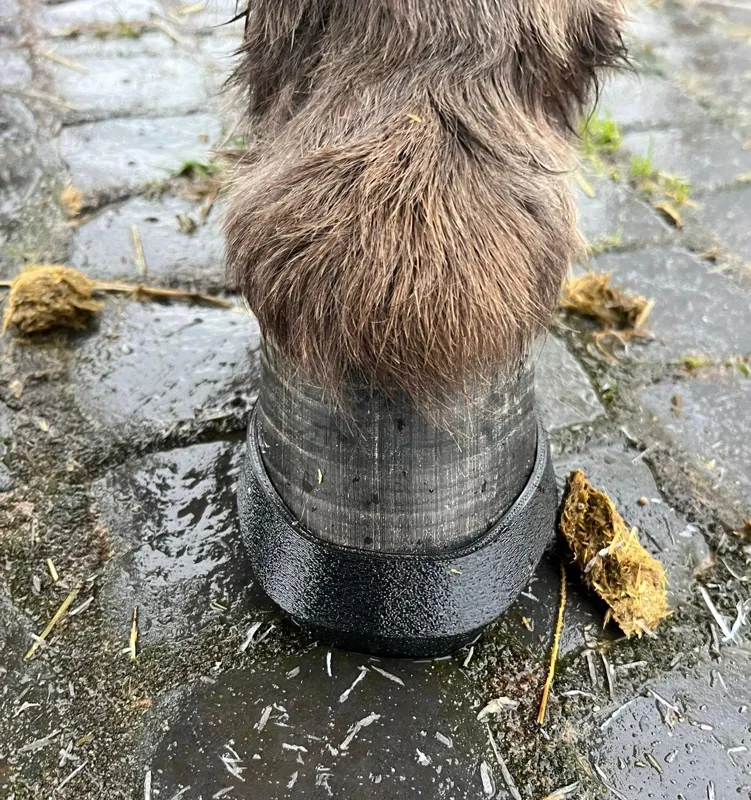


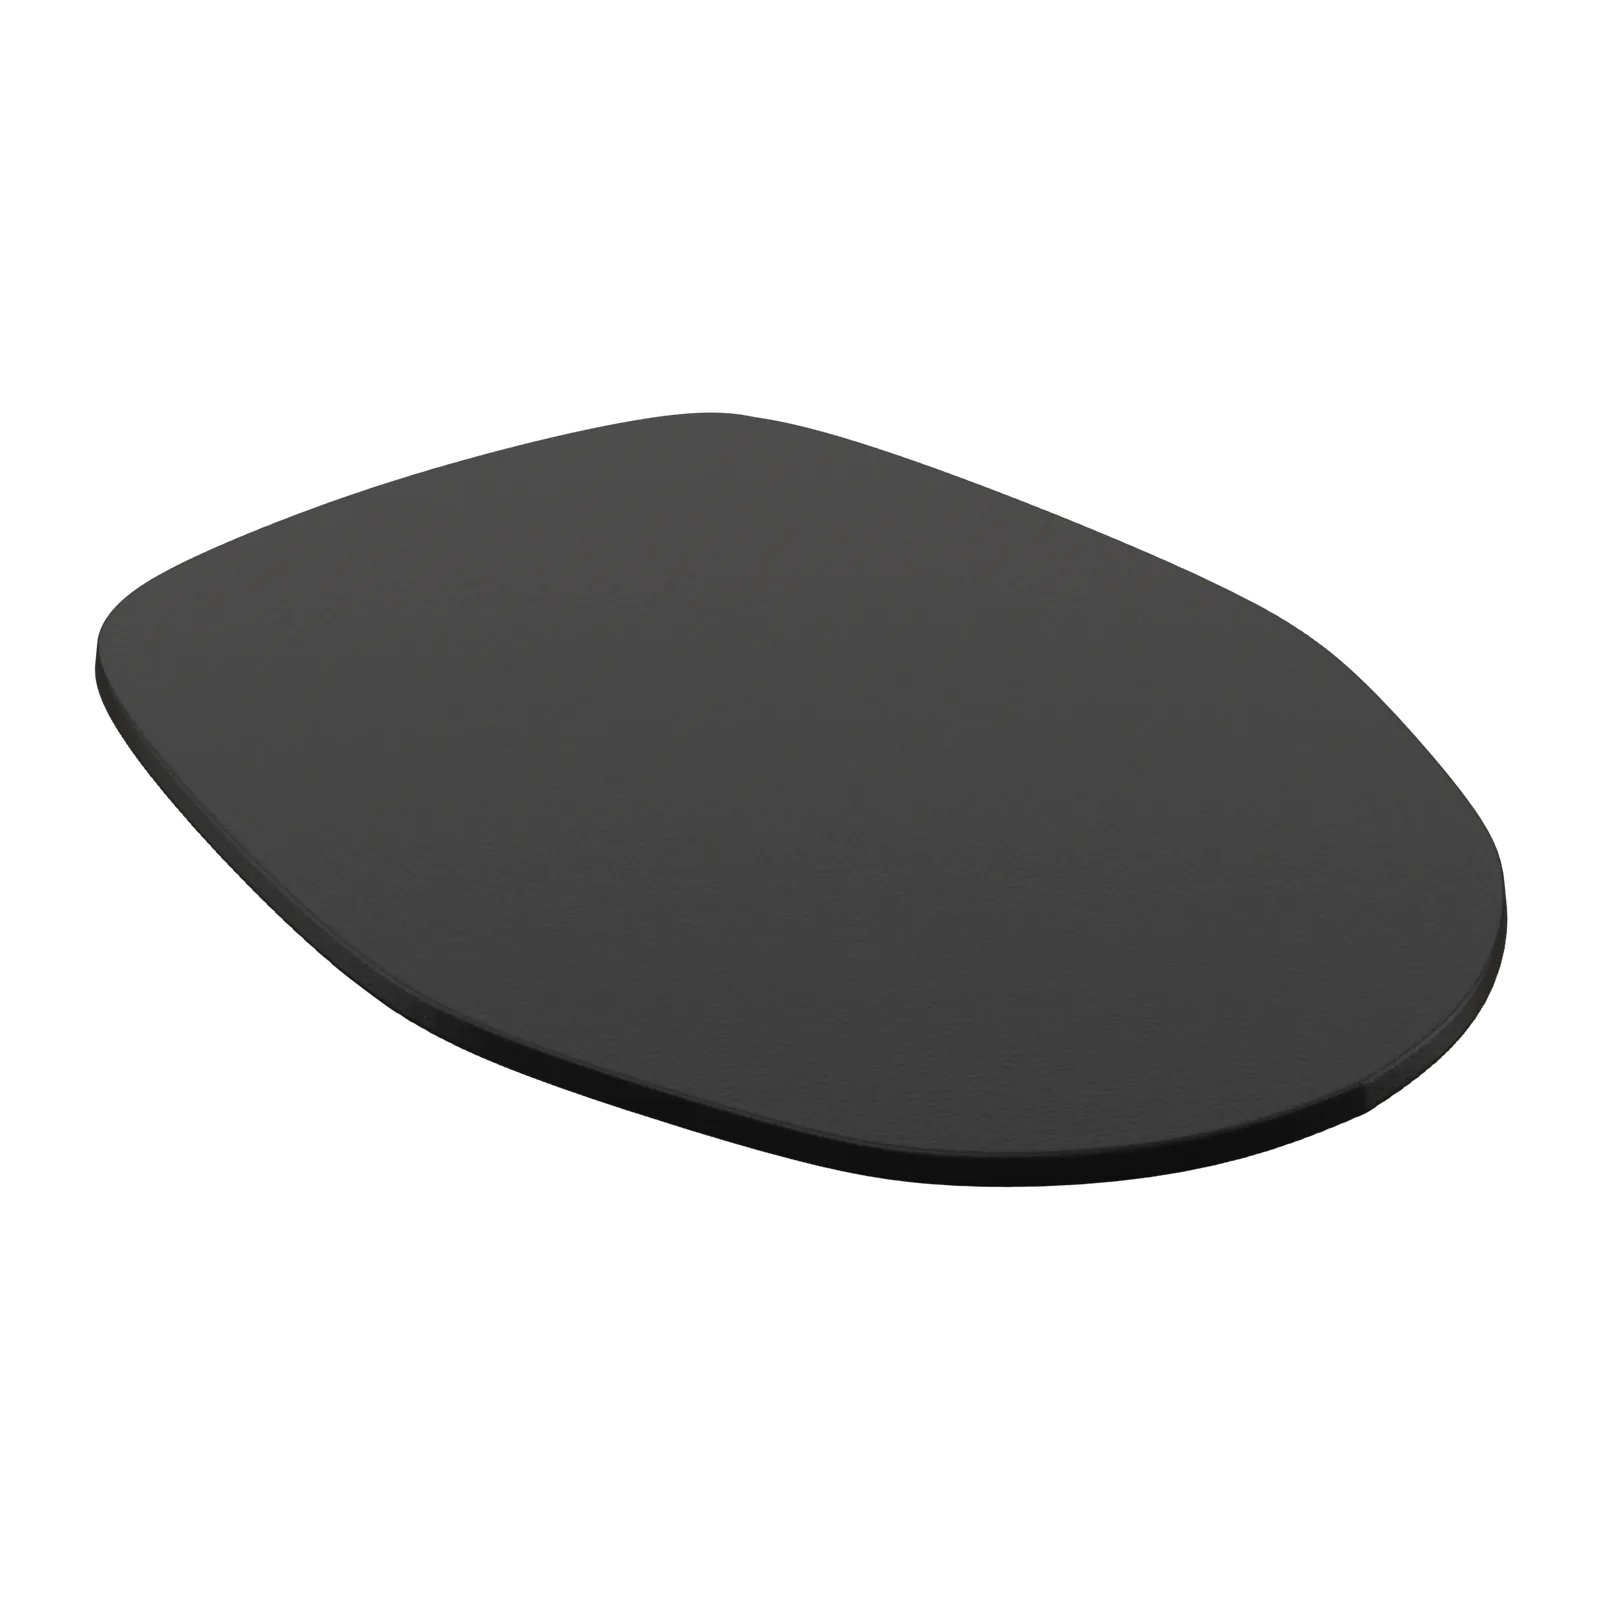
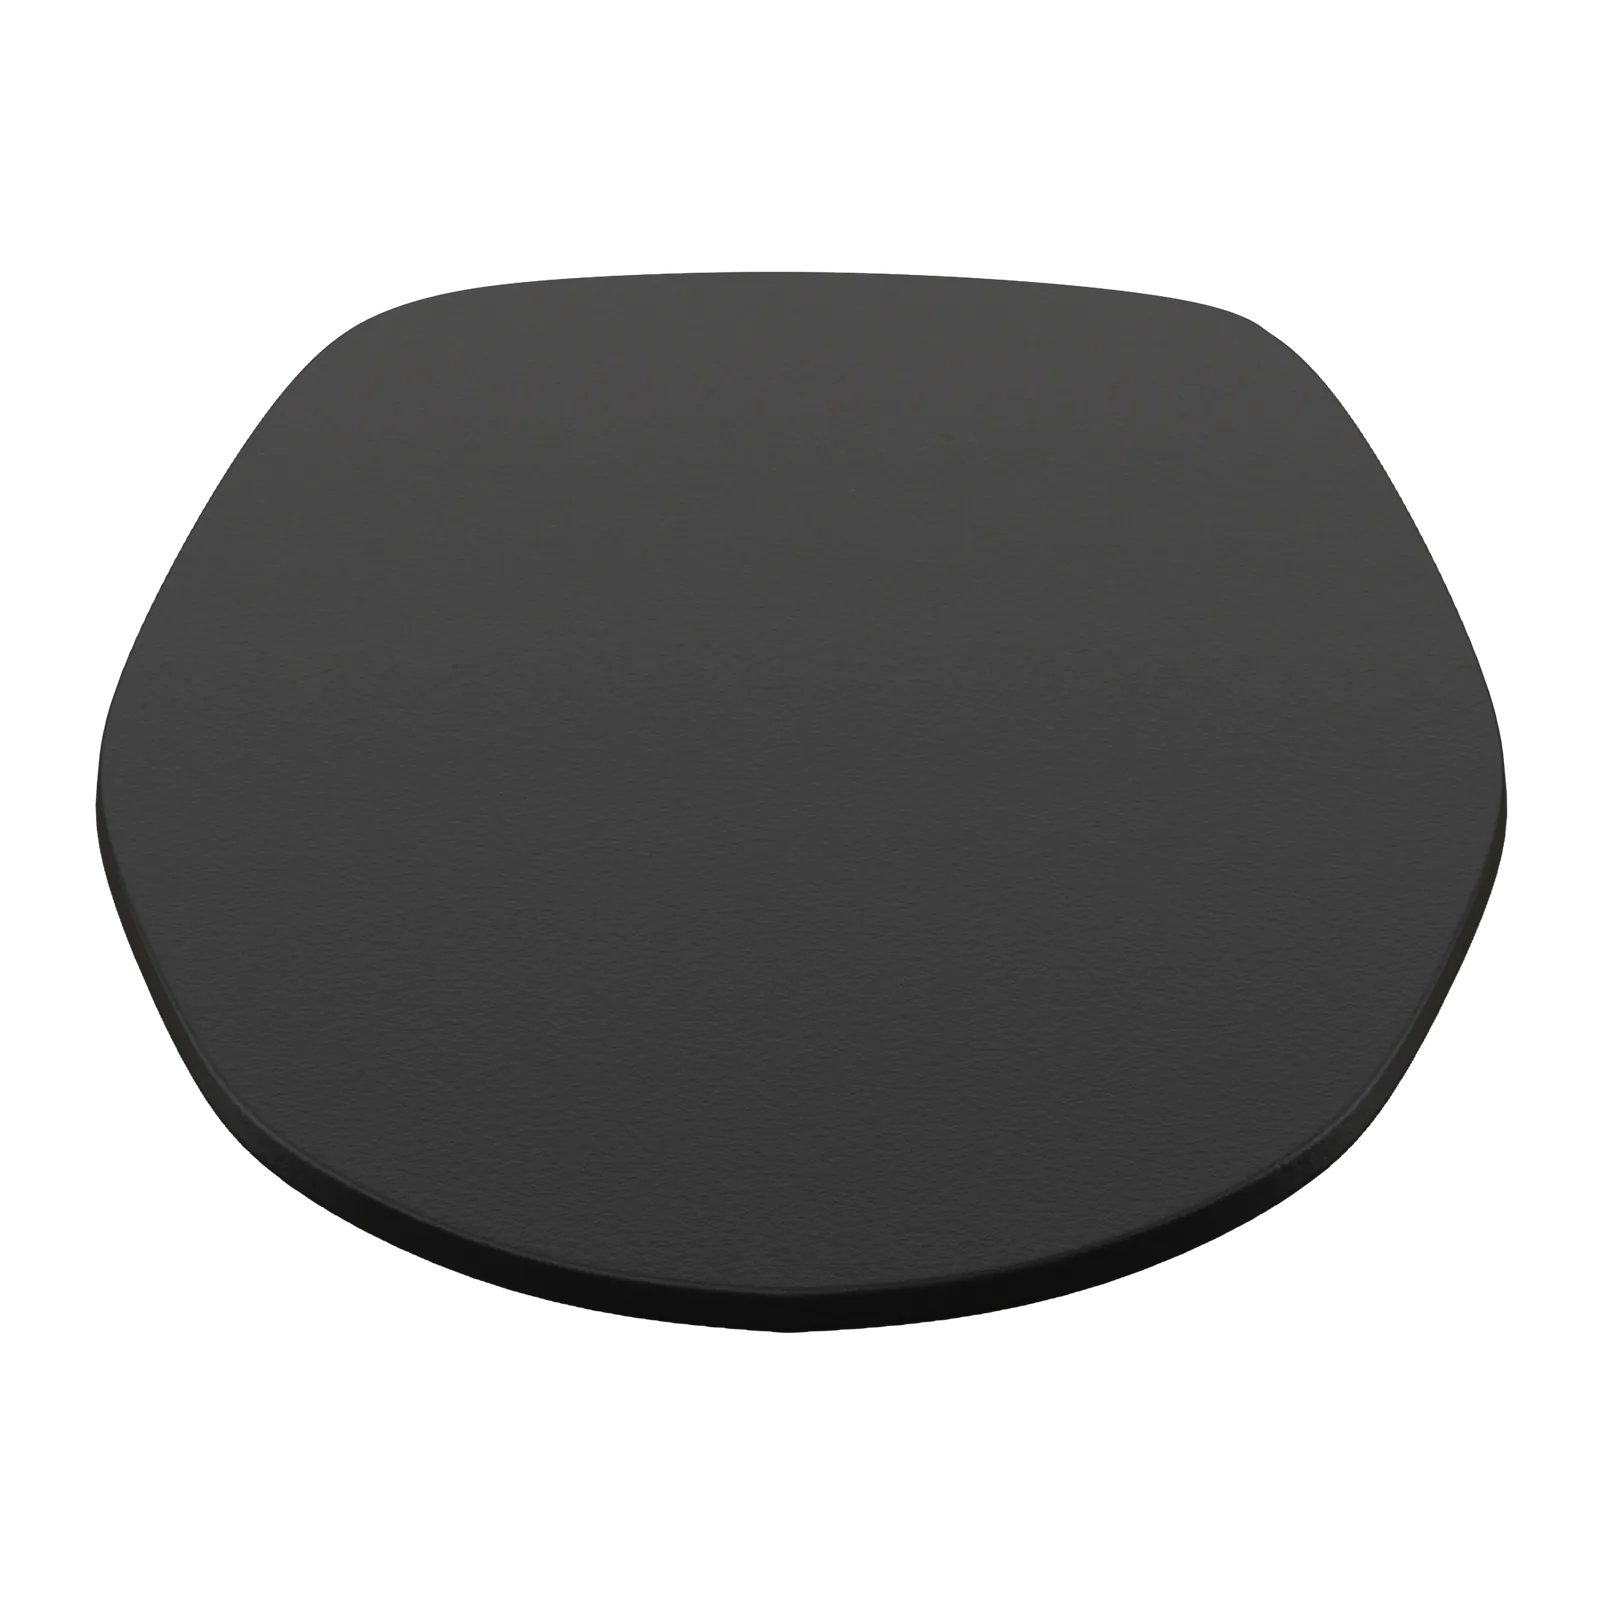
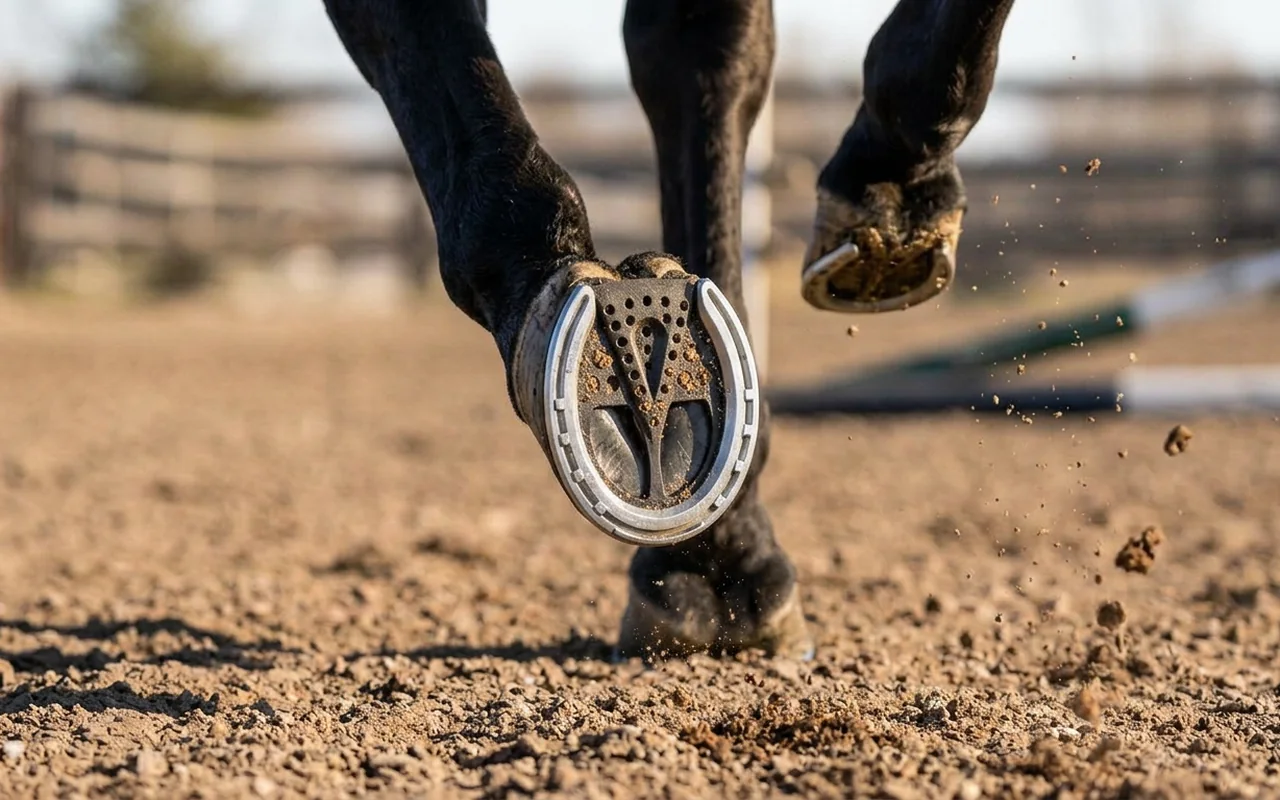
A product photo tells you what a pad looks like on a table. It does not tell you what it looks like on a foot, how thick it is at the heel, where the cuff ends, or whether the insert you are about to order actually sits inside the pad you already own. We have answered those questions by message thousands of times. So we started answering them on the page instead.
Every pad, shoe and insert on this site now has a fit film and a set of rendered fit views. This is what they are and how to use them.
Why we render instead of photograph
Two reasons. The first is honesty. A photograph of a product on a real hoof shows you one horse, one trim, one farrier's finish, on one day. It is a good photo of that application. It is not a reliable guide to yours. A rendered hoof is the same hoof every time, trimmed level, at a stated size, so when you look at a Half Mesh pad and then a Full Mesh pad you are comparing the products, not the feet.
The second is that the products are designed in 3D to begin with. Derek draws every part in the same software it is printed from. The render is the actual part geometry, not an approximation of it, so what you see is what comes off the printer in Sarasota.
The four views
Each fit set has the same four frames, in the same order, for every product. Once you have read one set you can read them all.
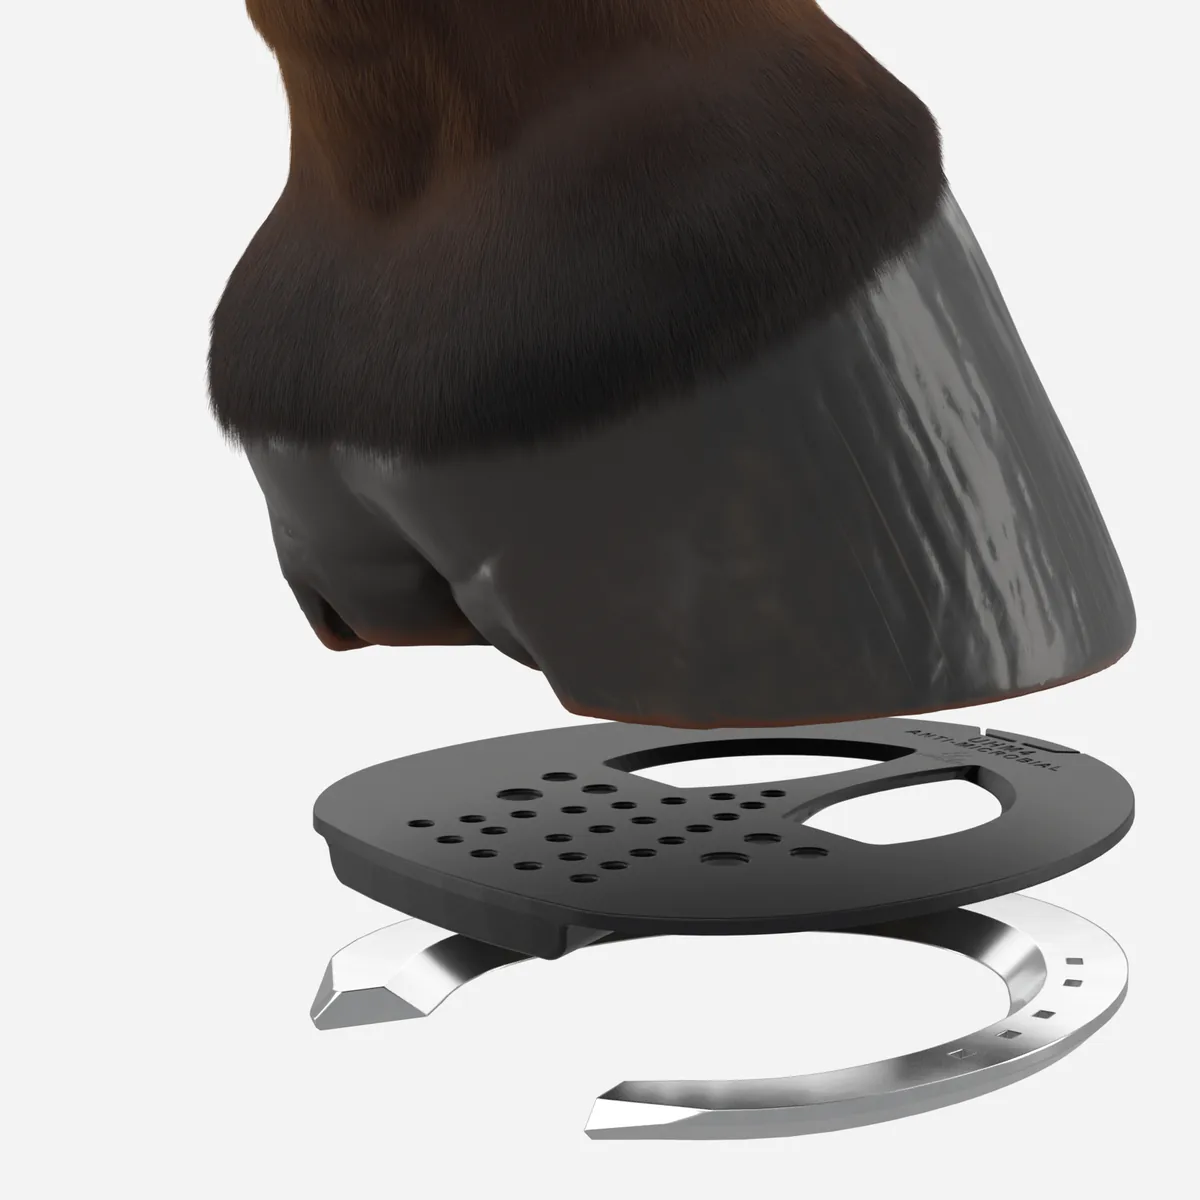
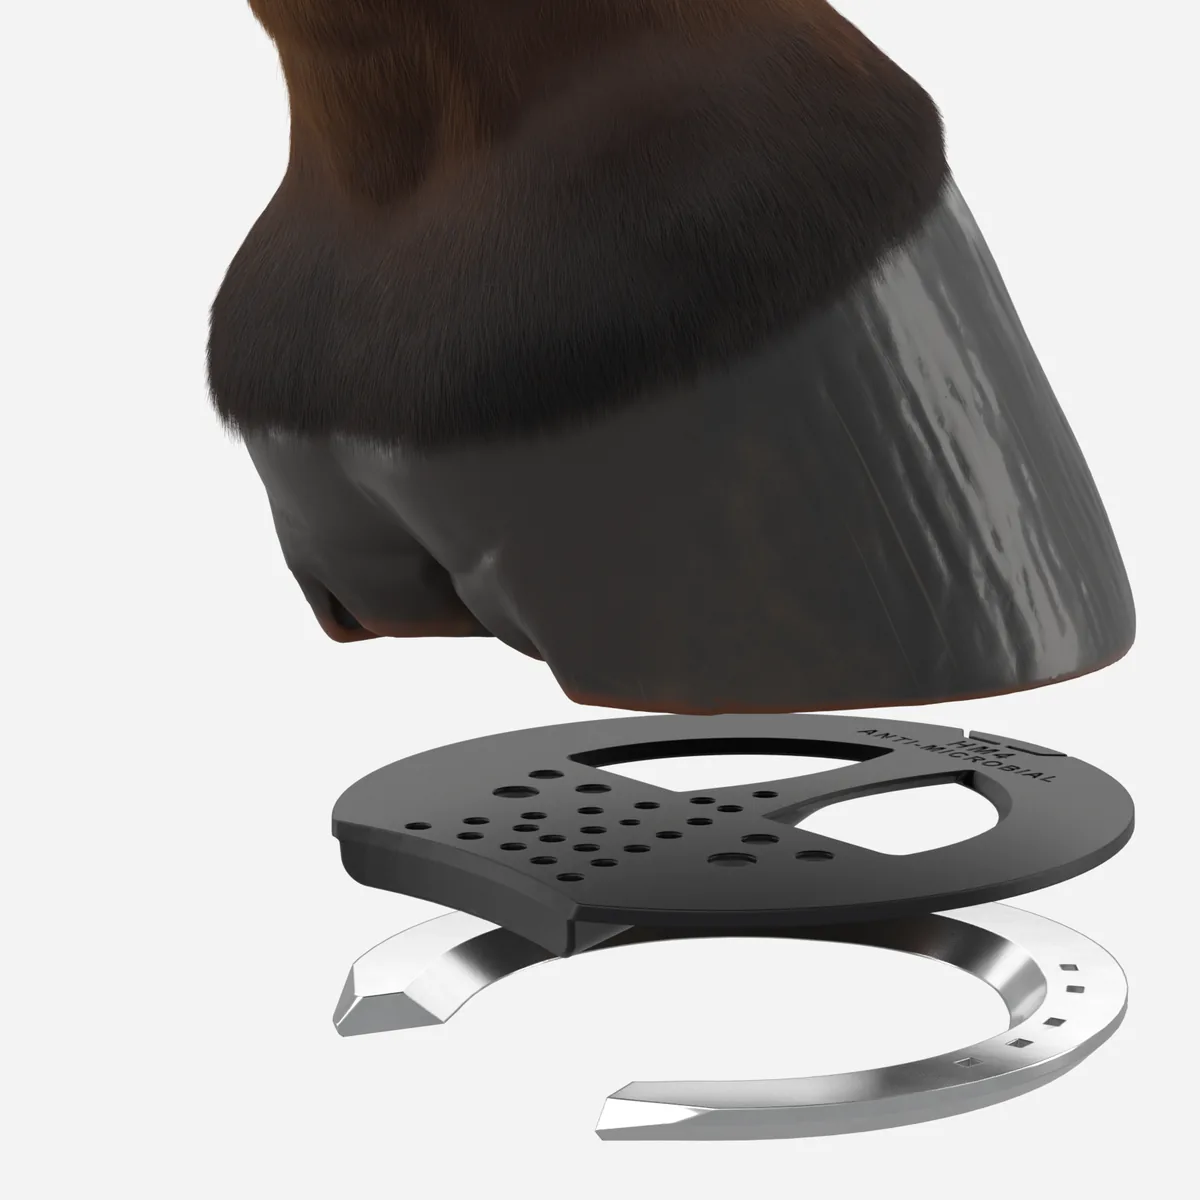
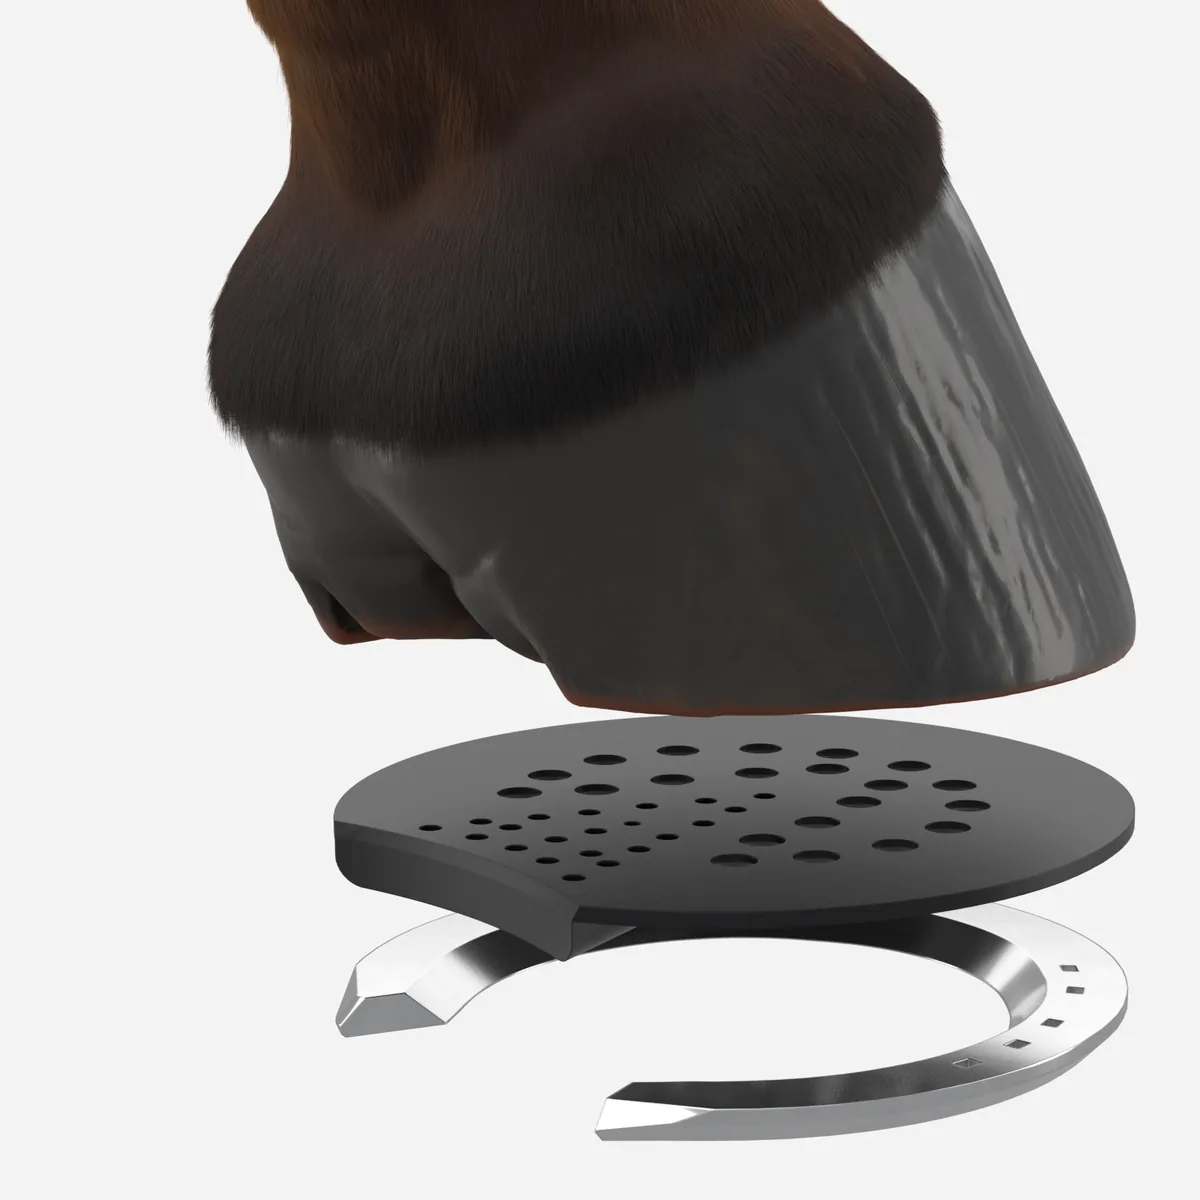
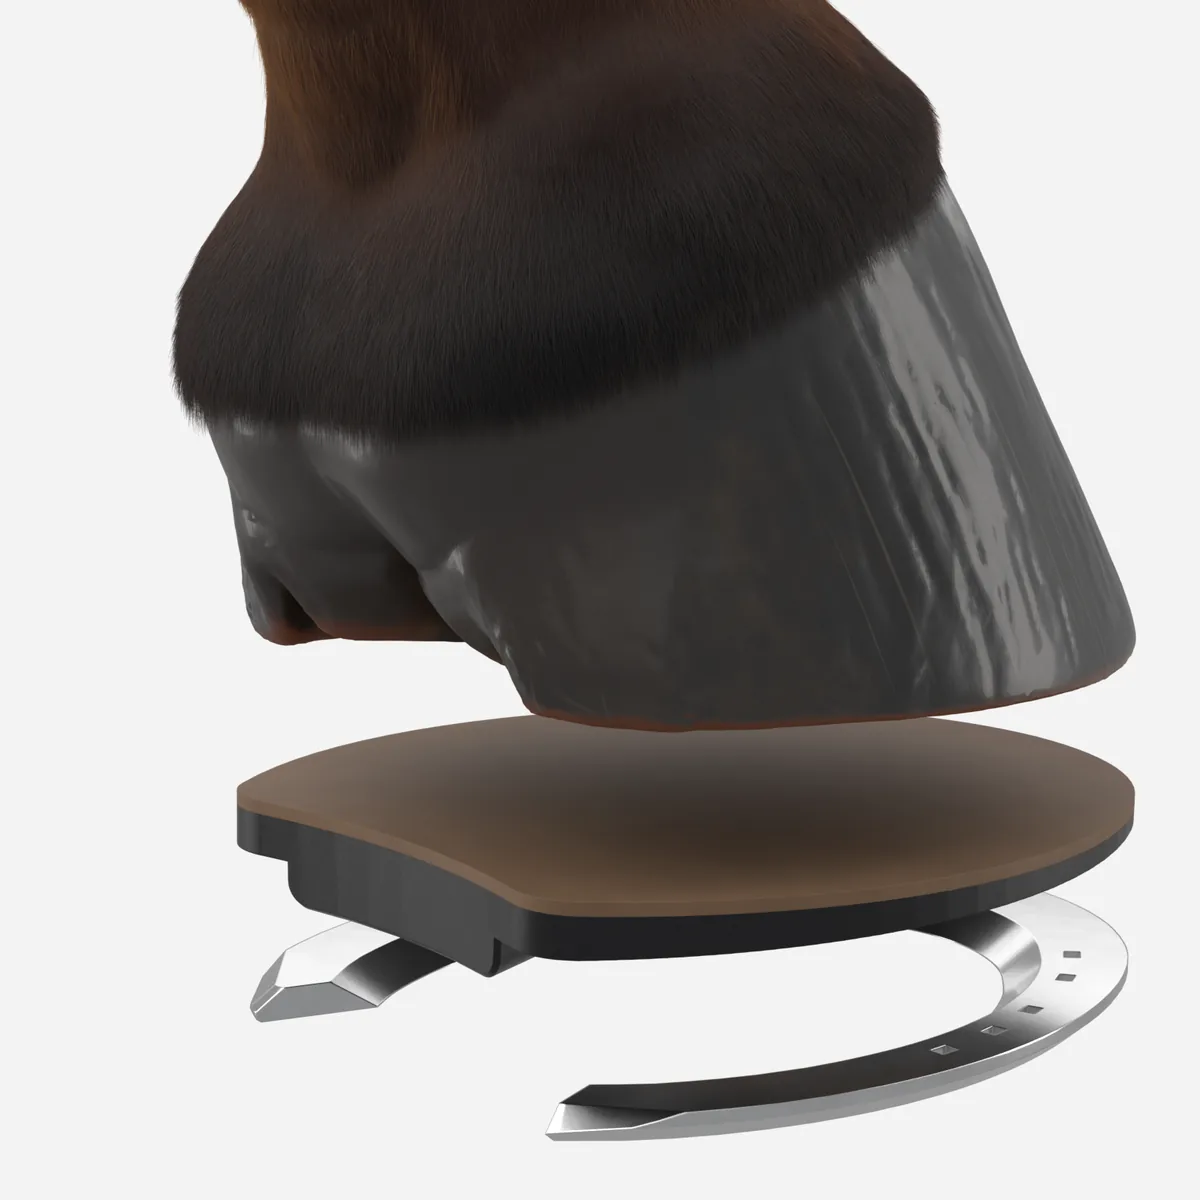
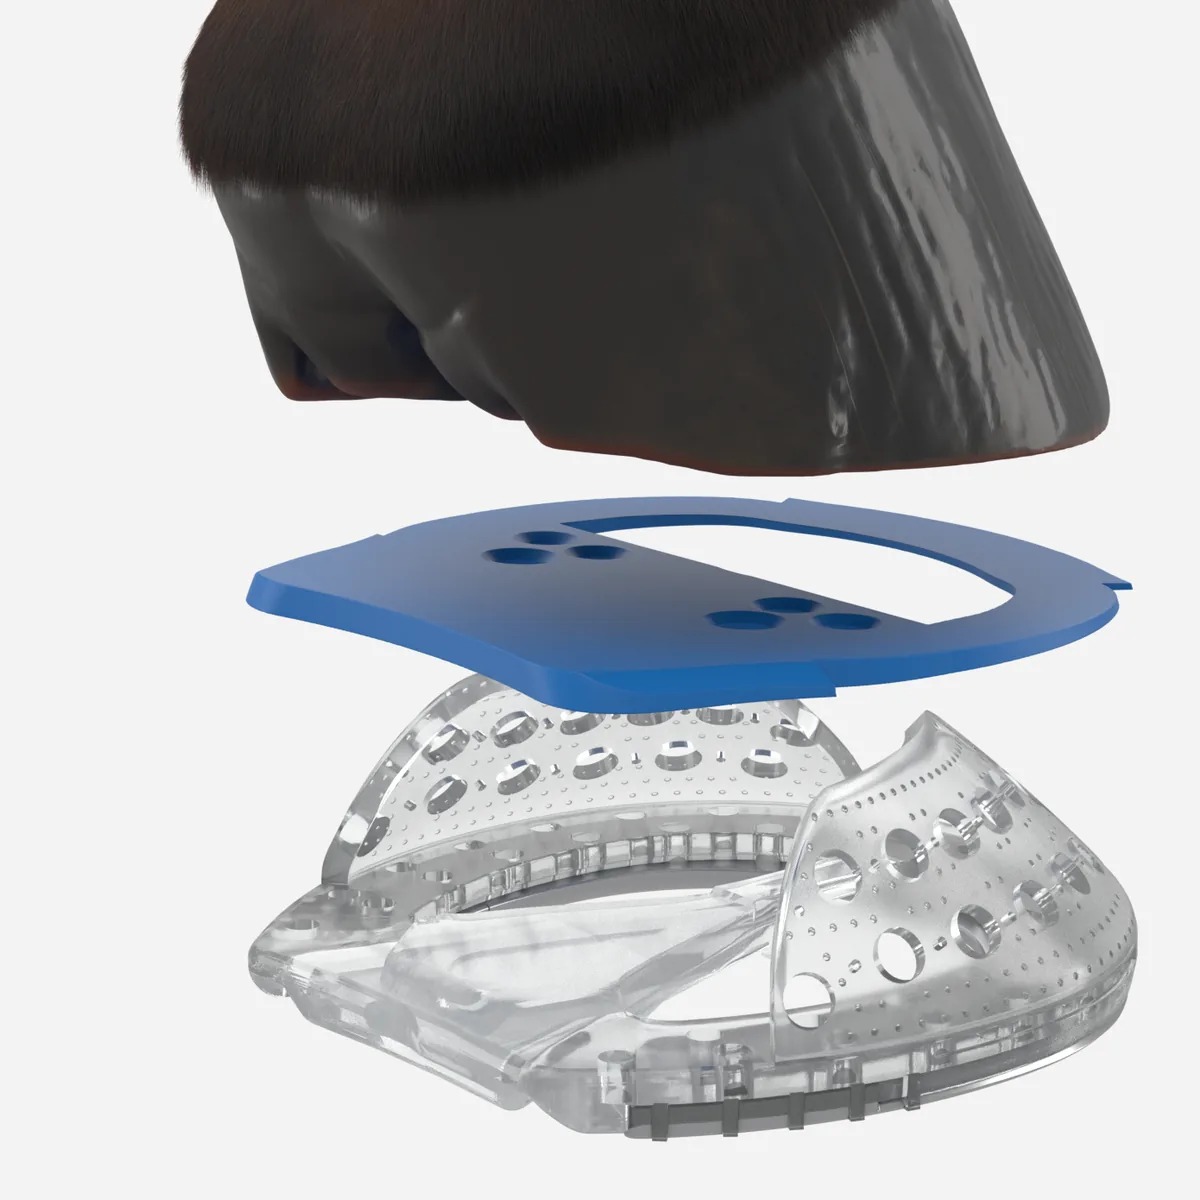
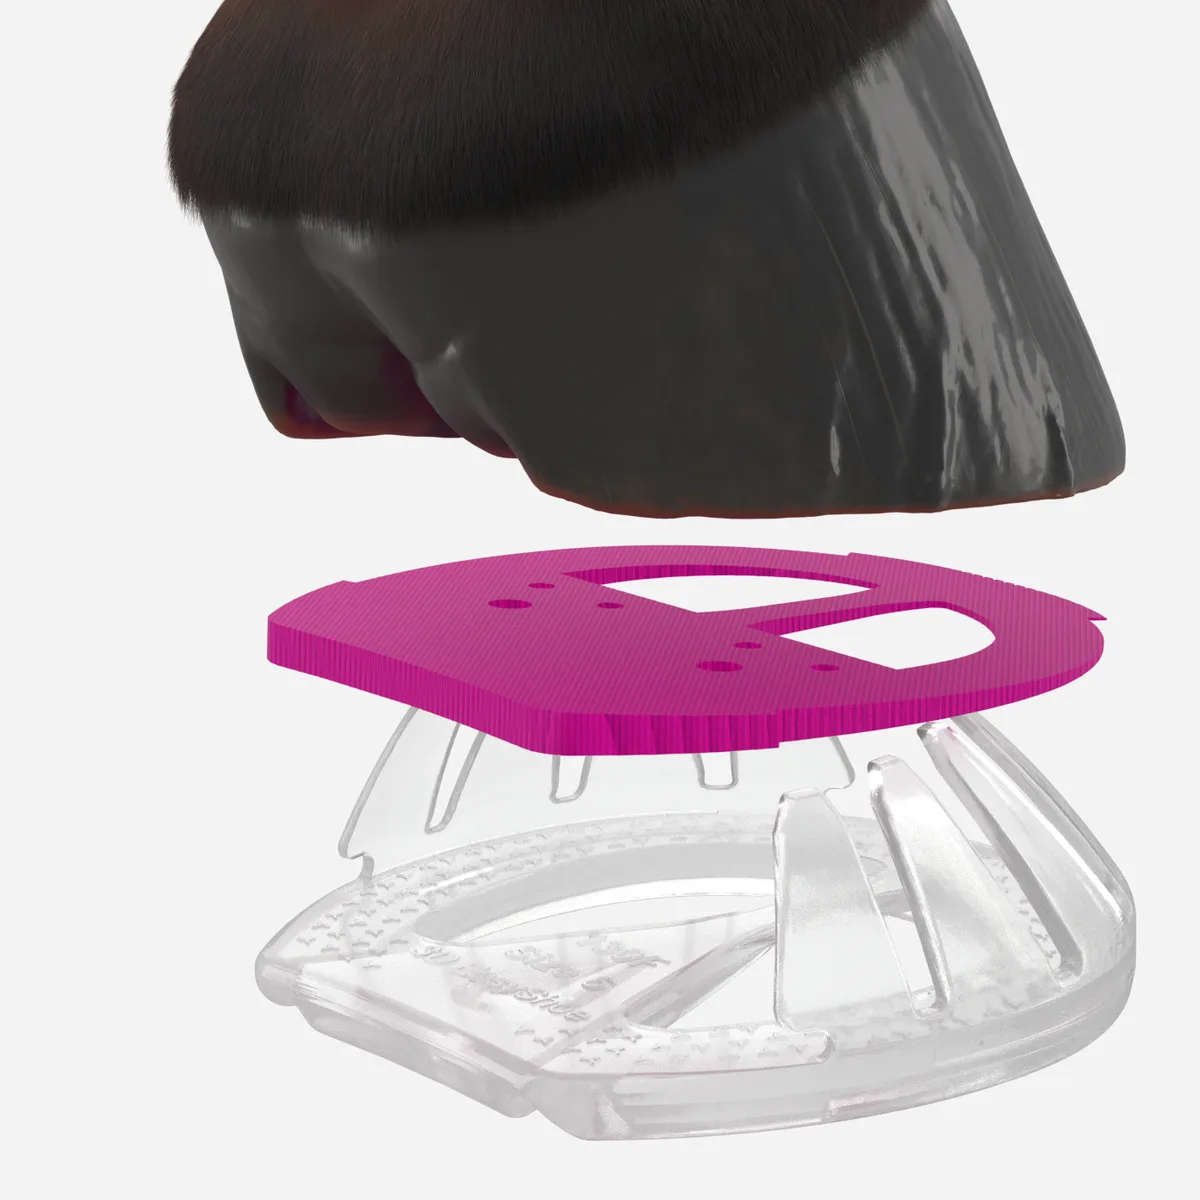
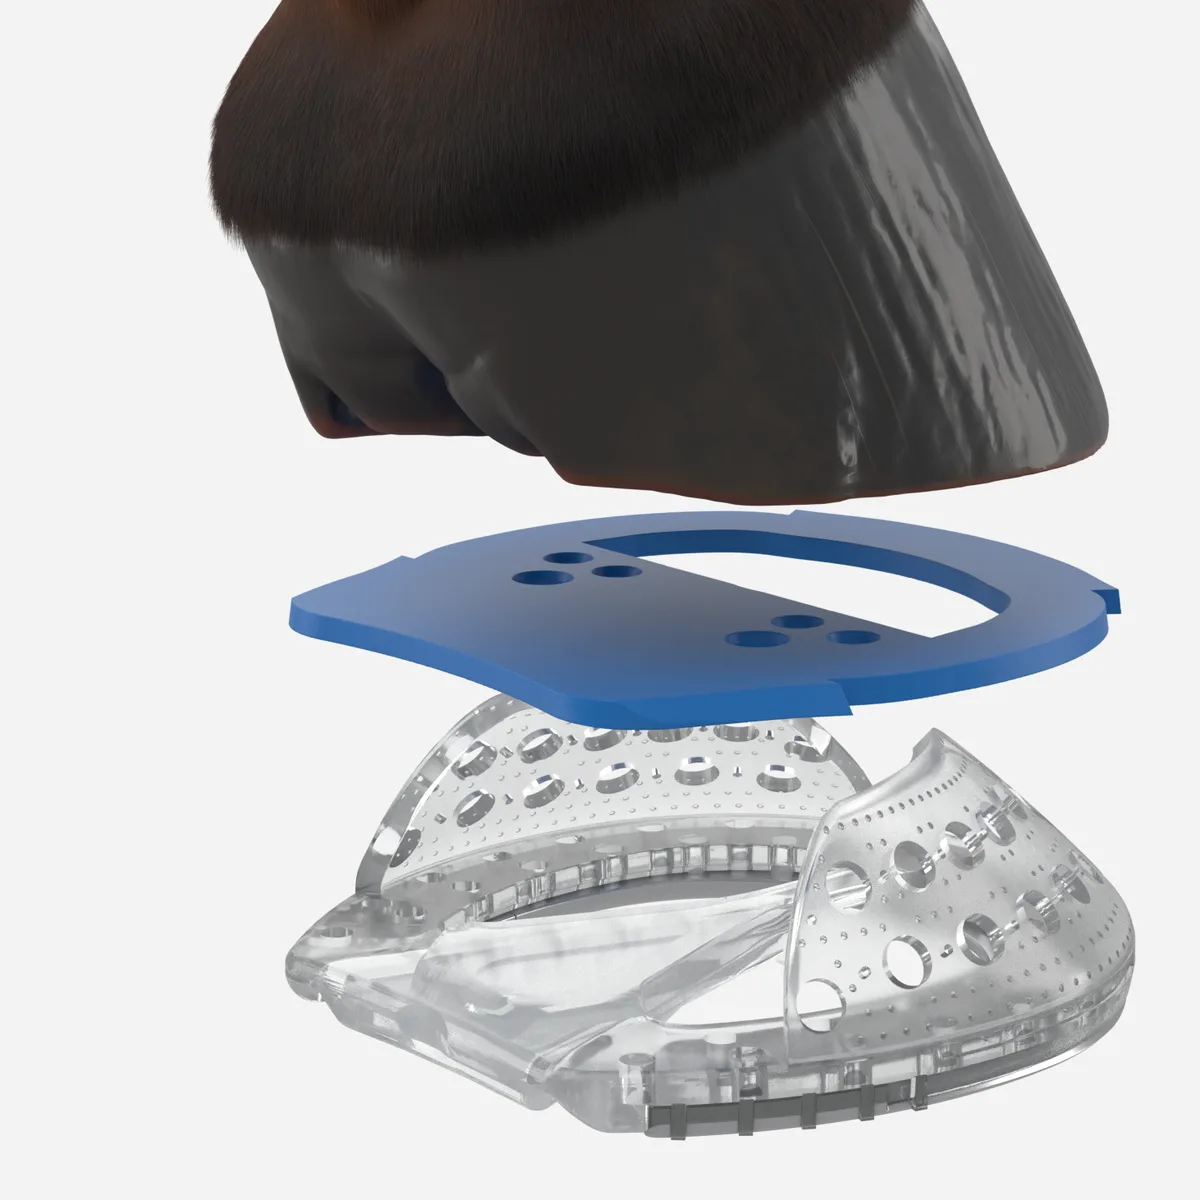
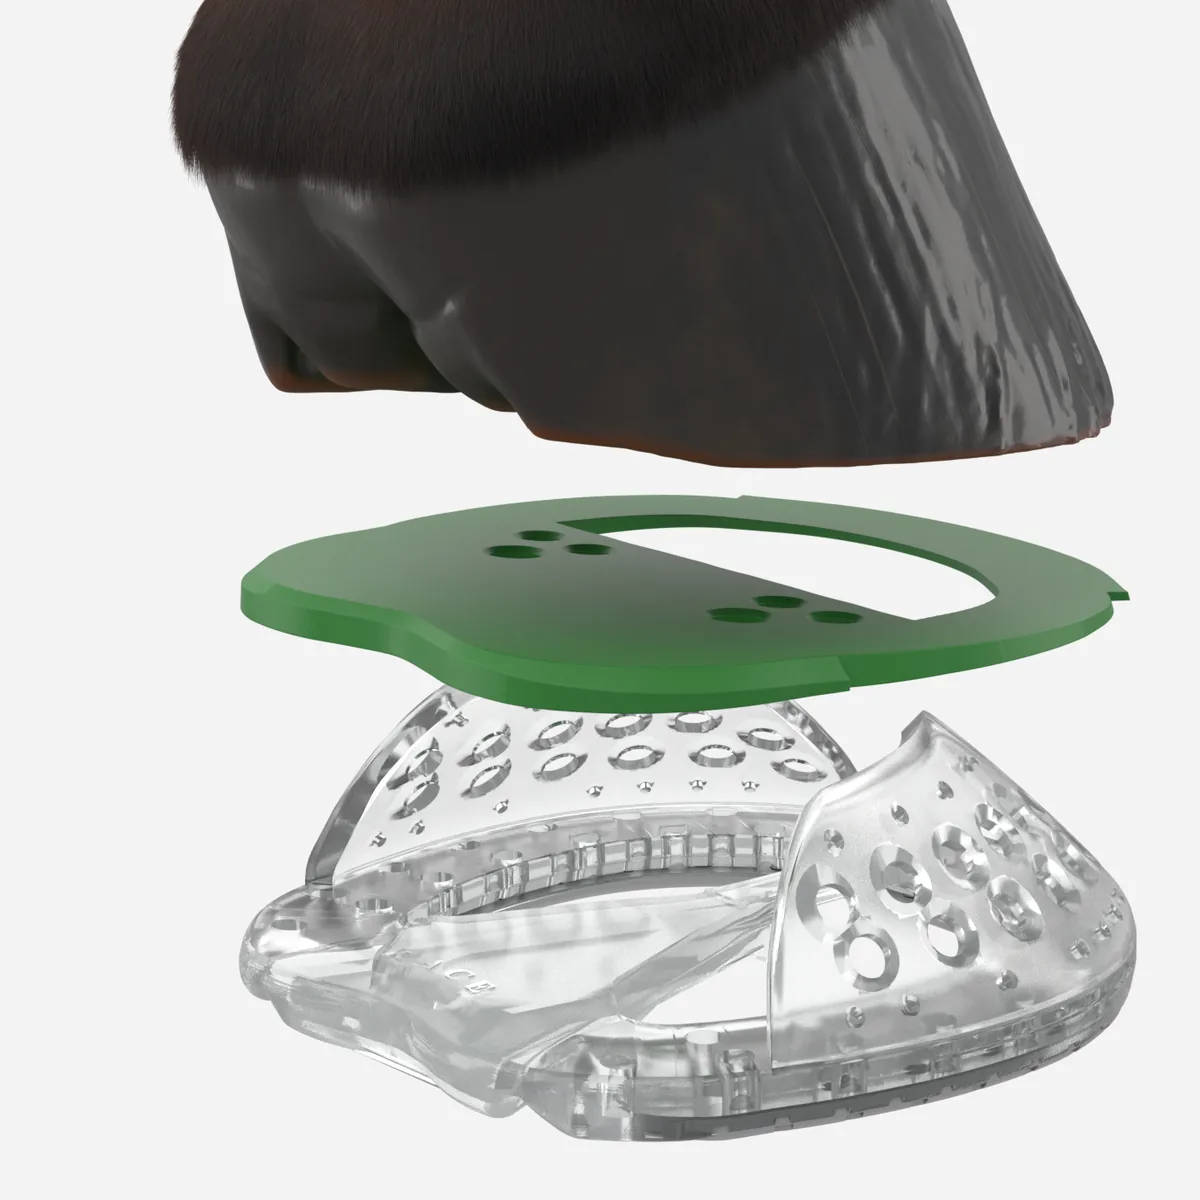
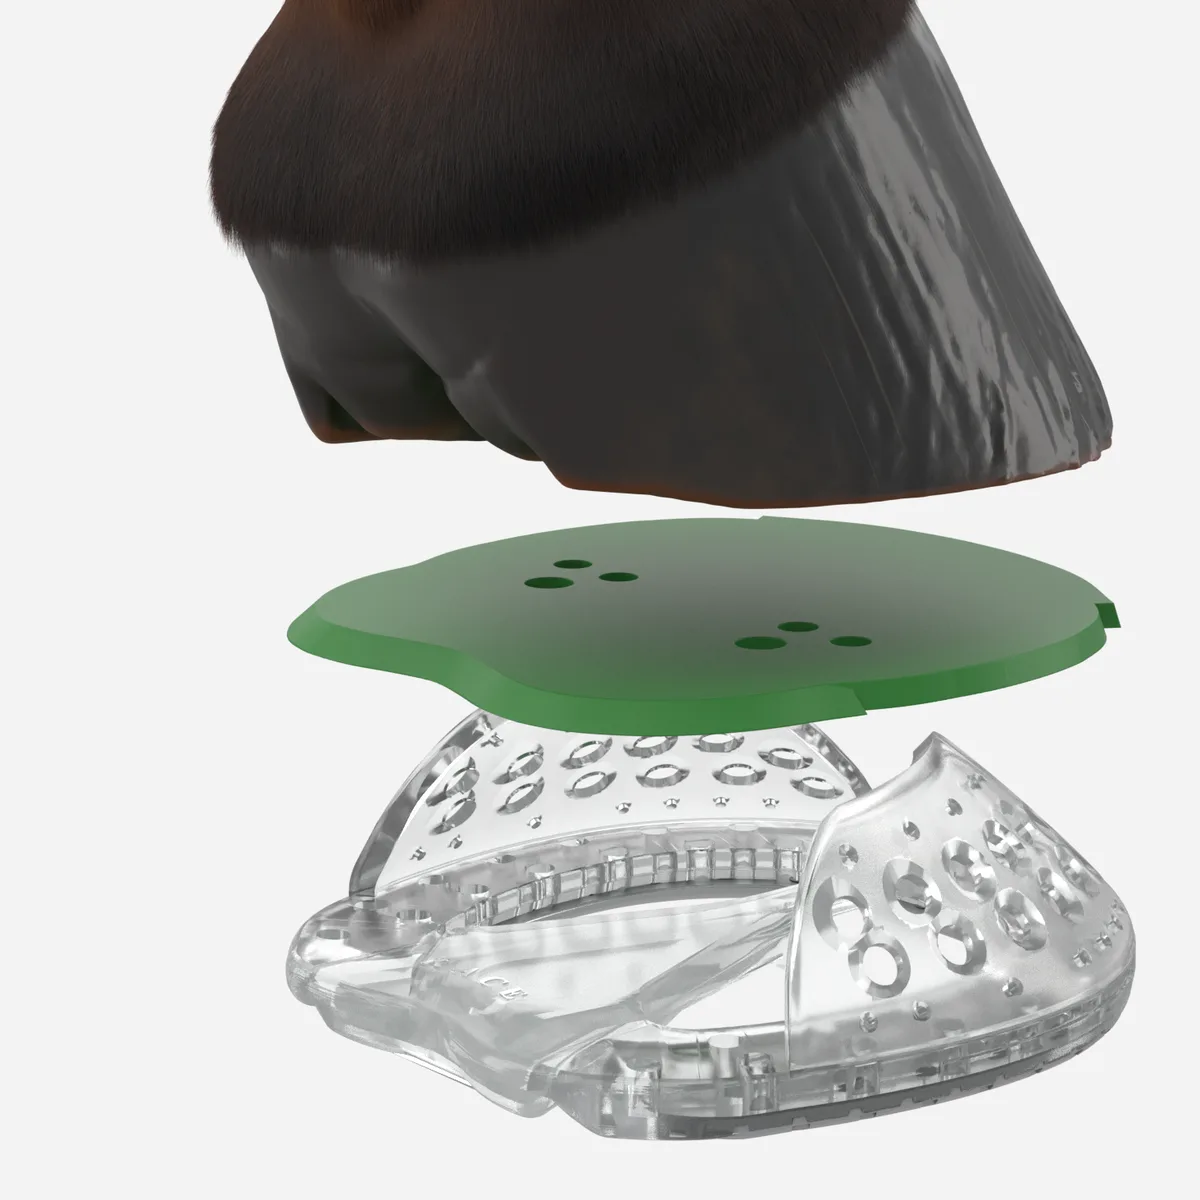
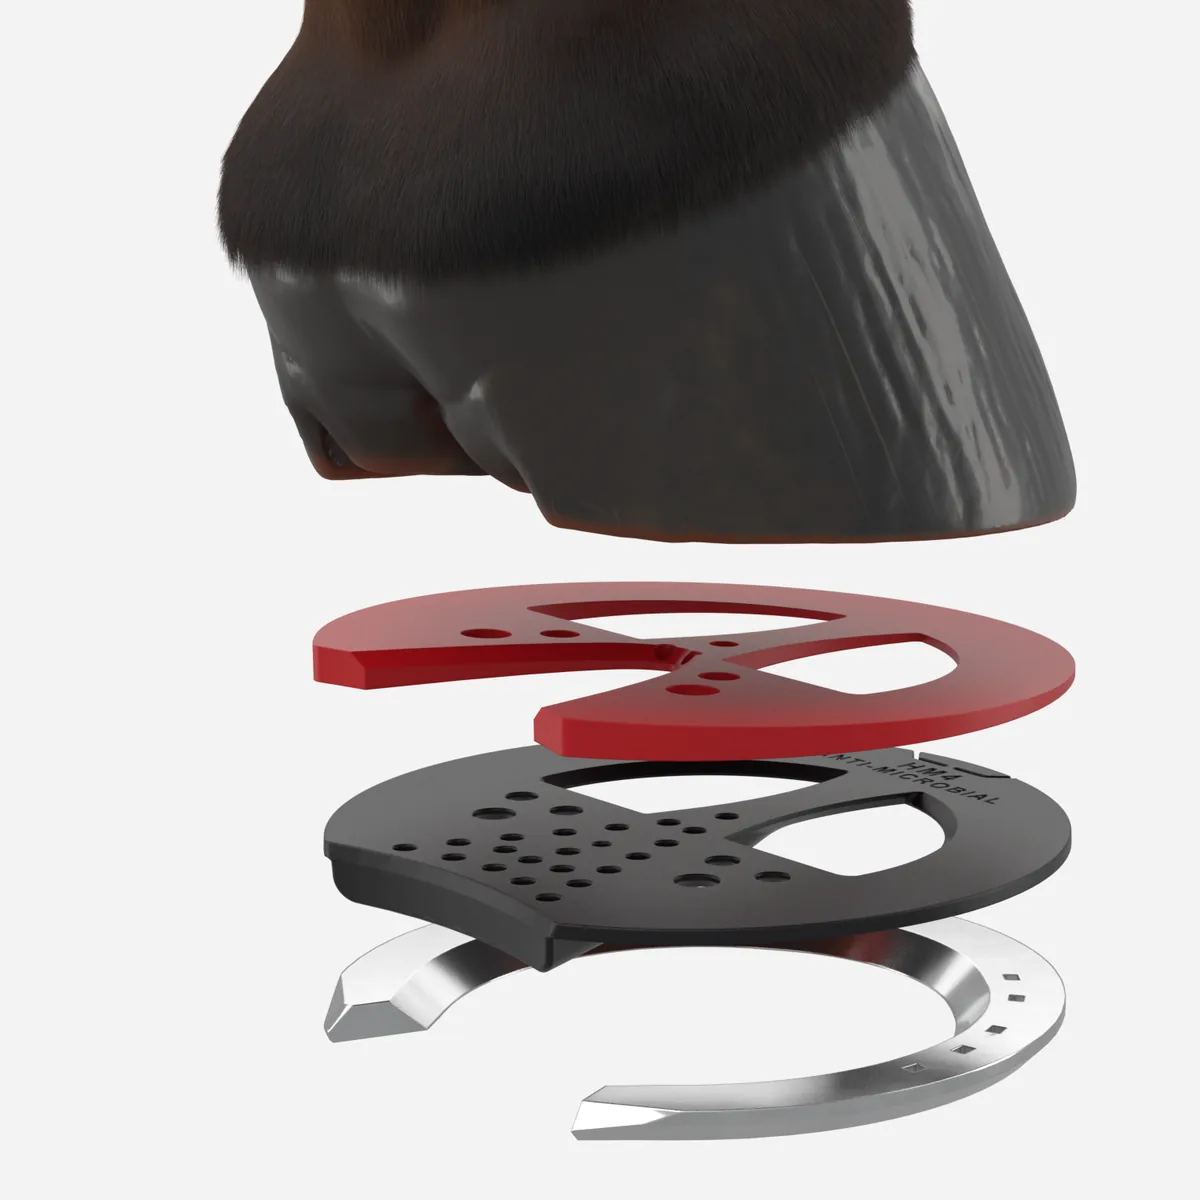
1. Exploded view
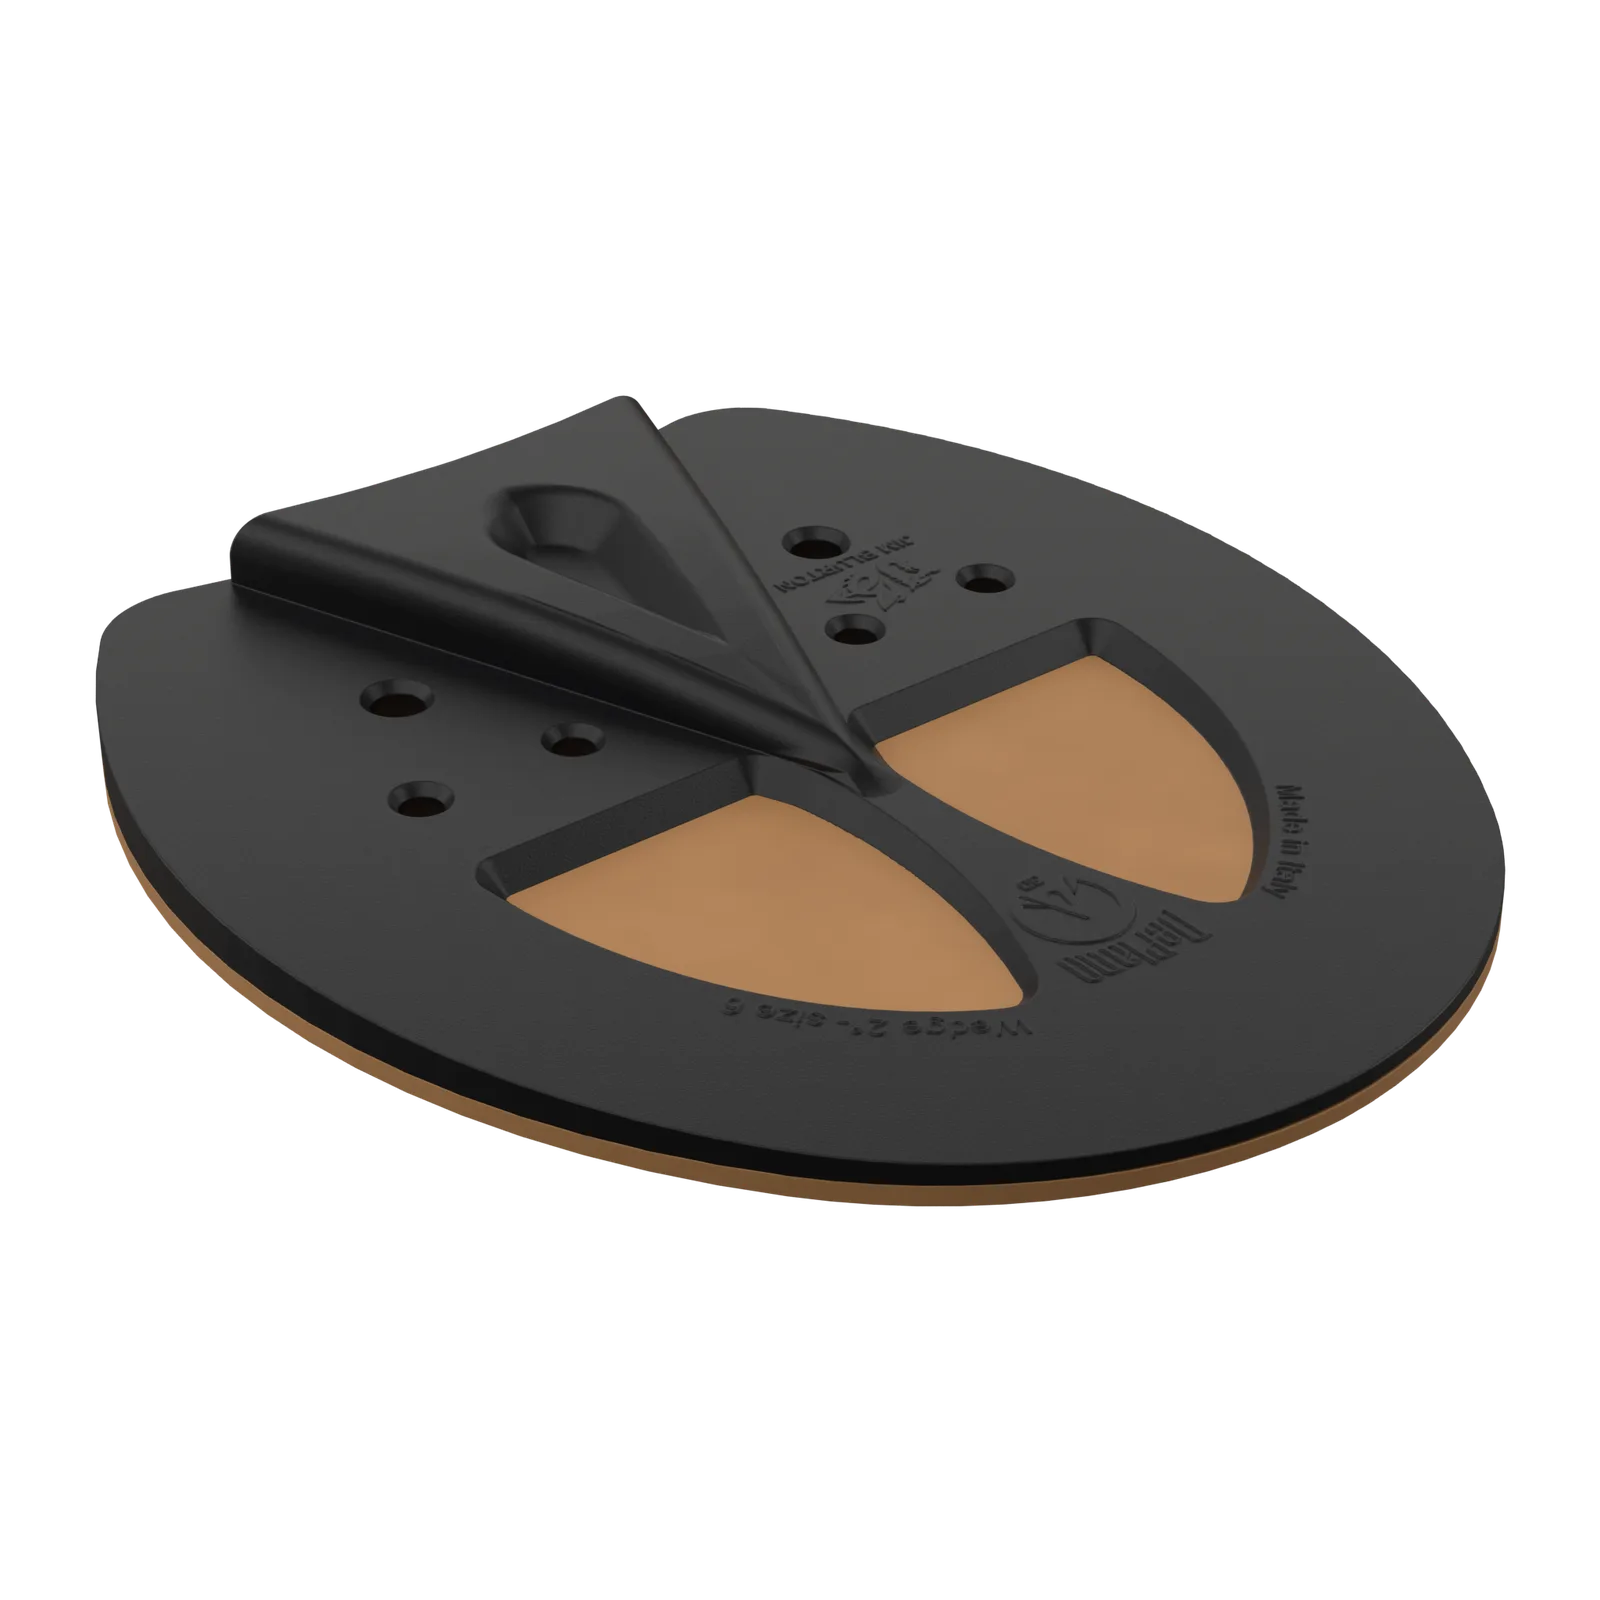
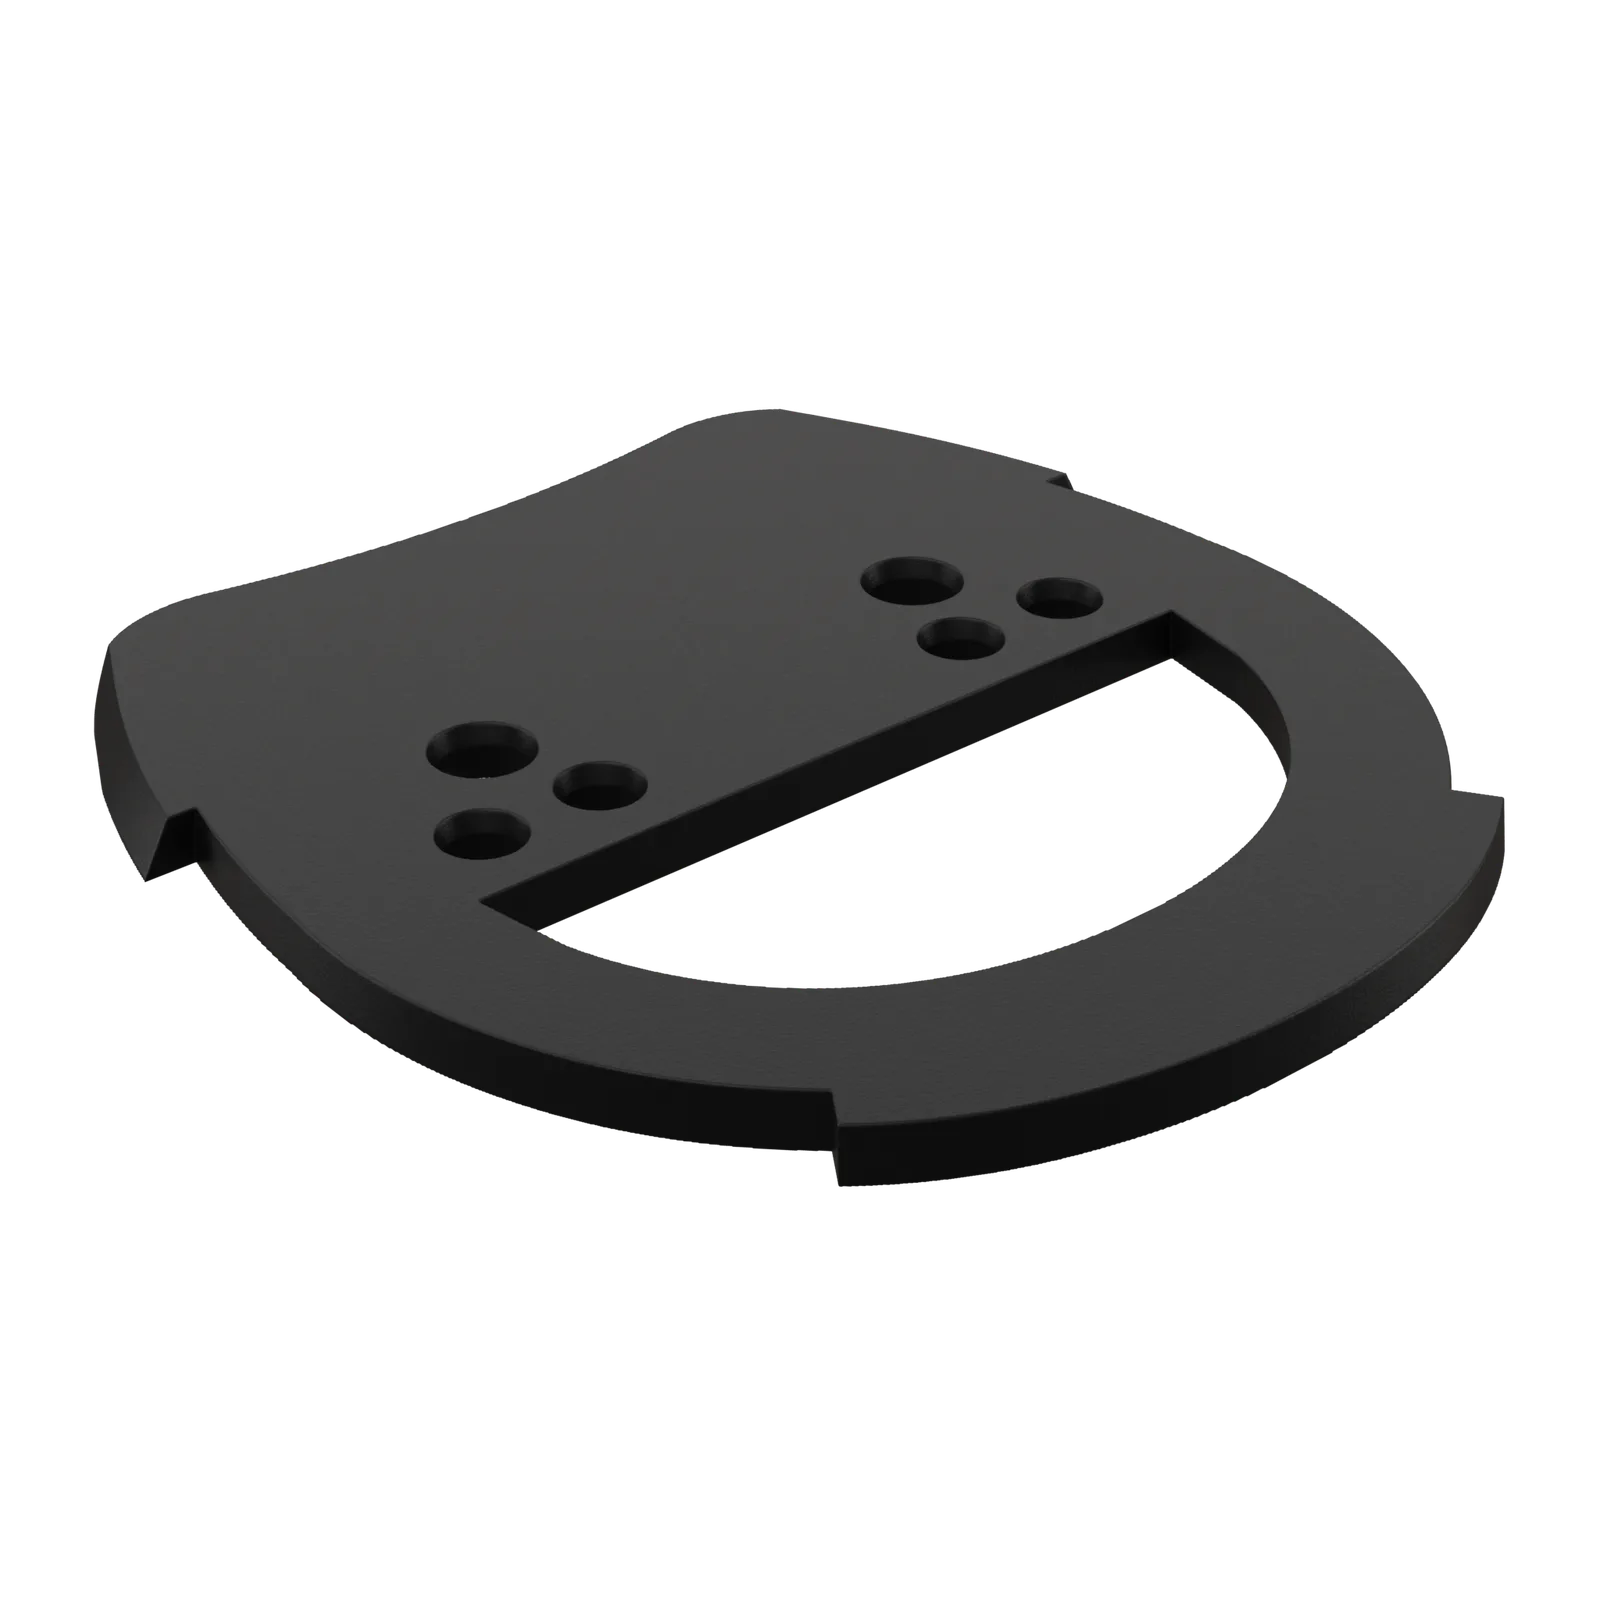
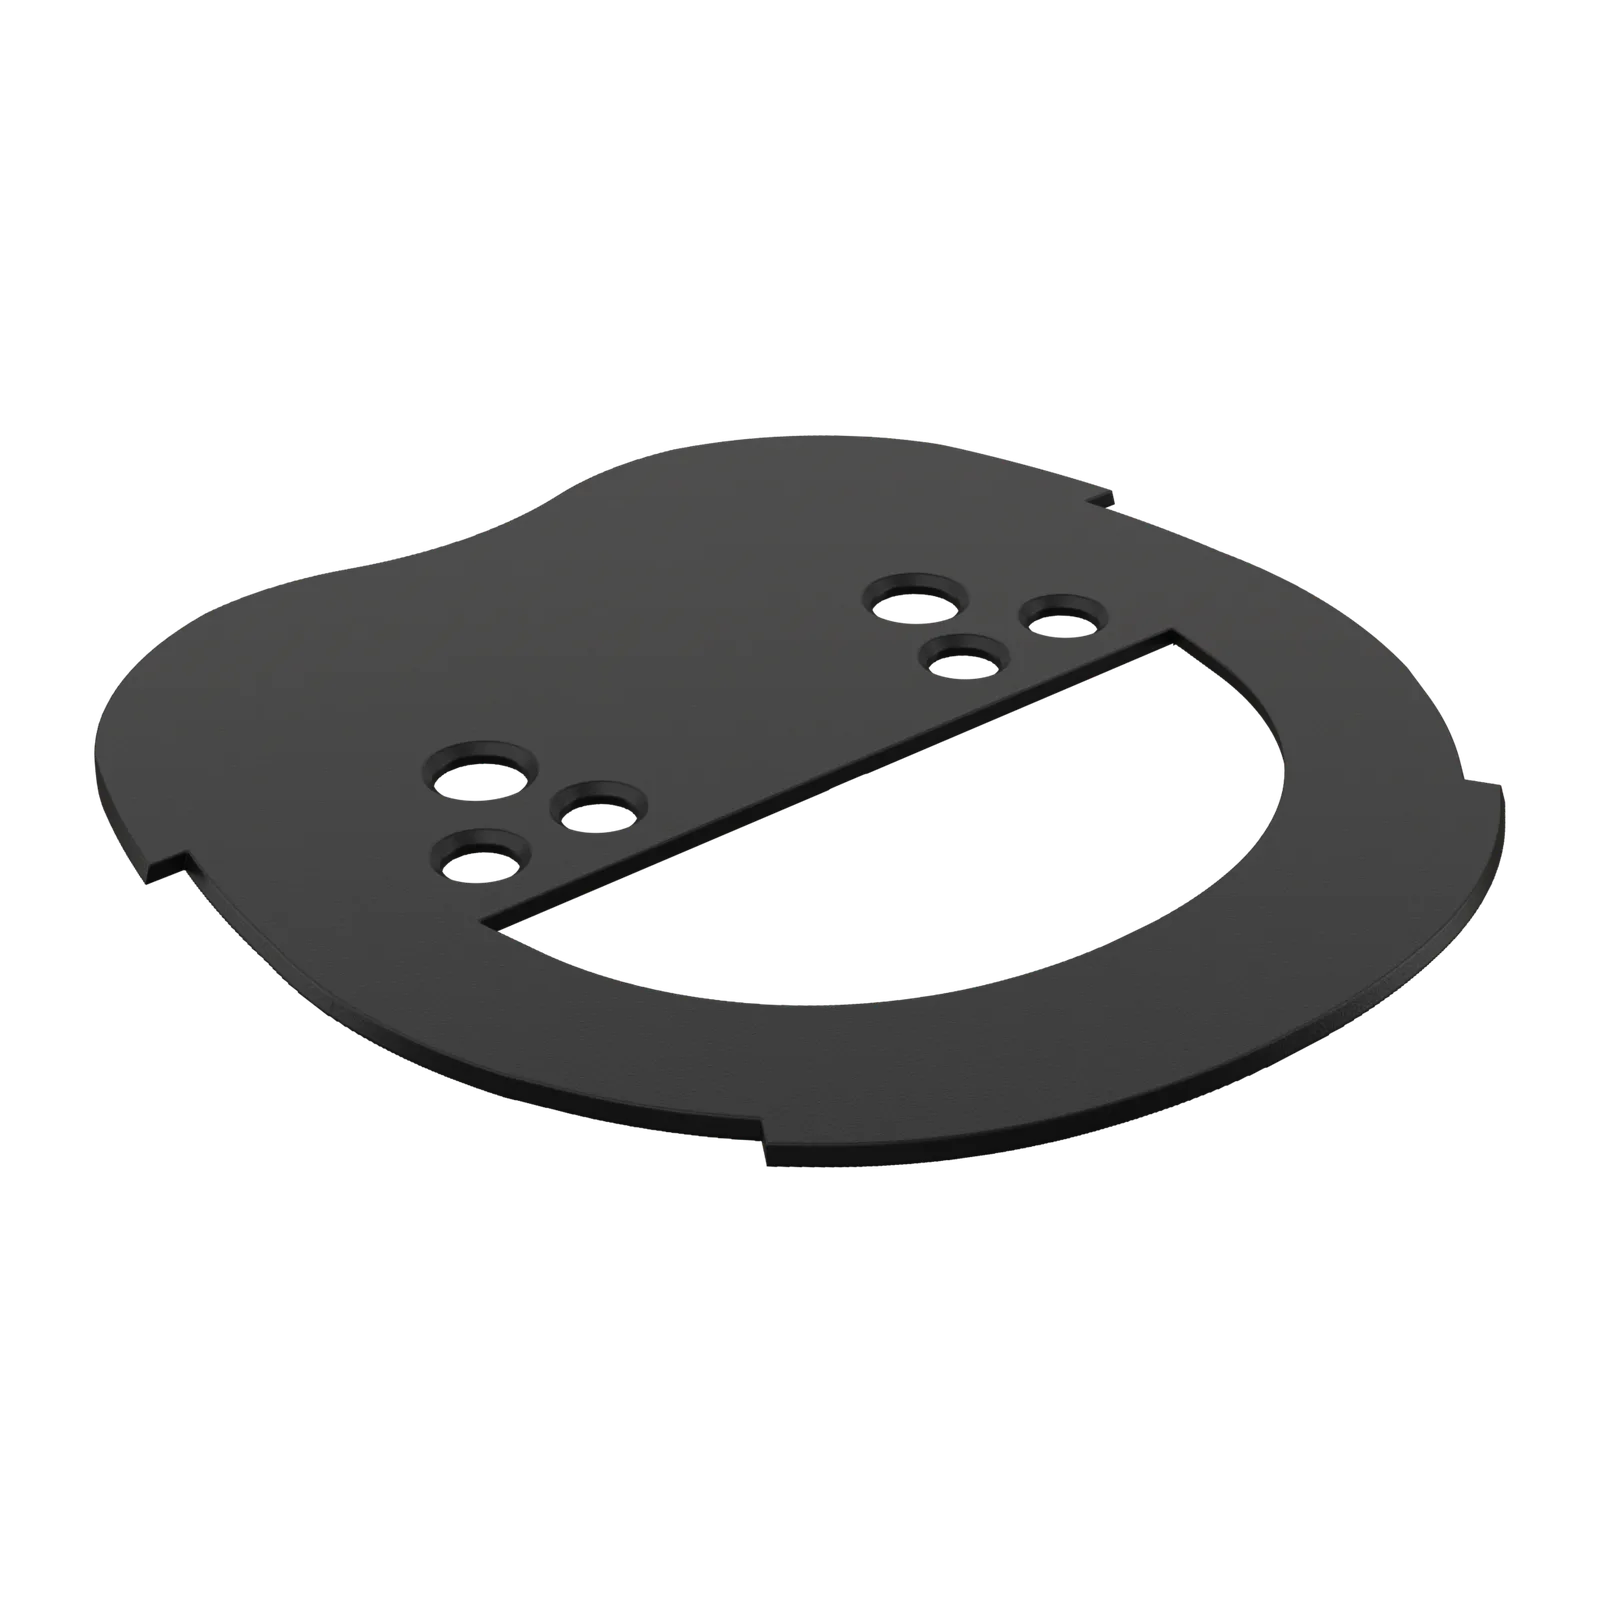
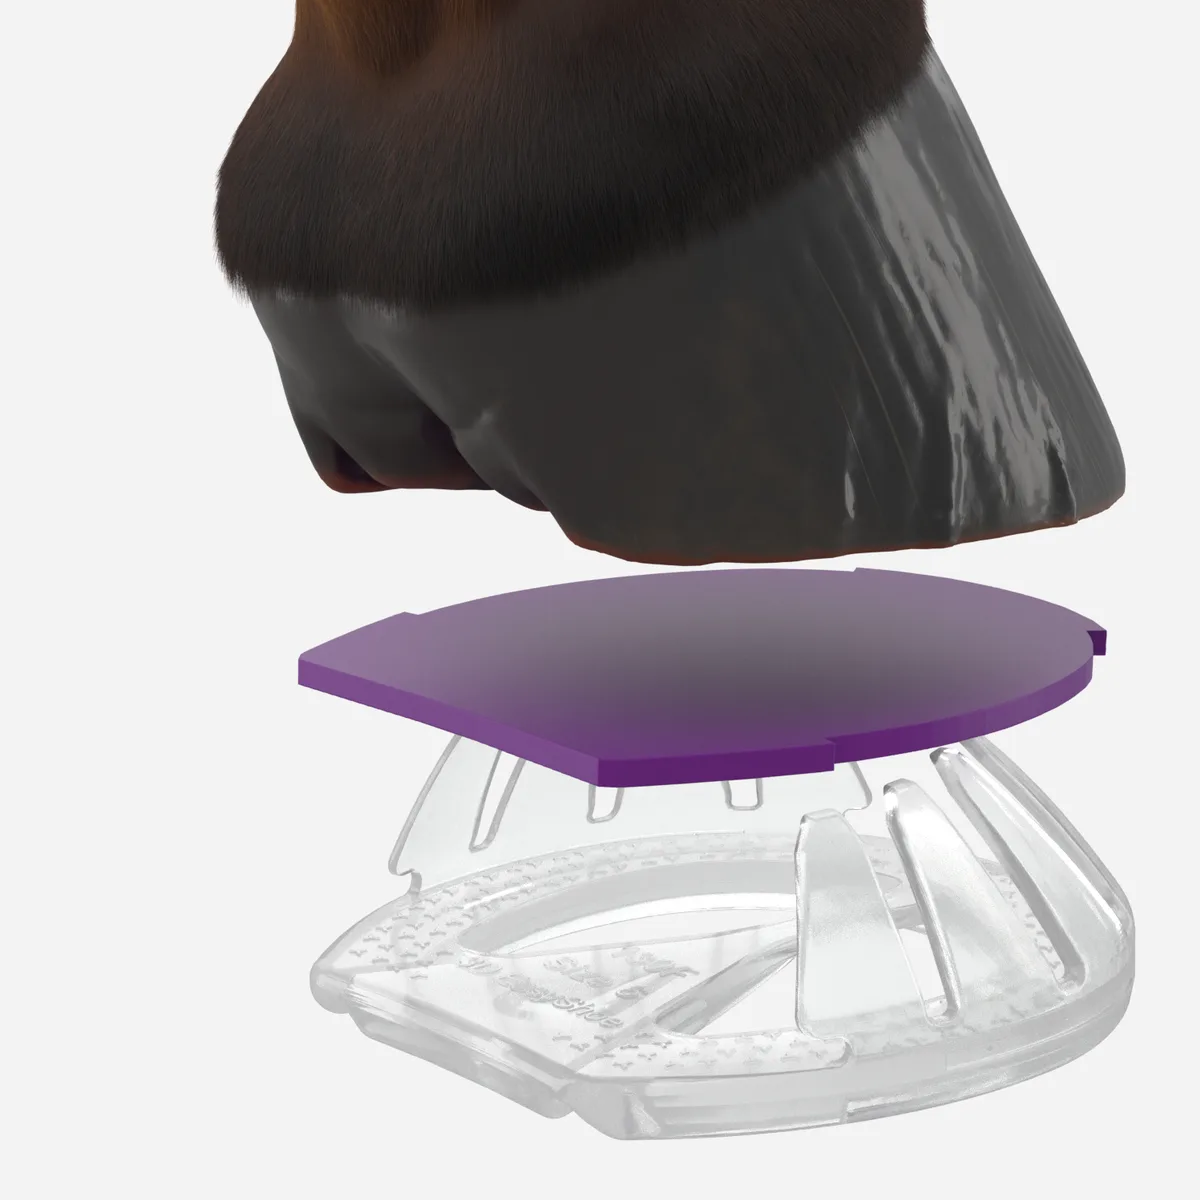
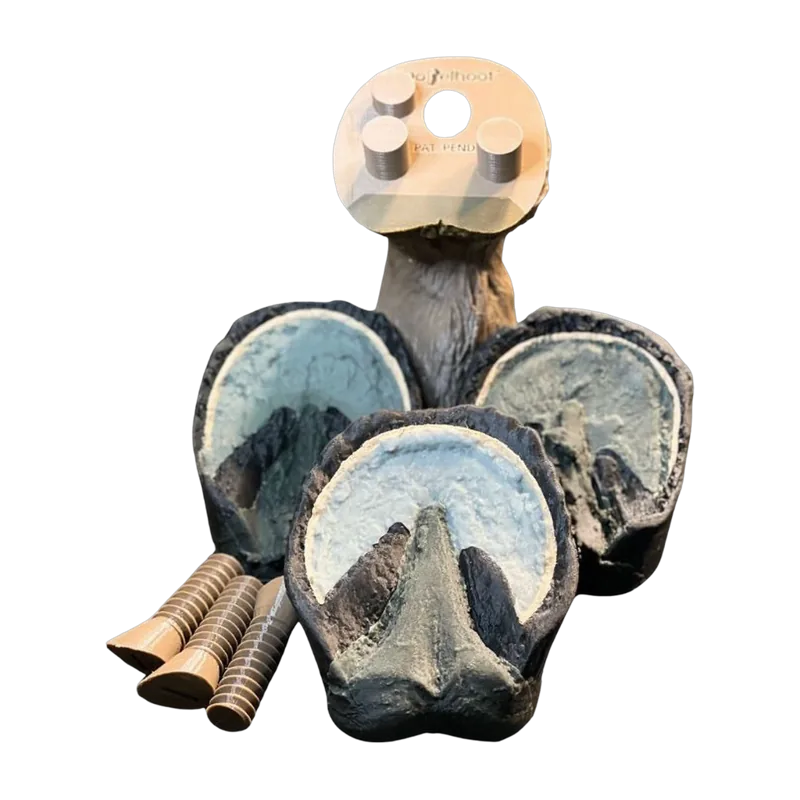
The hoof, the insert if there is one, and the pad or shoe, pulled apart vertically. This is the one to look at first. It answers the question we get most often: which part is which, and what goes where. If there is a colored part in the stack, that is the insert. The black or clear part underneath is the pad or shoe that bonds to the wall.

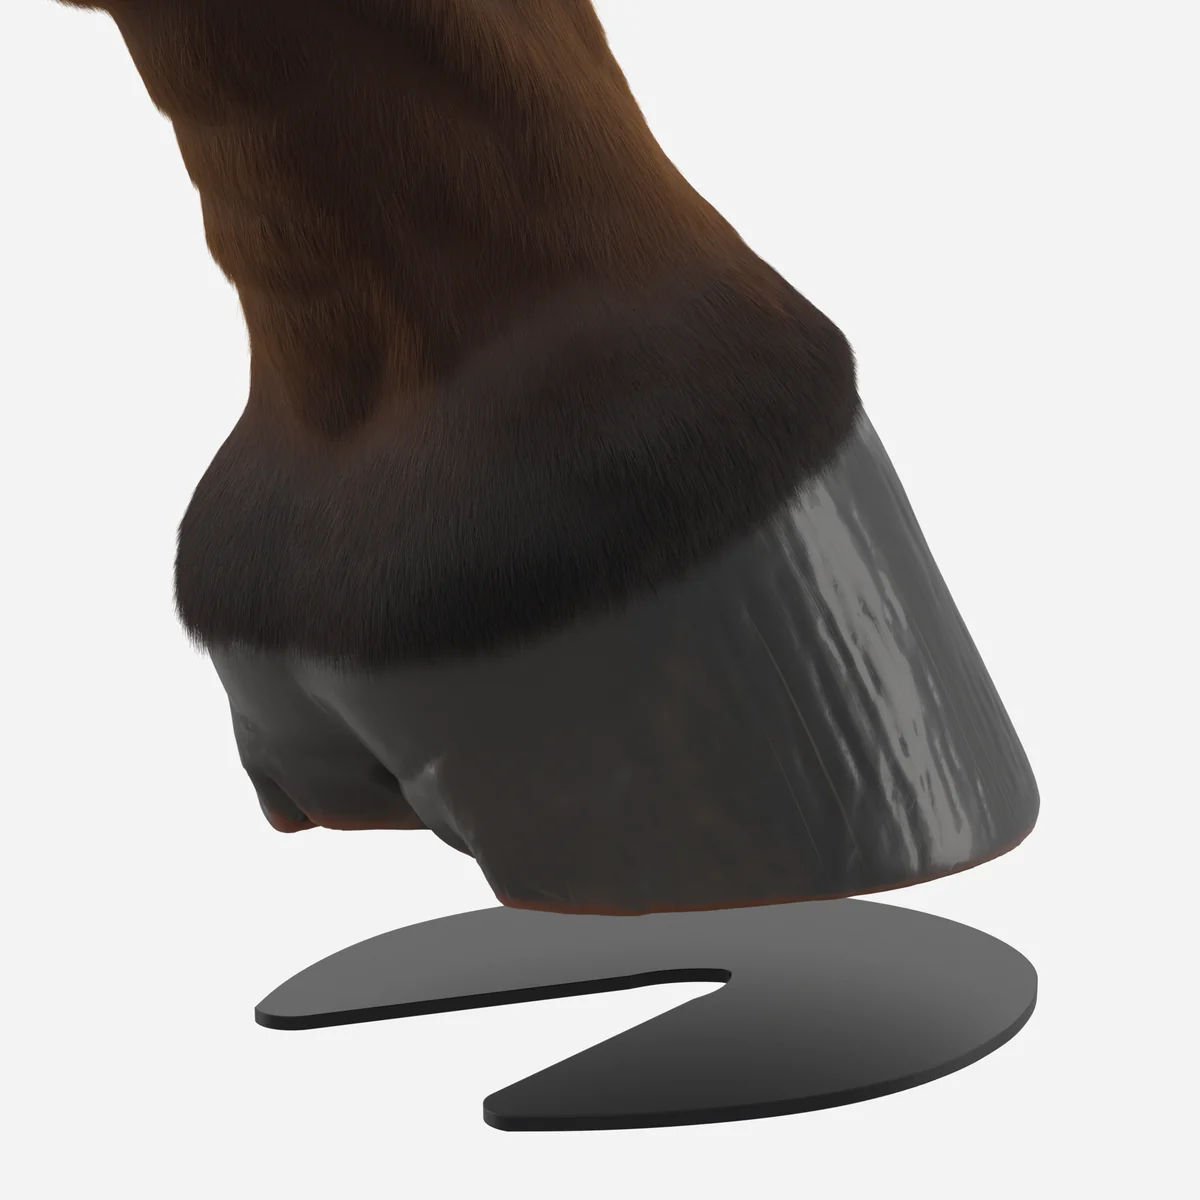
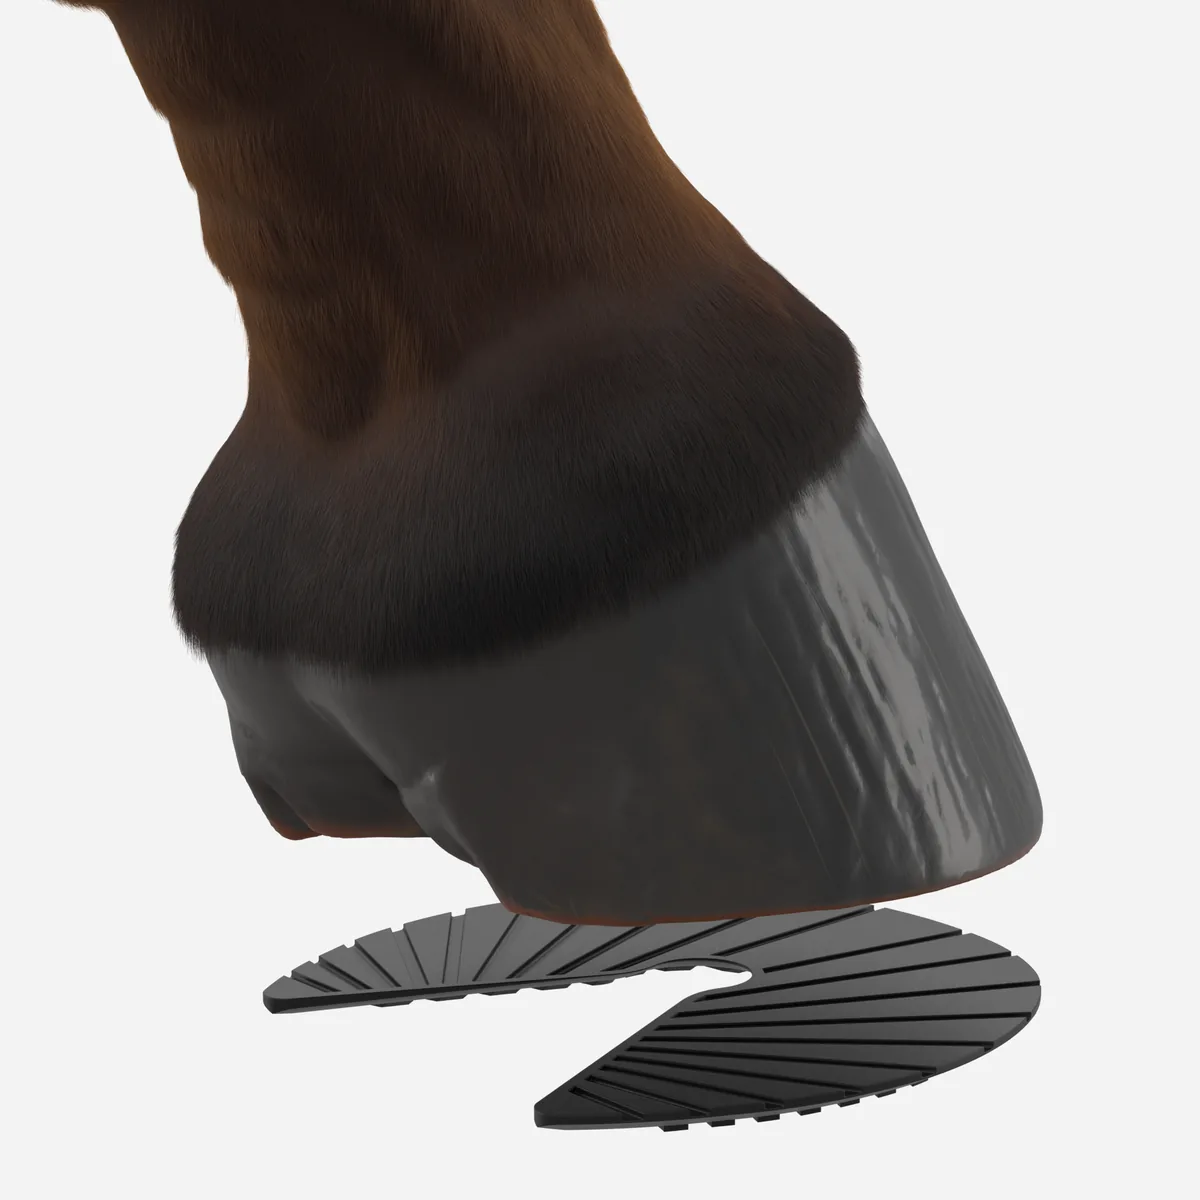
2. Three-quarter view
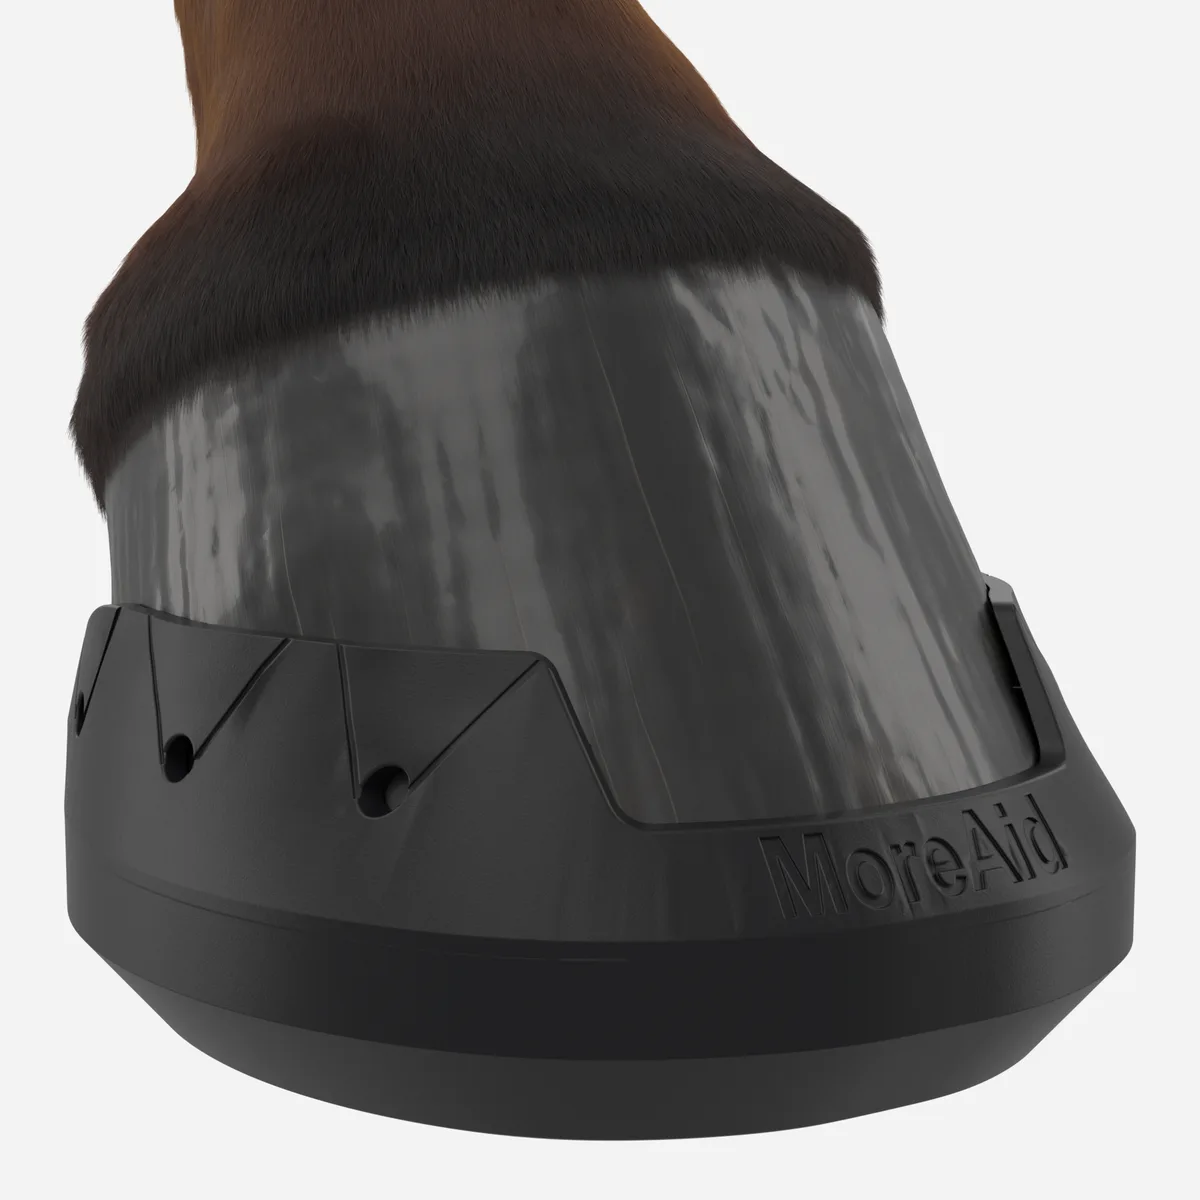
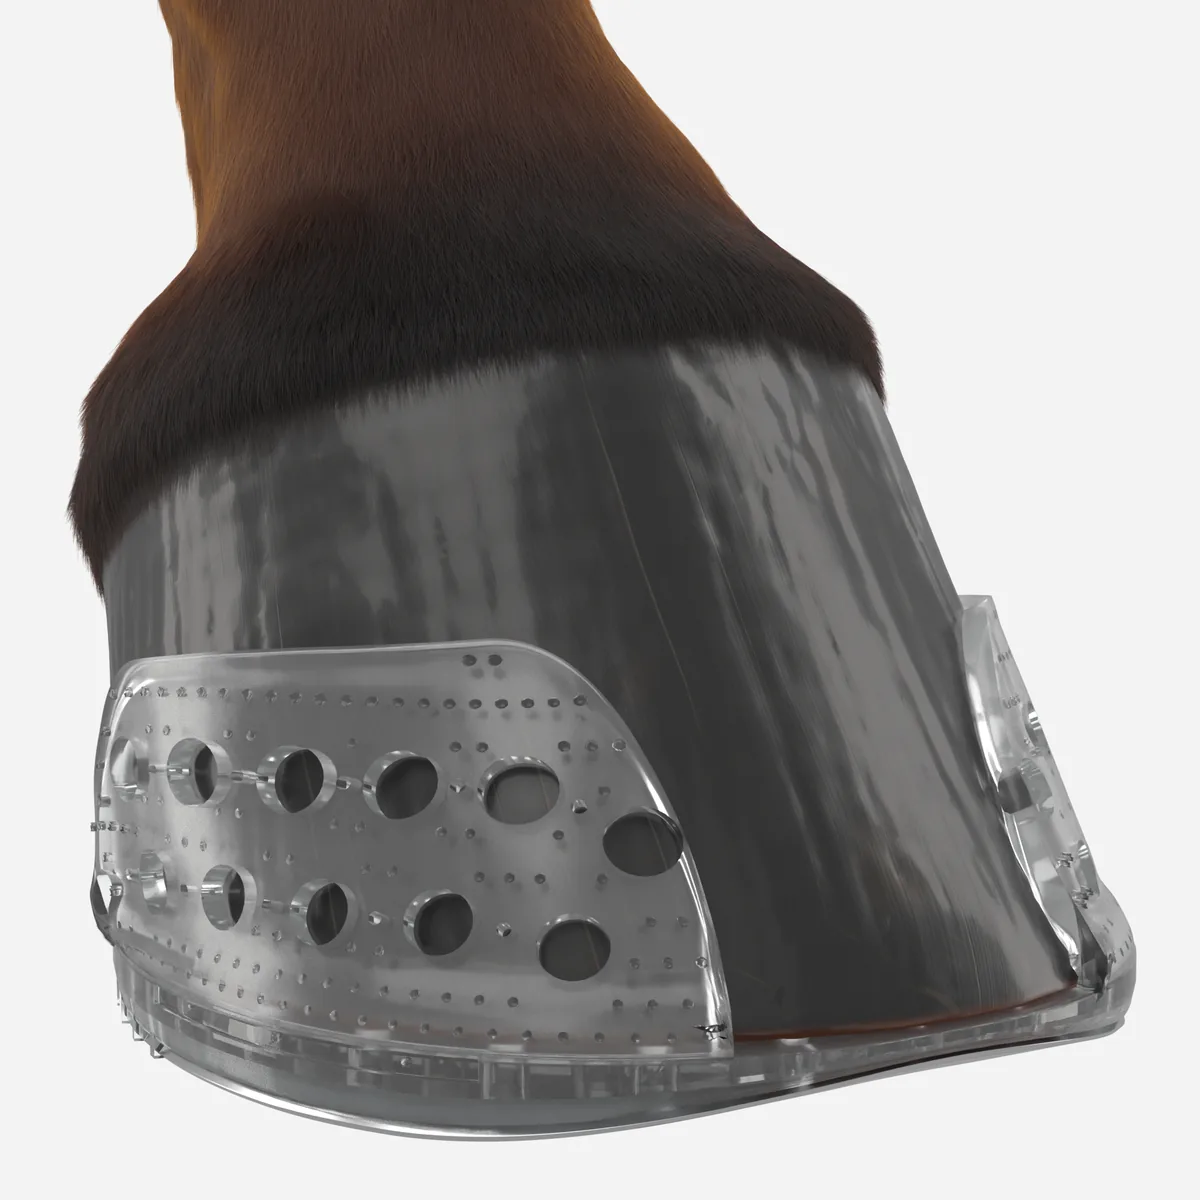
The assembled application on the foot, from a raised front angle. This shows you how far the cuff comes up the wall, how the toe is finished, and how the pad relates to the shape of the foot. If you are deciding whether a product suits an upright foot or a flat one, this is the frame to study.
3. Side view
Straight on from the side, at ground level. This is where you read thickness and angle. A degree insert shows as a visible lift at the heel. An air insert shows as a thicker stack under the sole. Breakover shows as where the toe of the shoe rolls away from the ground. If you have radiographs and you are choosing between a 2 and a 3 degree insert, hold the side view next to the film.
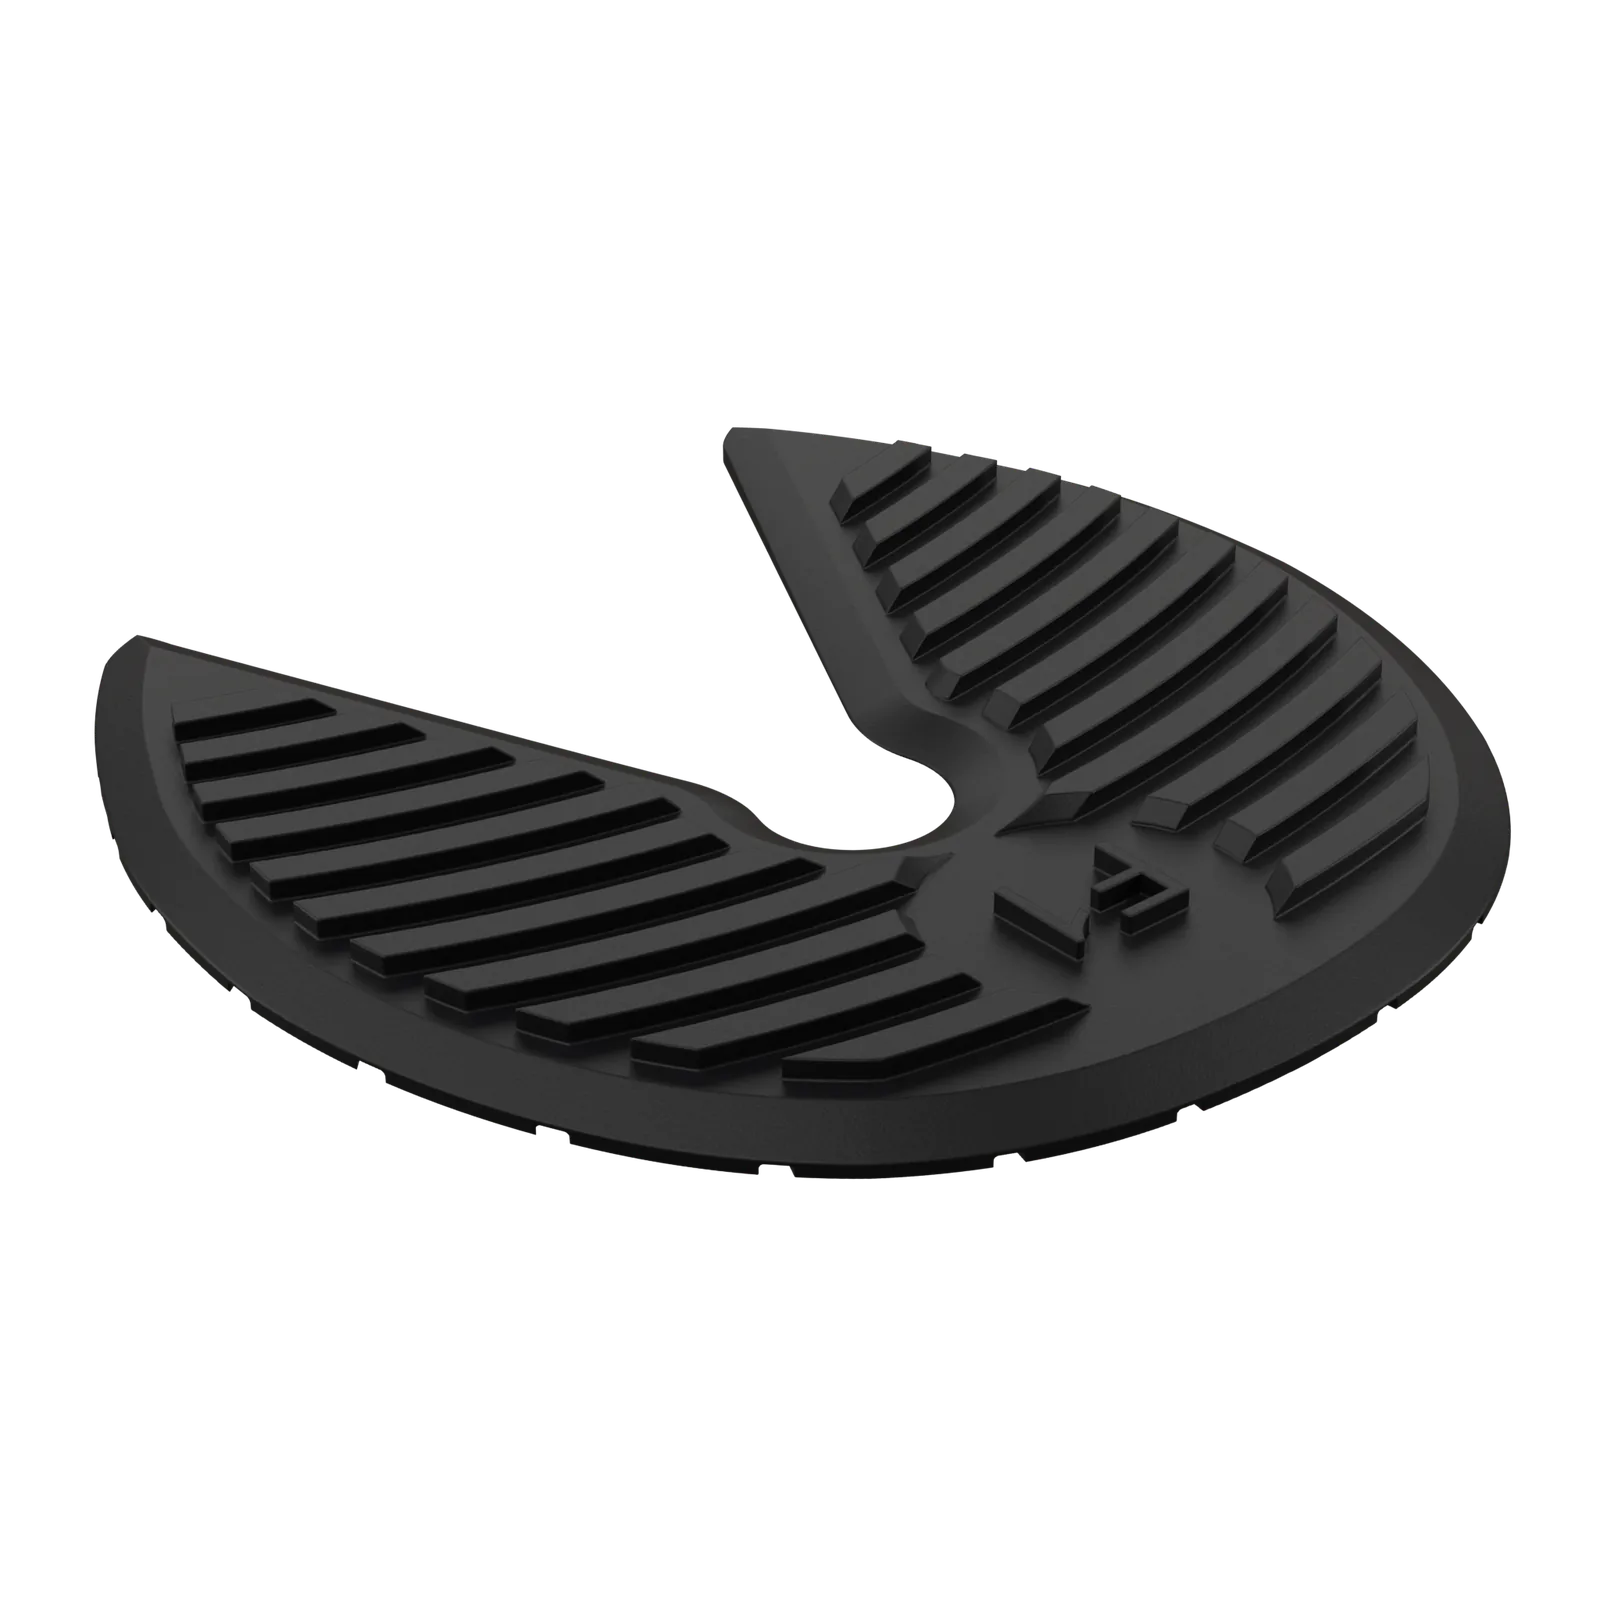
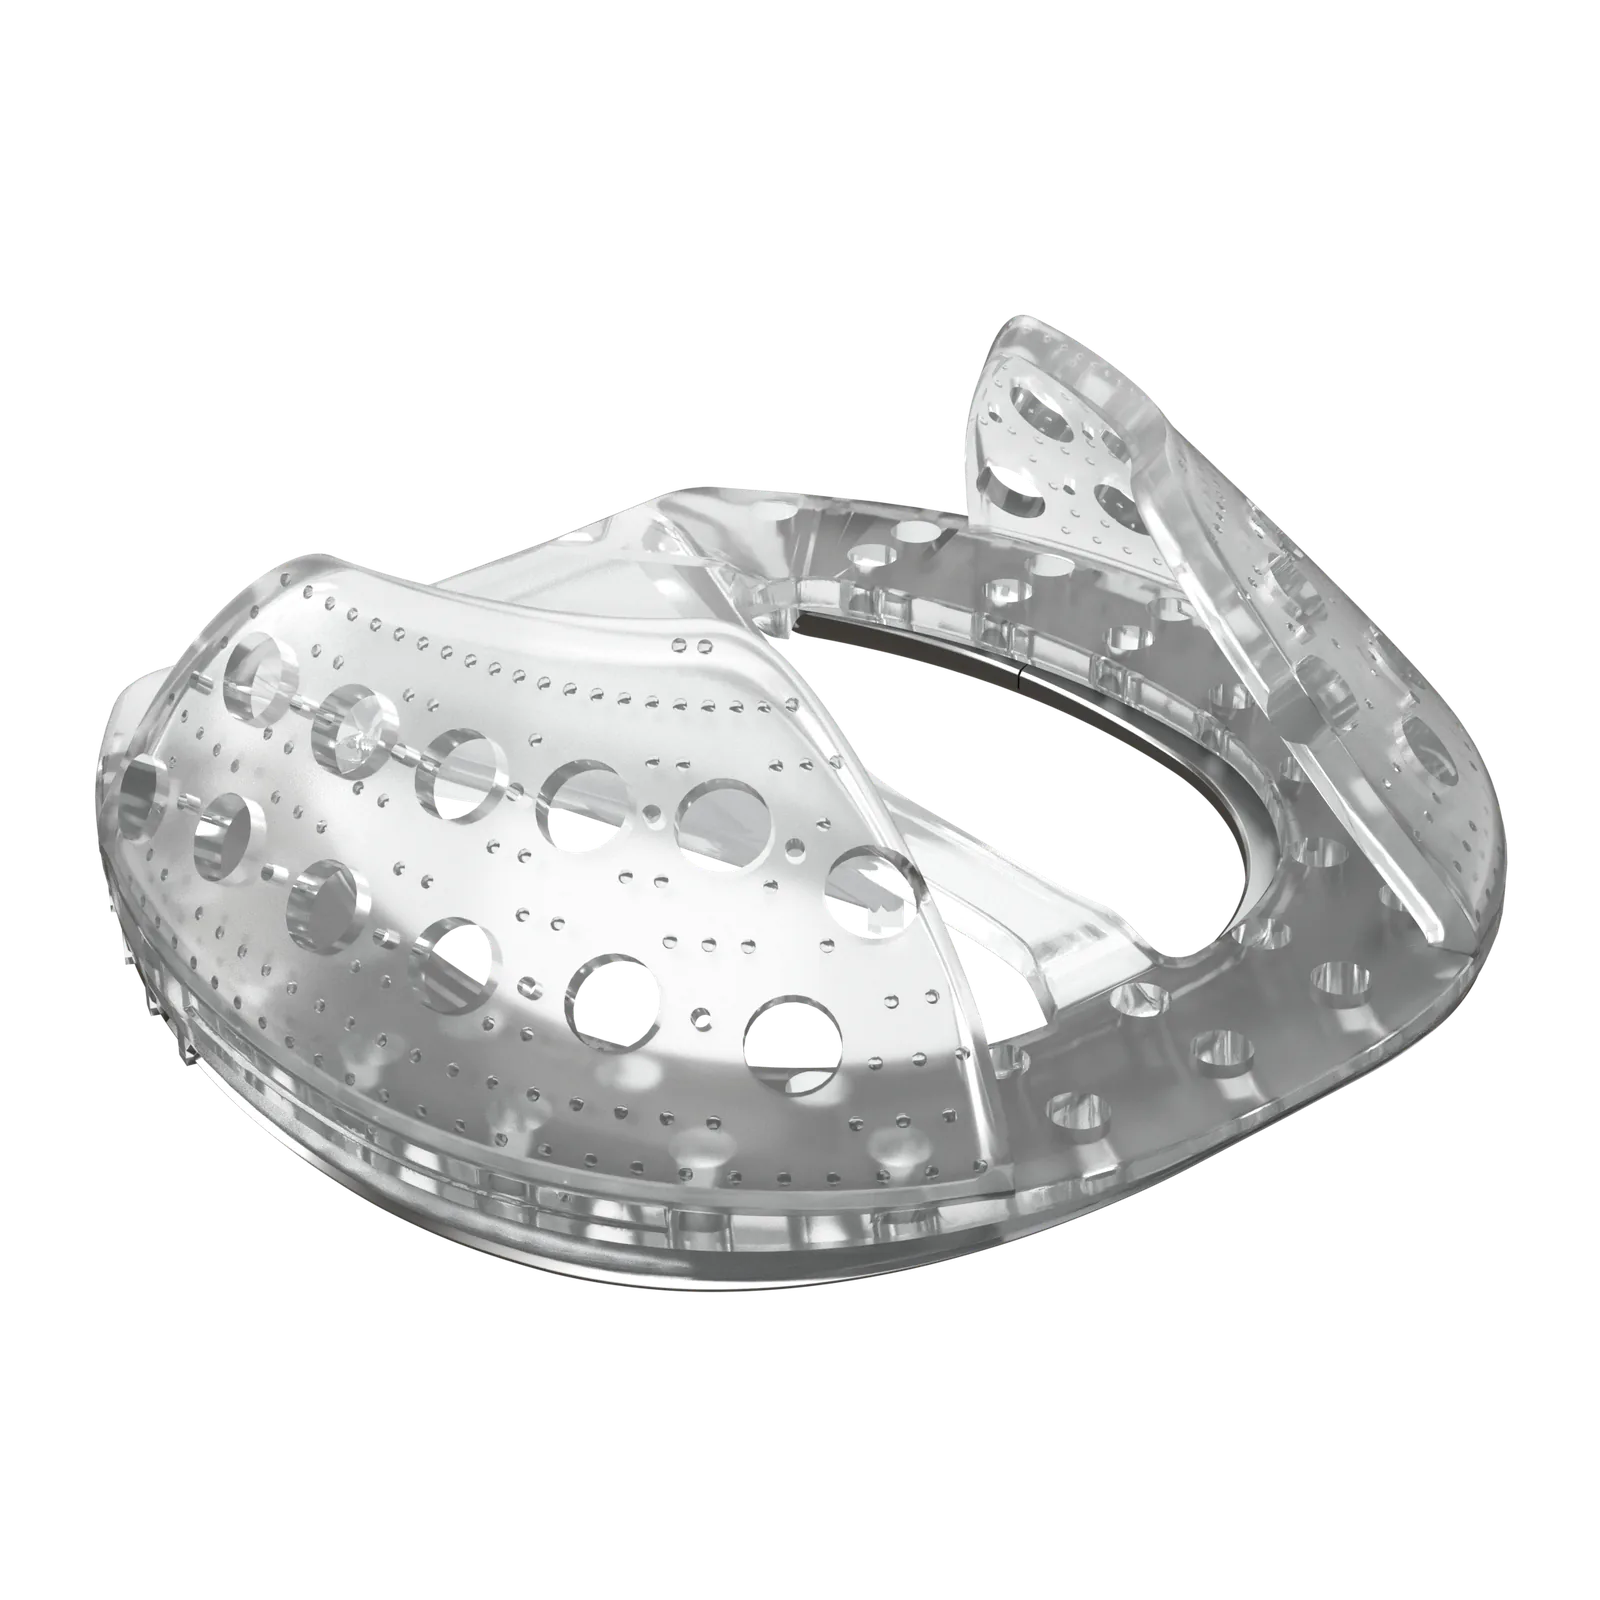
4. Sole view
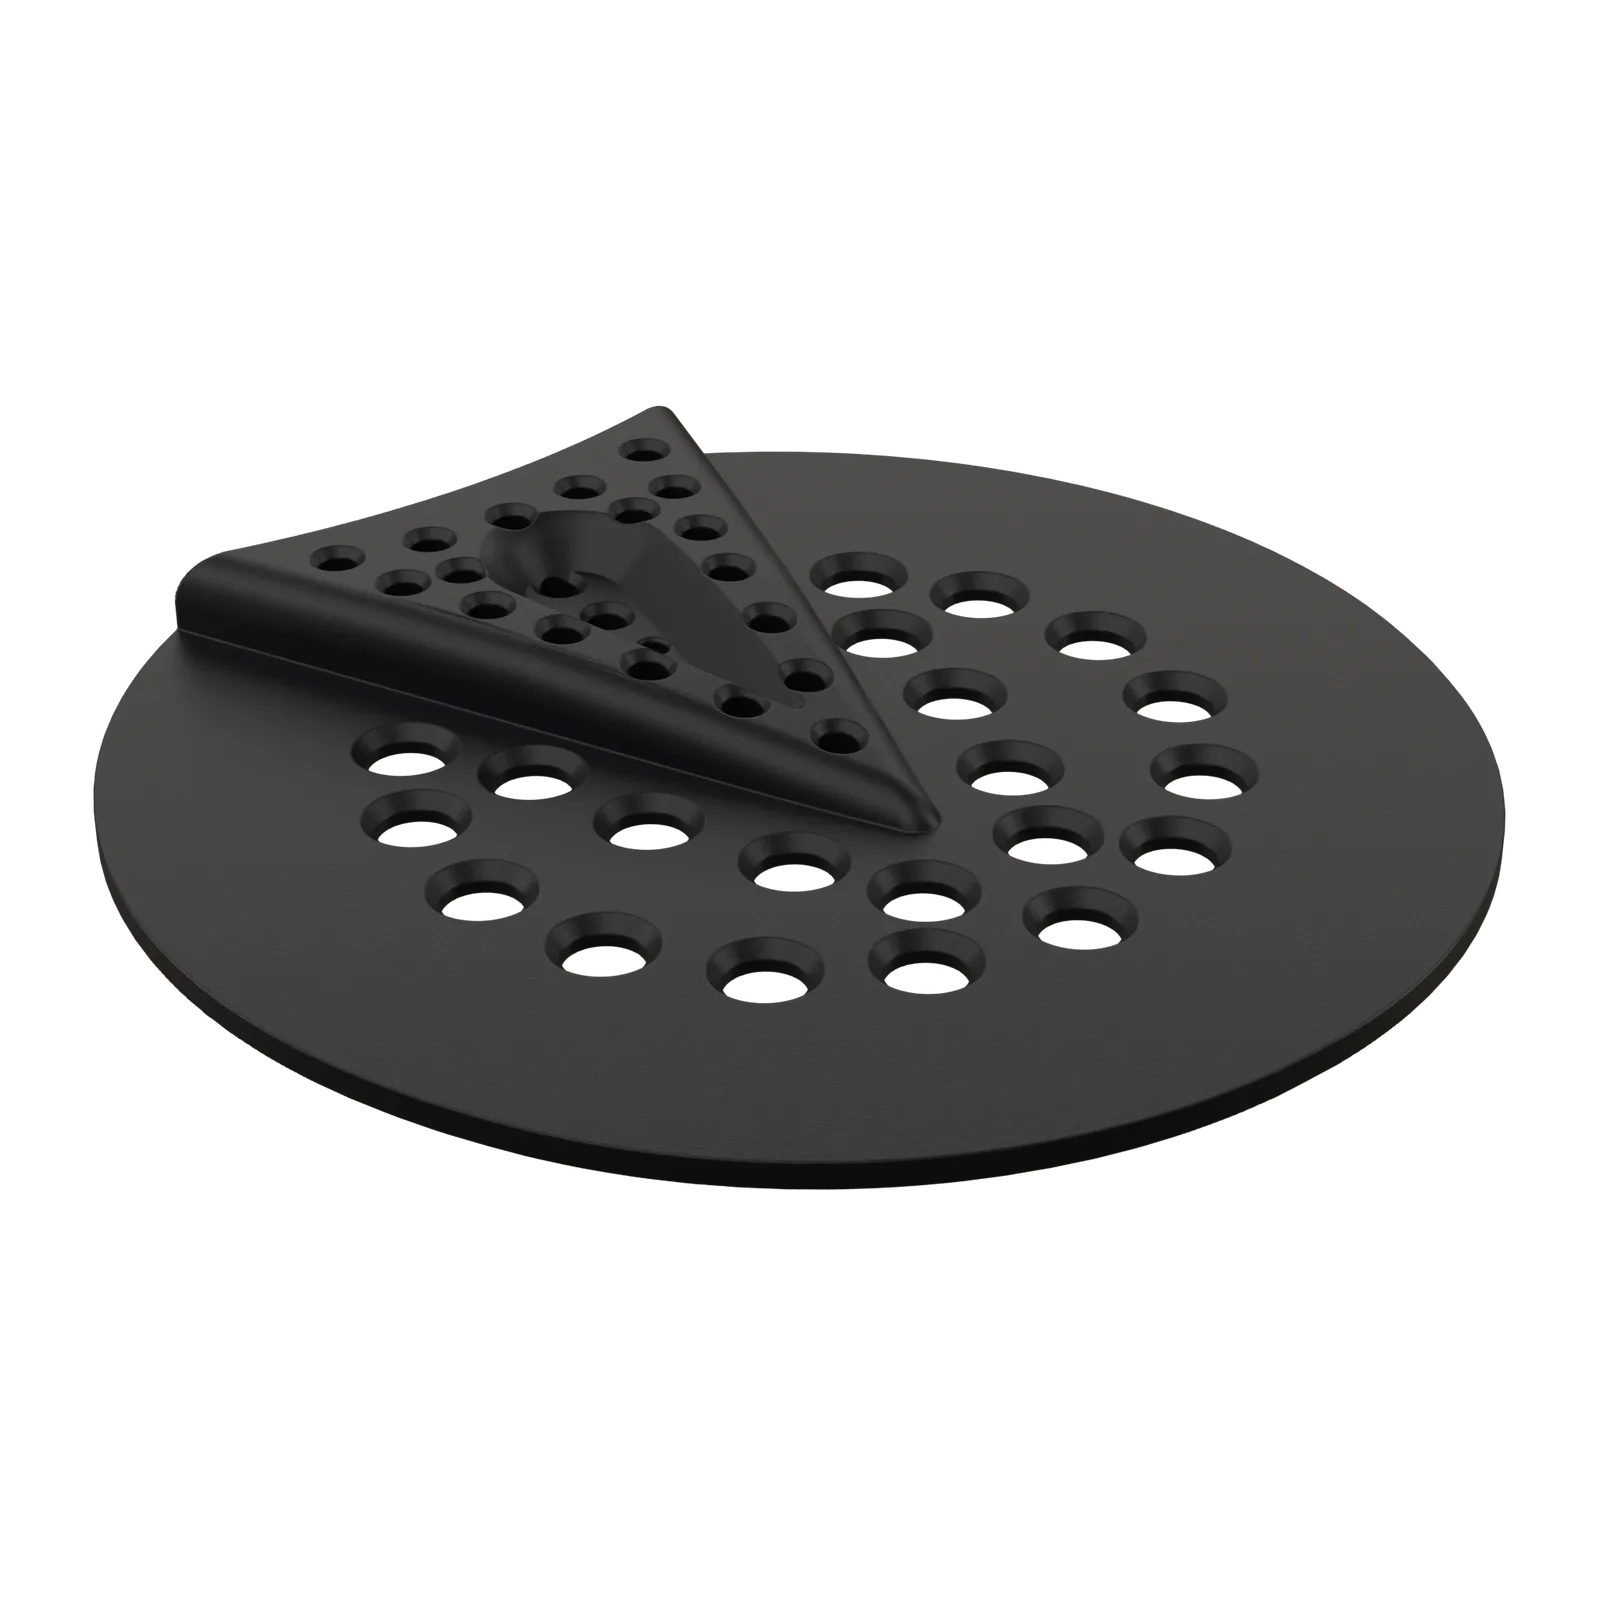
The foot turned up, from below. This is the frame for sizing and coverage. You can see how much of the sole a Half Mesh leaves open at the toe compared to a Full Mesh, where the frog sits relative to the mesh, and how the Squish Pad covers the whole solar surface. Measure your foot at the widest point after a fresh trim and compare it to the proportions here.

The fit film
The film is the same four views turned into motion: the parts come together on the foot, the camera moves around it, and the foot turns up. It takes about fifteen seconds and it does something the stills cannot, which is show you the transition between views so you keep your bearings. If a still has left you unsure which edge is the heel, the film settles it.
The films are rendered at the same scale as each other. A donkey pad next to a horse pad looks small because it is small.
What to look for before you buy
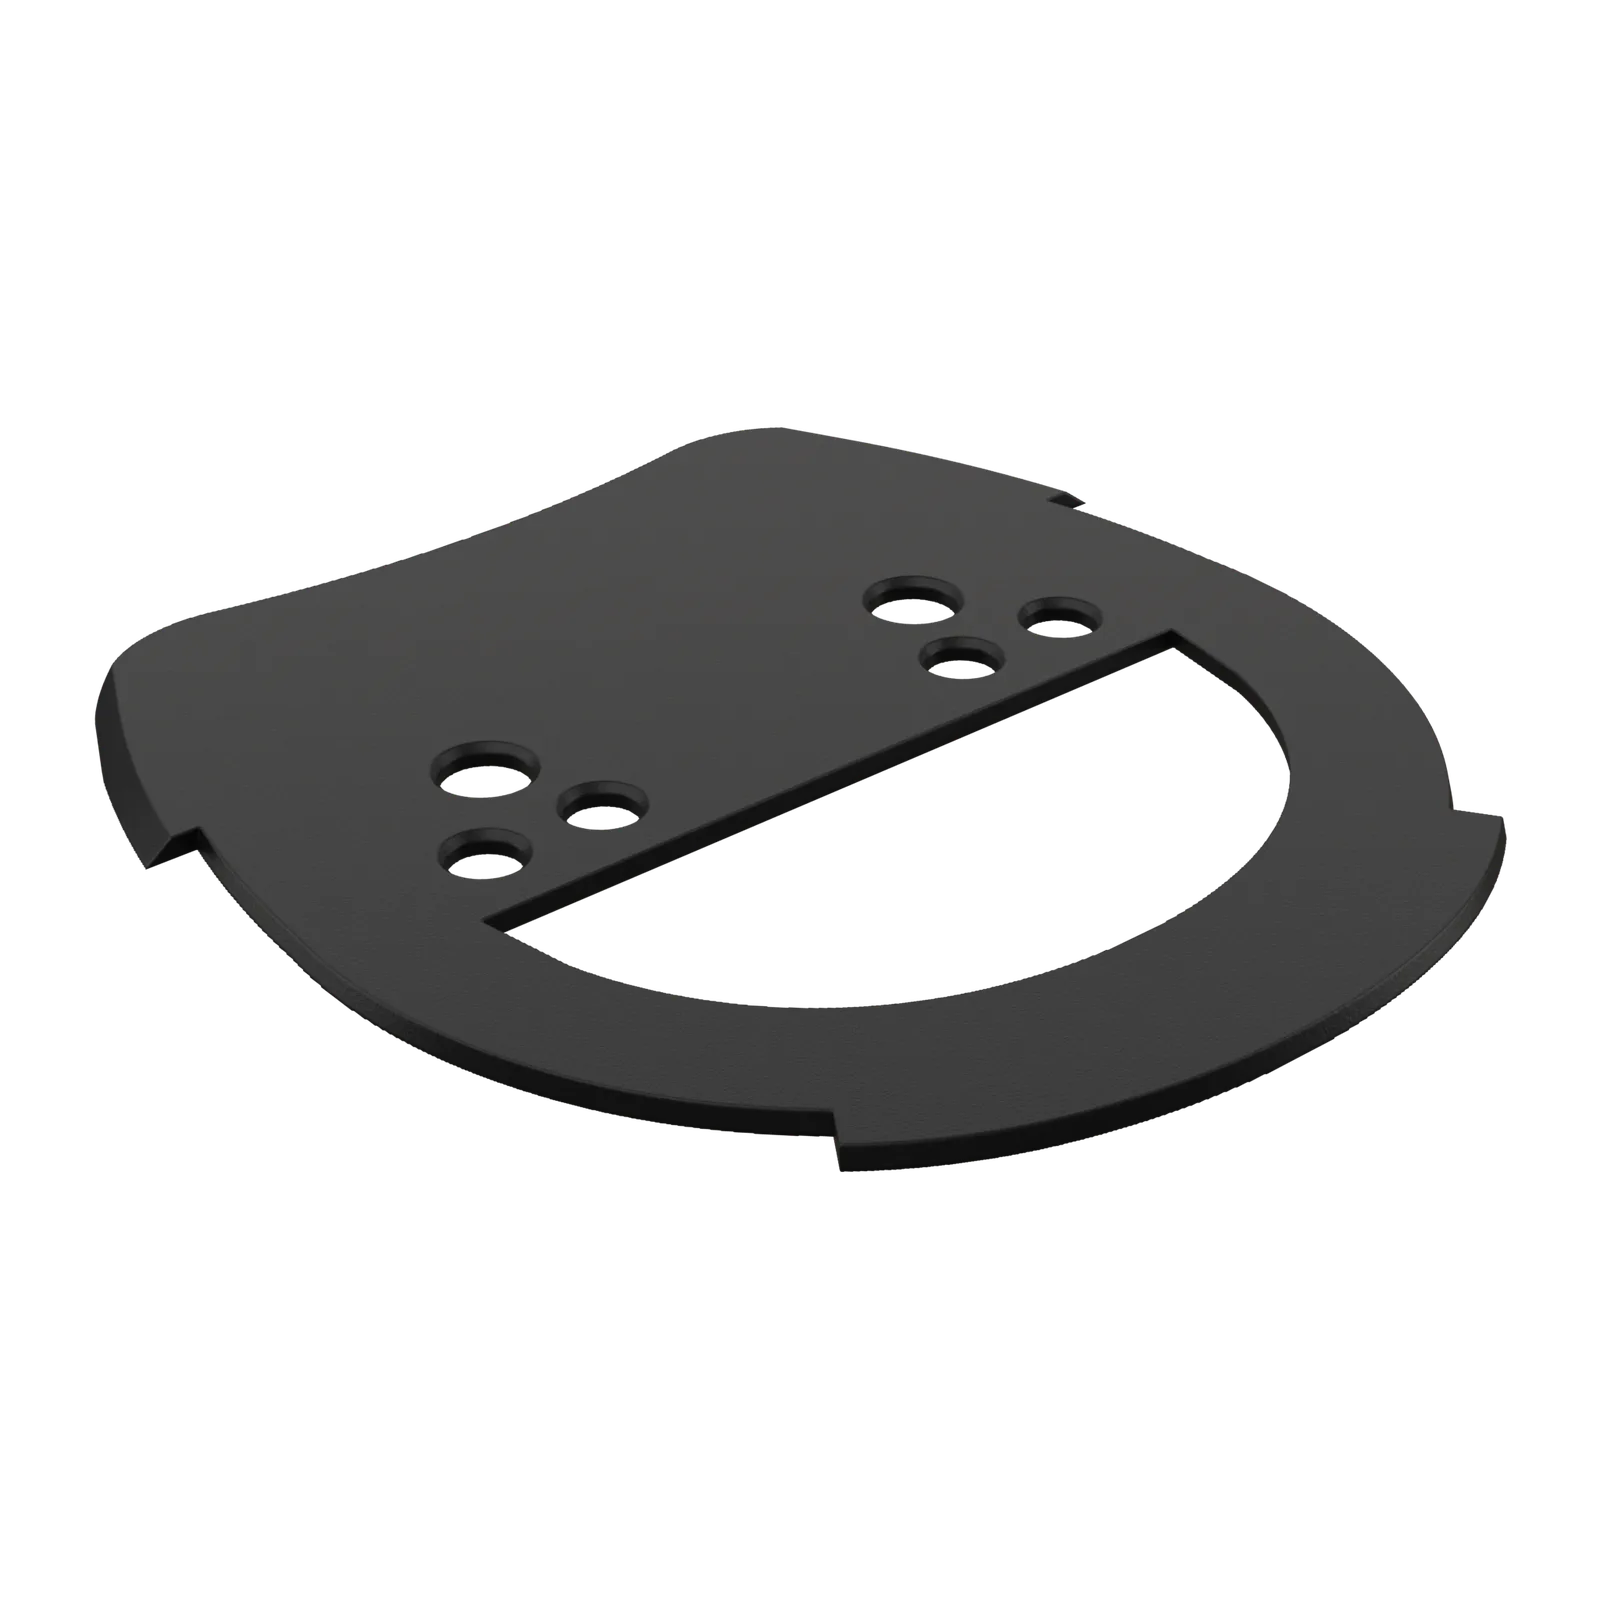
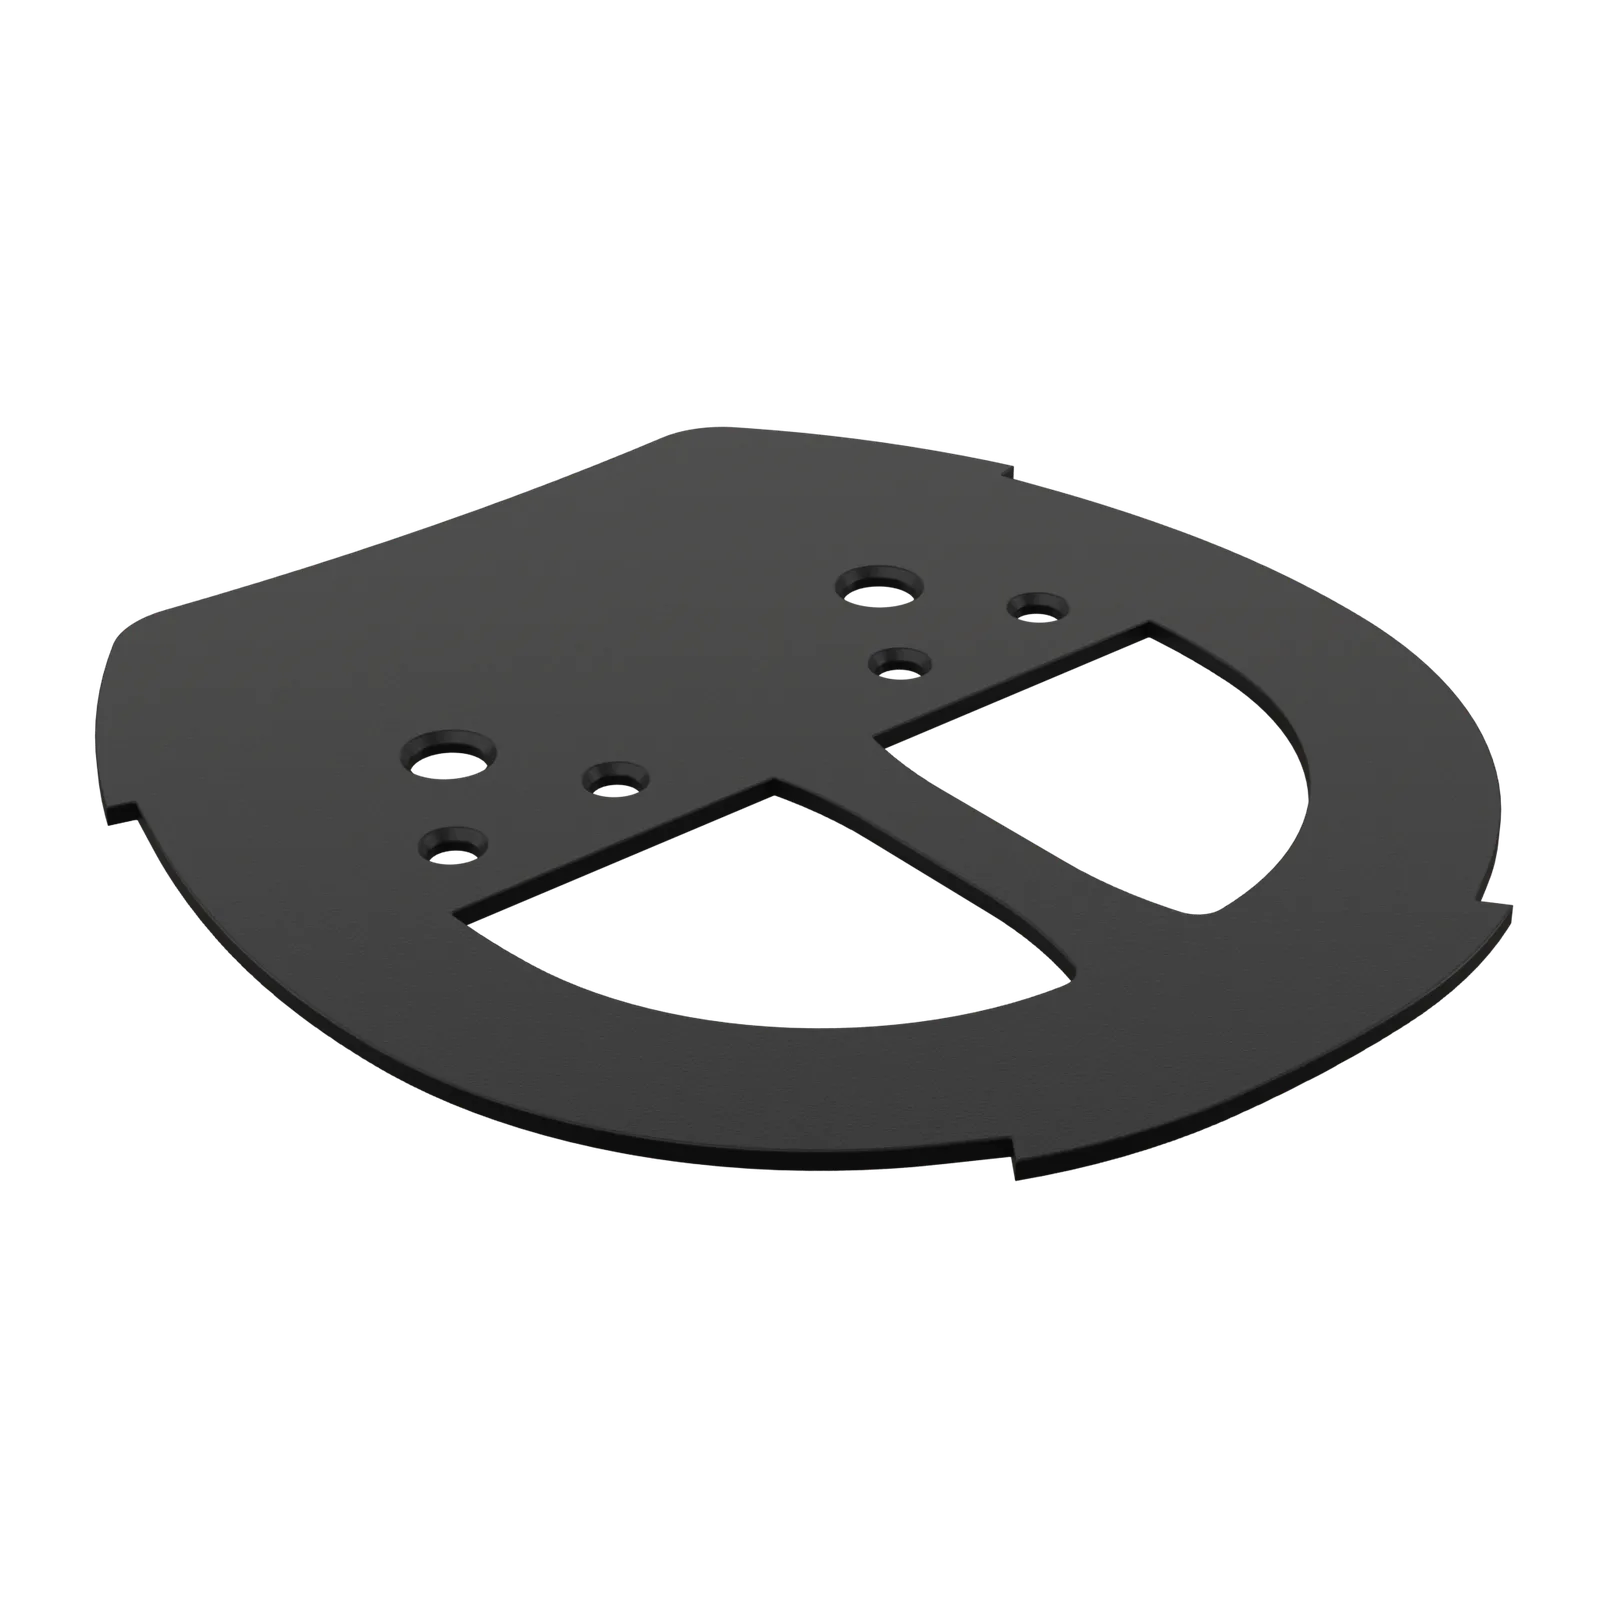
- Is there an insert in the exploded view? If yes, the pad and the insert are separate products. Check you are ordering both, or that the one you have fits the one you are adding.
- Does the cuff height suit the foot? Look at the three-quarter view. A rehabilitation pad on a compromised wall wants a cuff that bonds low; a shoe on a sound foot can come higher.
- Does the side view match what the foot needs? Lift at the heel means a degree insert. No lift means flat. If you are not sure what the foot needs, that is a question for your farrier and your radiographs, not for the film.
- Does the sole view show the coverage you want? Open toe for air, full coverage for protection and impression material retention.
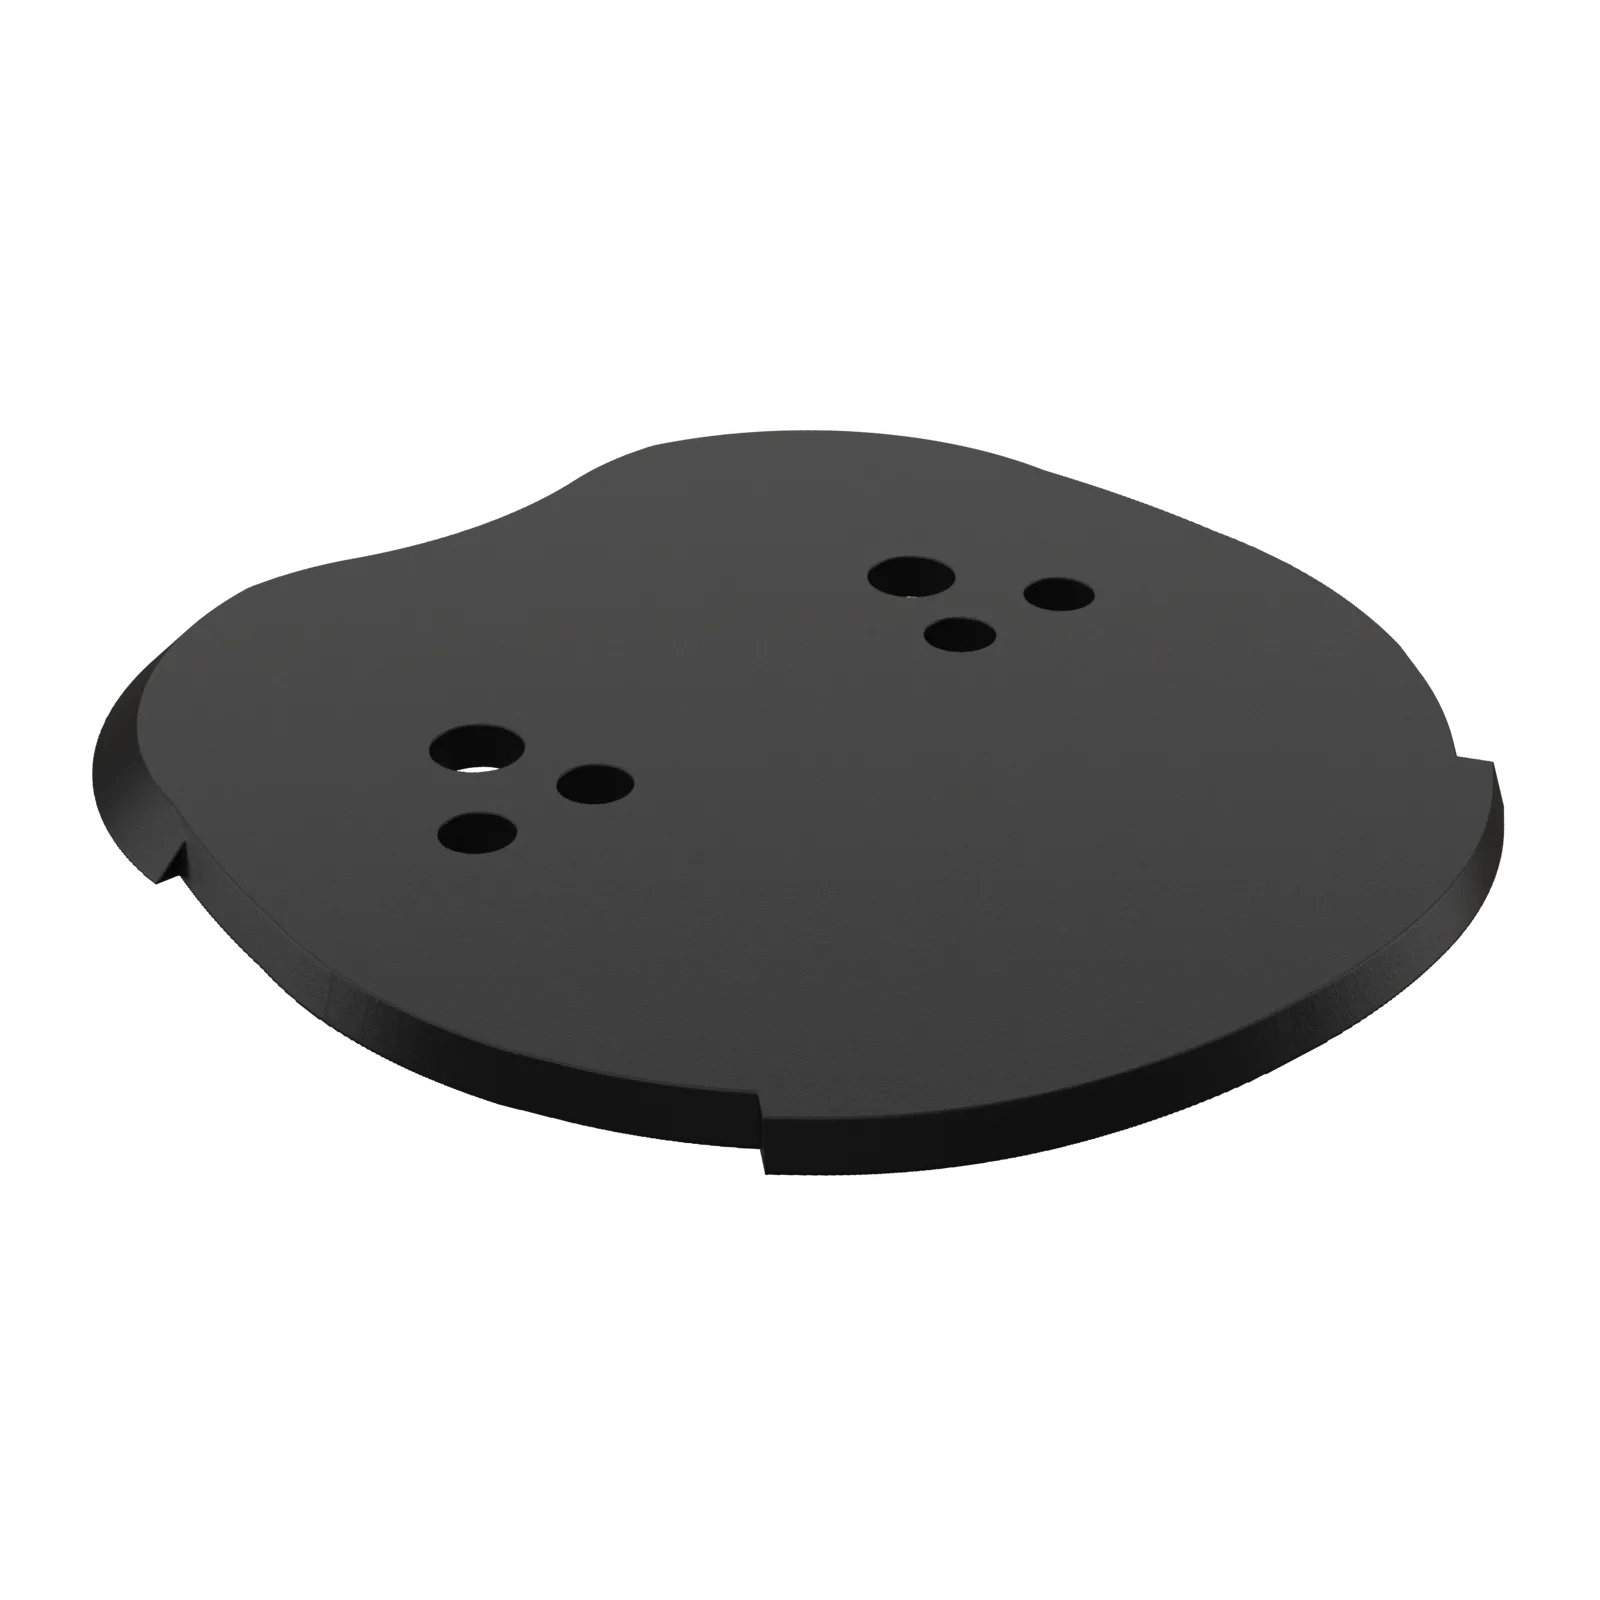
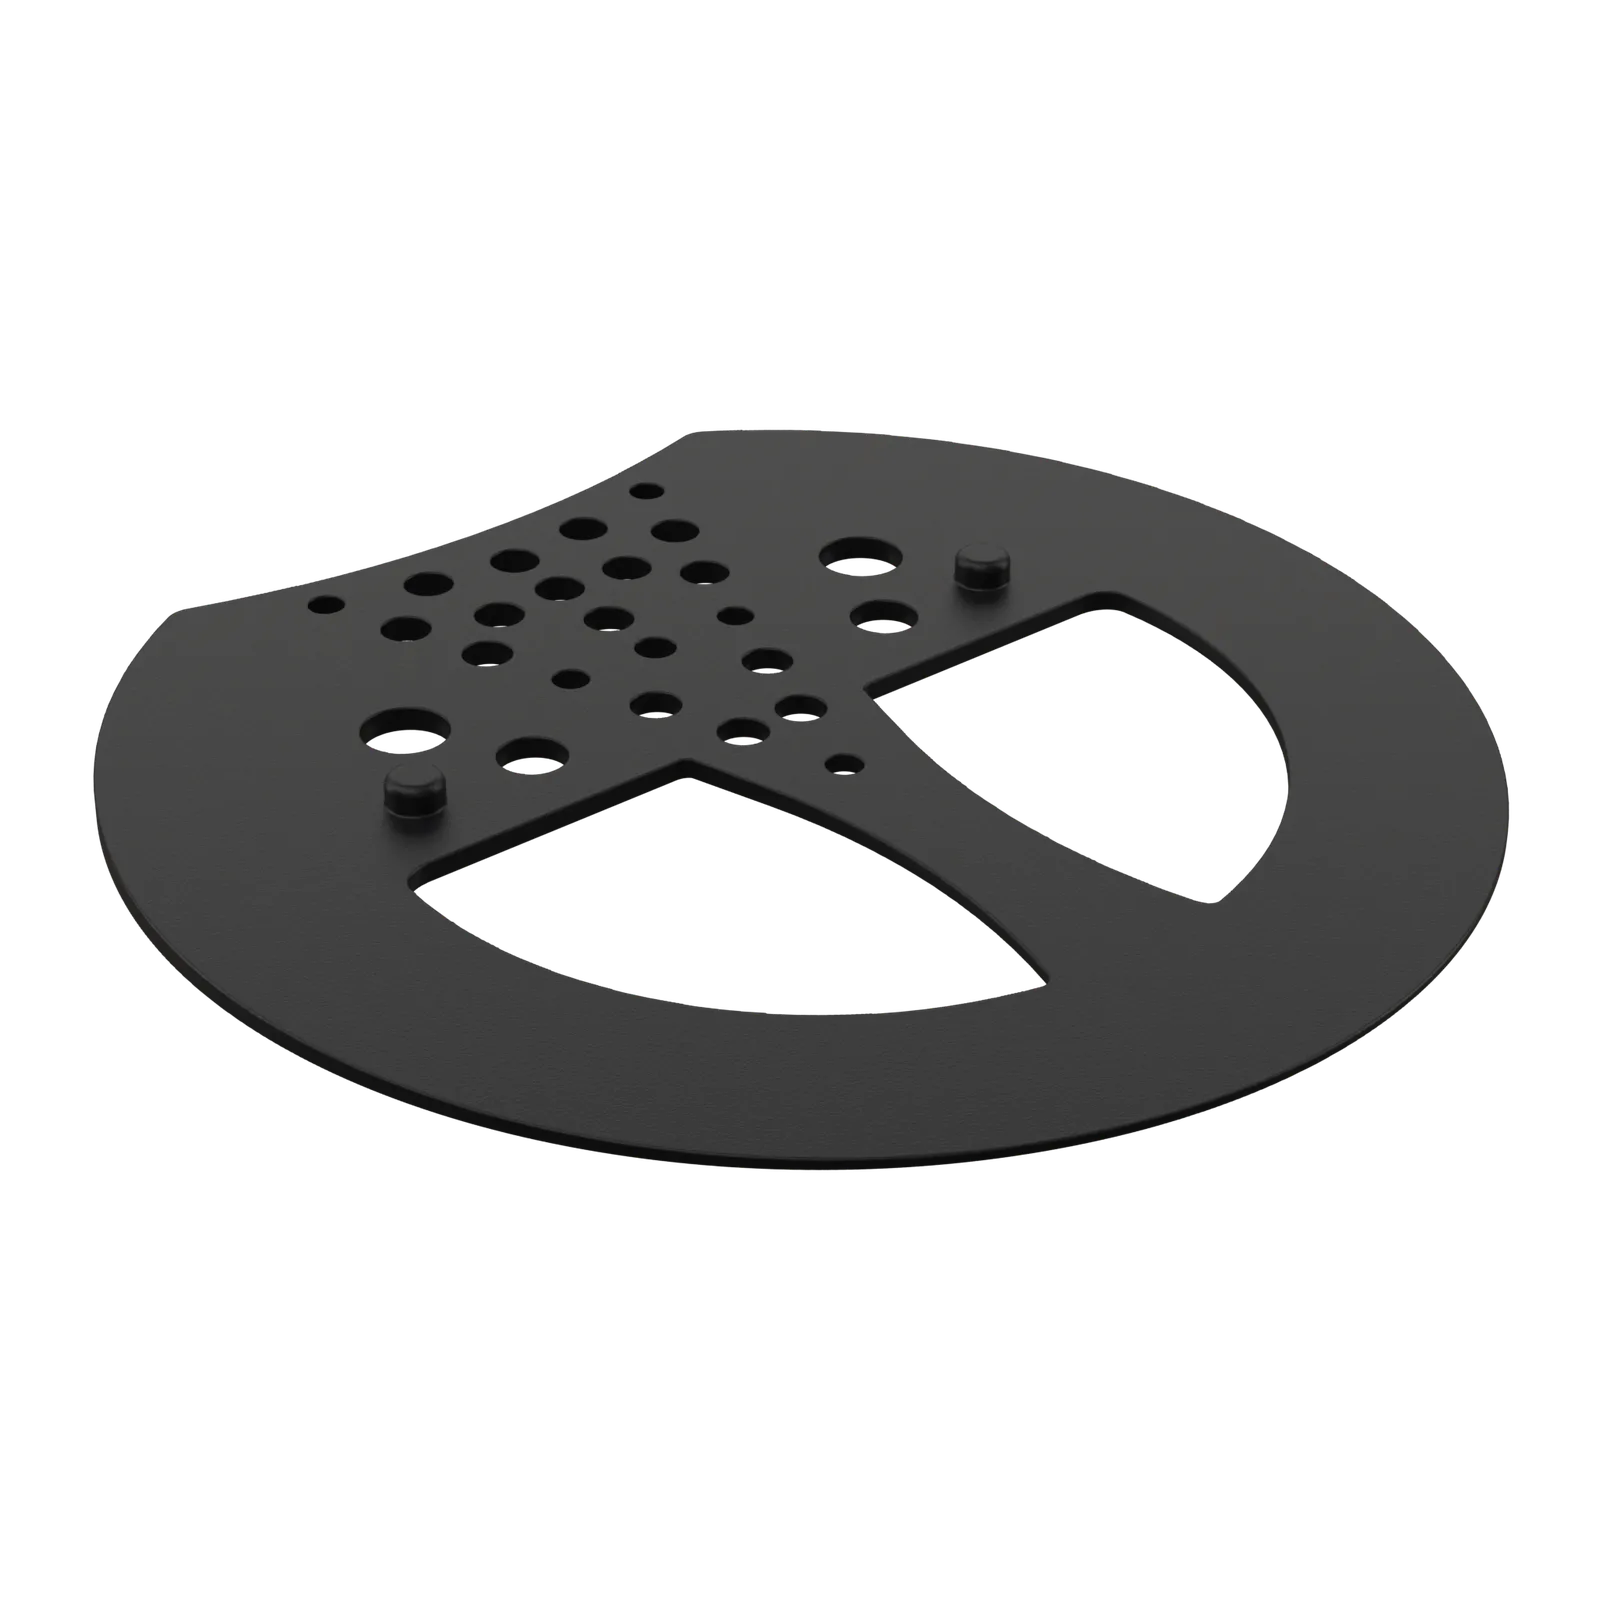
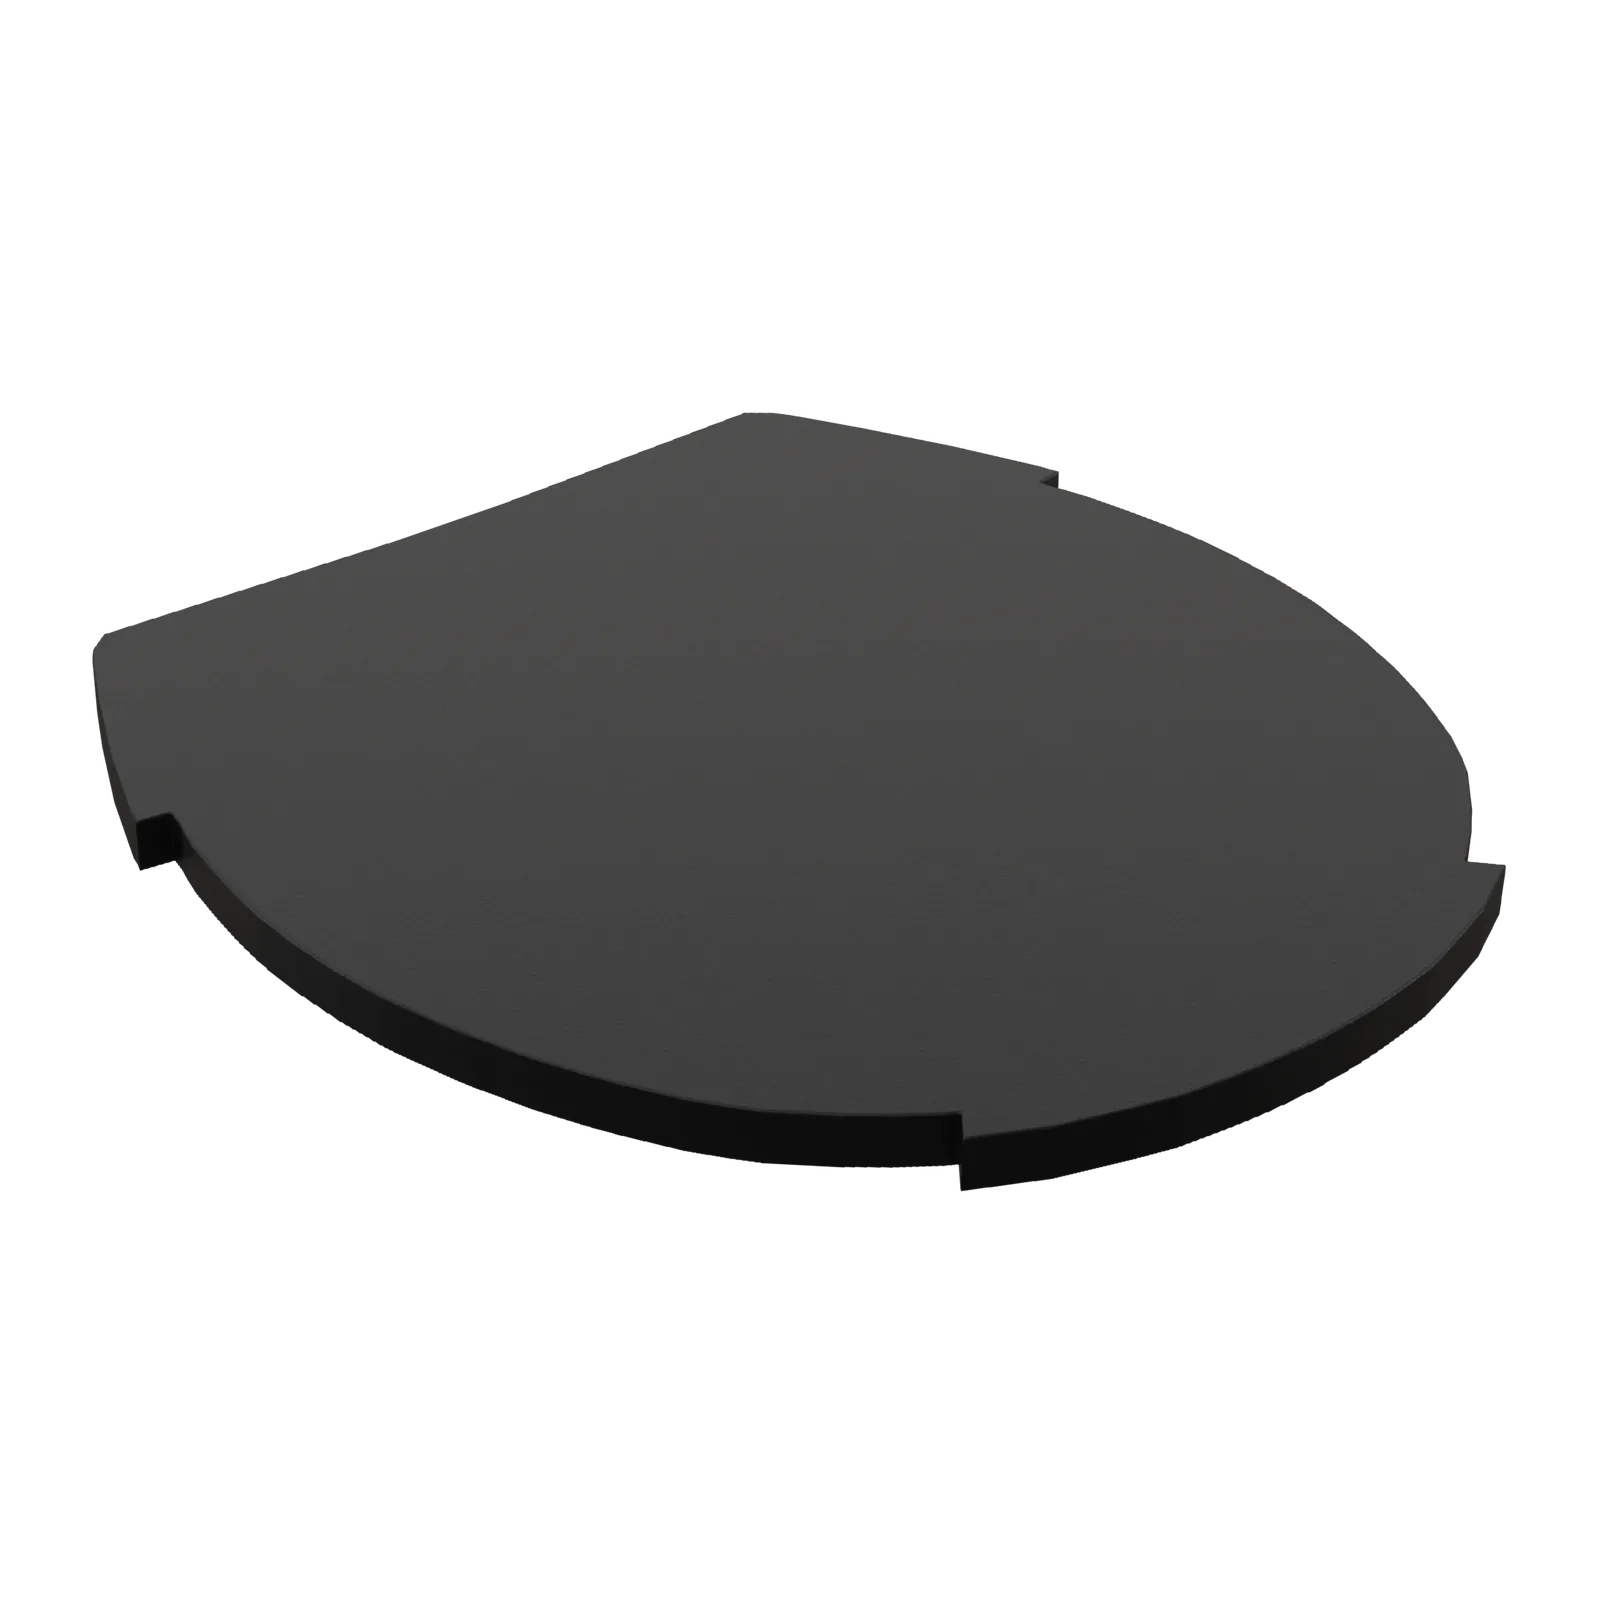
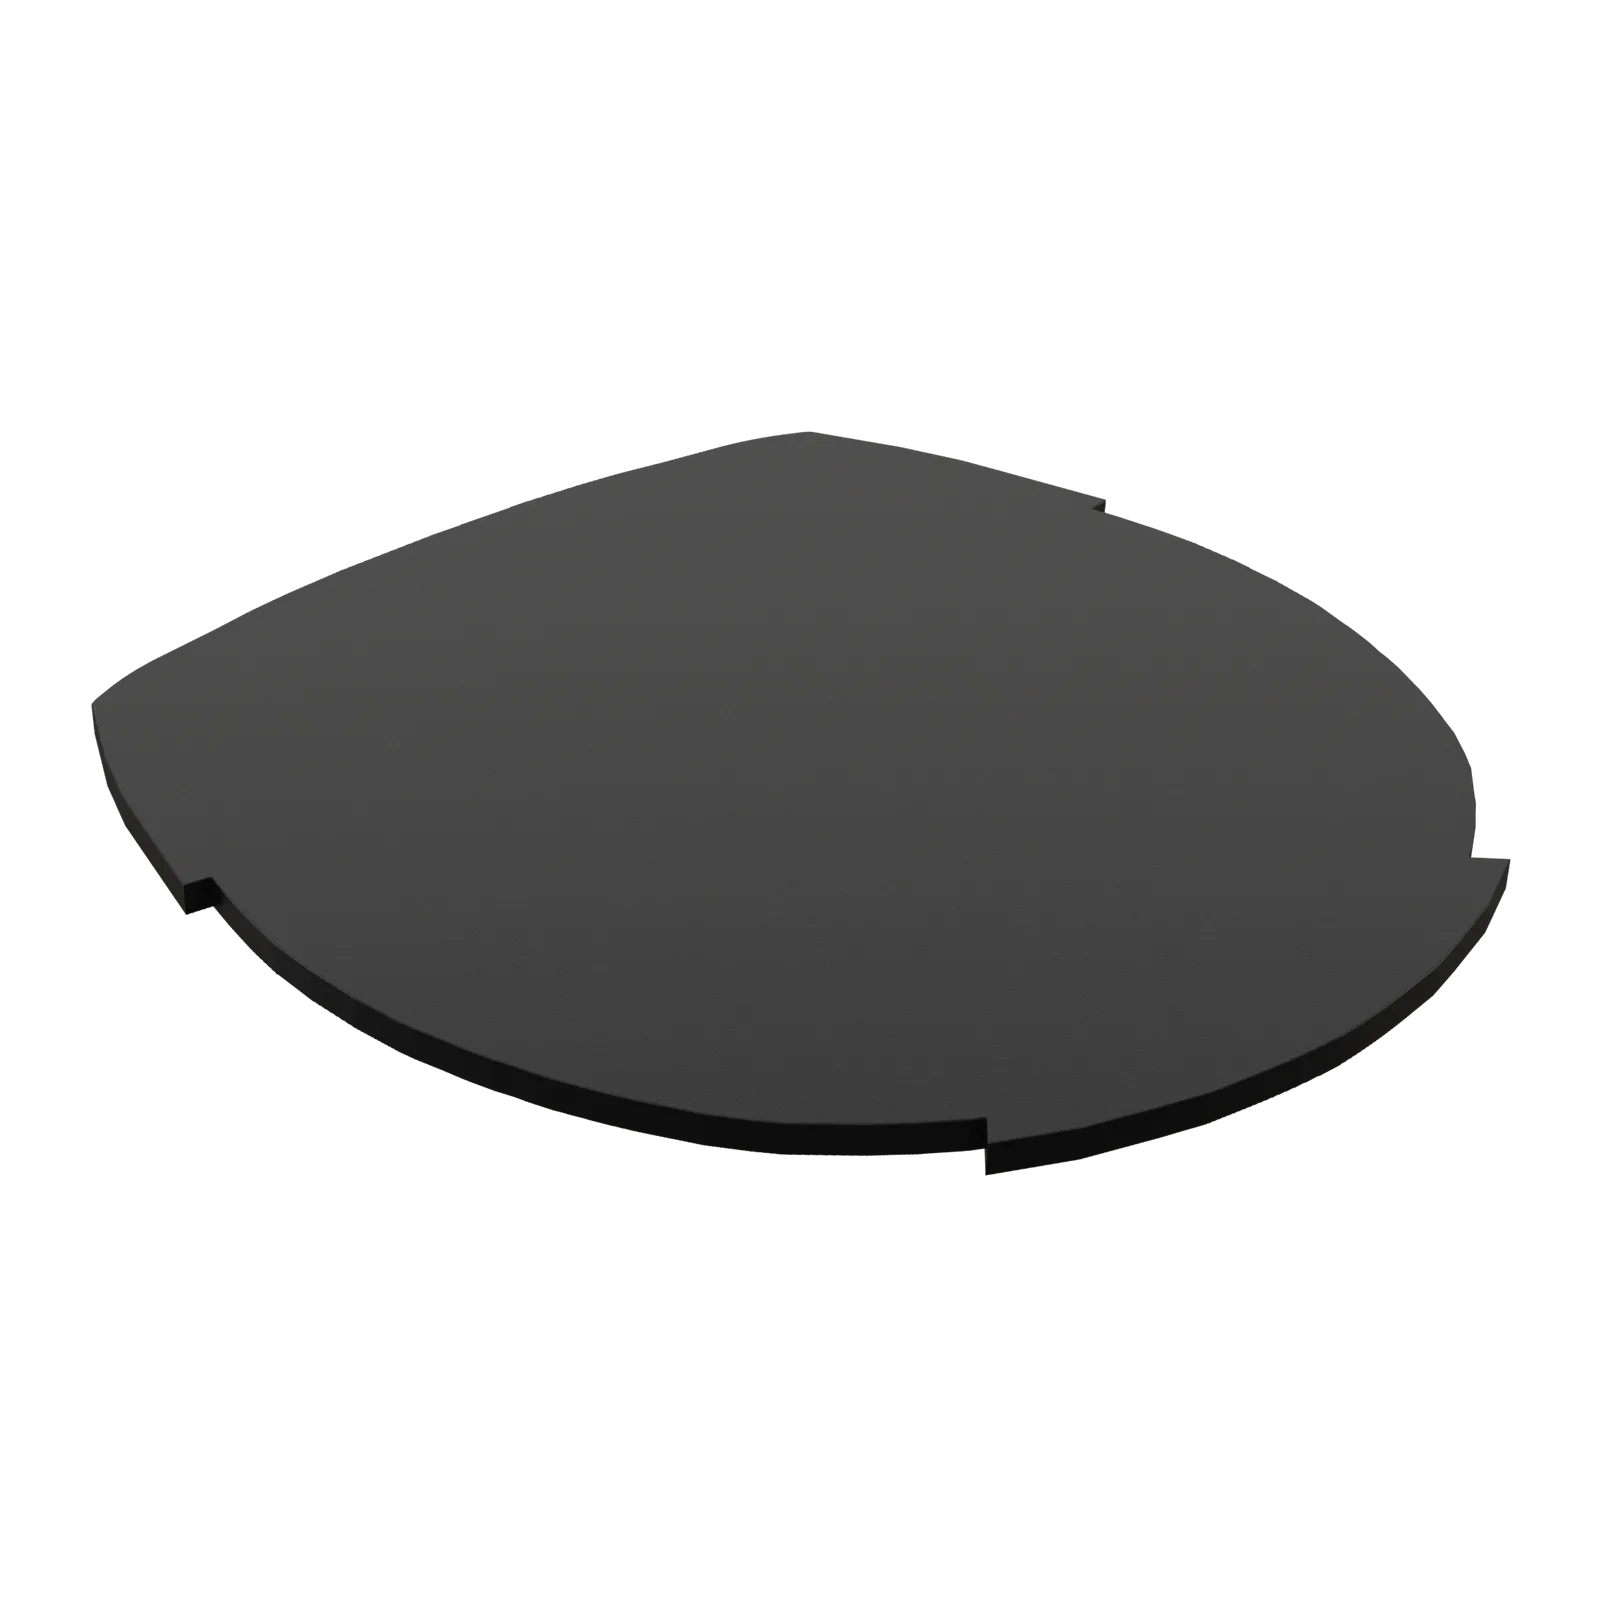
- Is the color the one you are ordering? Standard pads and inserts are black. Colored parts in the renders are there to make the insert easy to see. Colored products are made to order.
What the film cannot tell you
It cannot tell you the size. Sizes are measured at the widest point after a fresh trim, in inches or millimeters, and the sizing guides walk you through it. It cannot tell you whether the horse needs the product. That is between you, your farrier and your vet. And it cannot show you a bad application, because we rendered a good one. Prep, dry fit and a sealed top edge are still yours to get right.
If a view leaves you with a question, send us a photo of the trimmed foot with a ruler in it. We have already looked at the film. We would like to look at your foot.
Derek's note: I draw these parts in 3D because that is how they are made. Showing you the same model we print from is not marketing. It is just the shortest route to you ordering the right thing.